

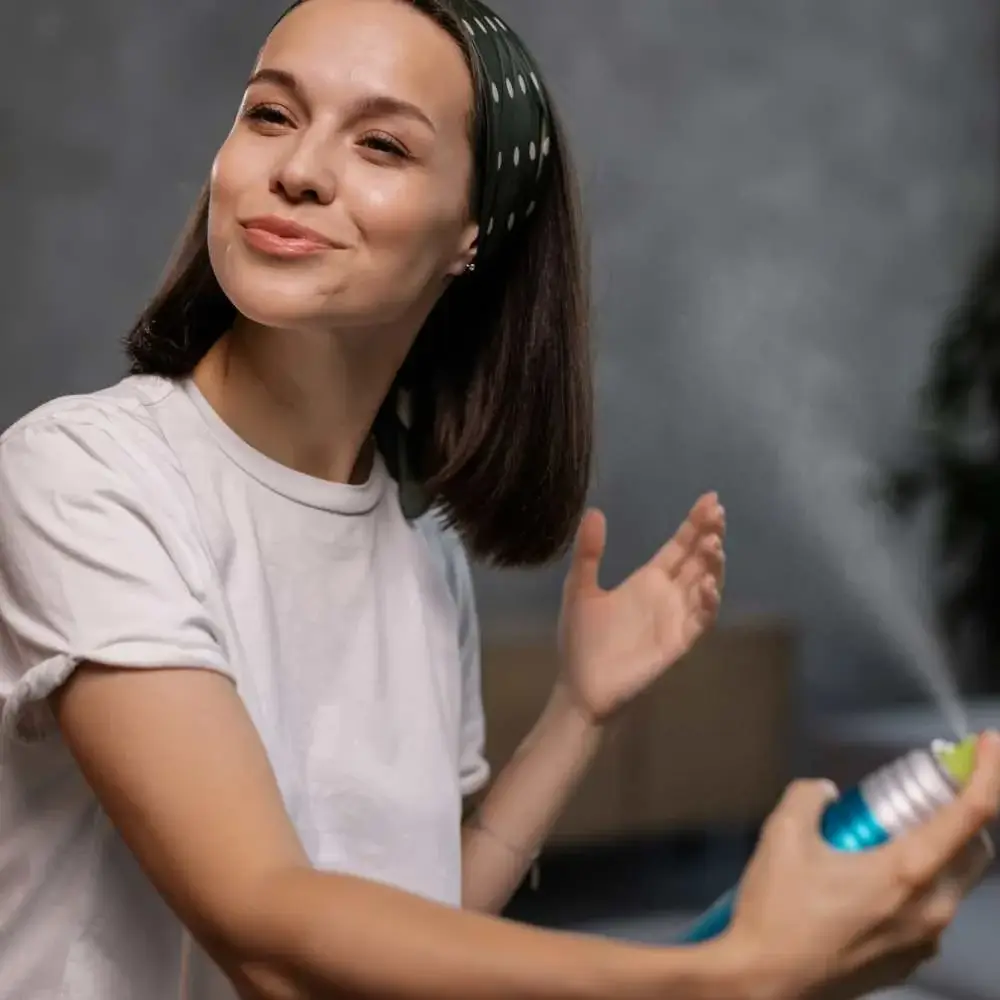
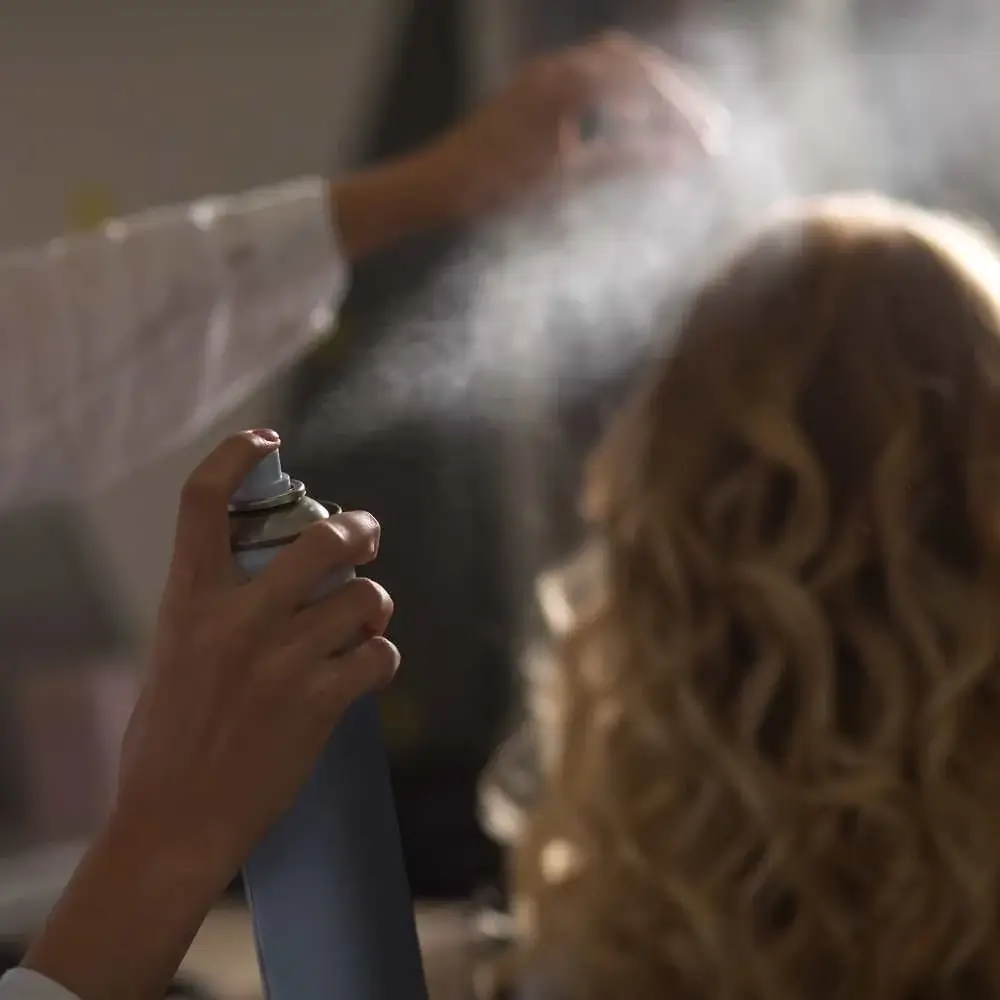
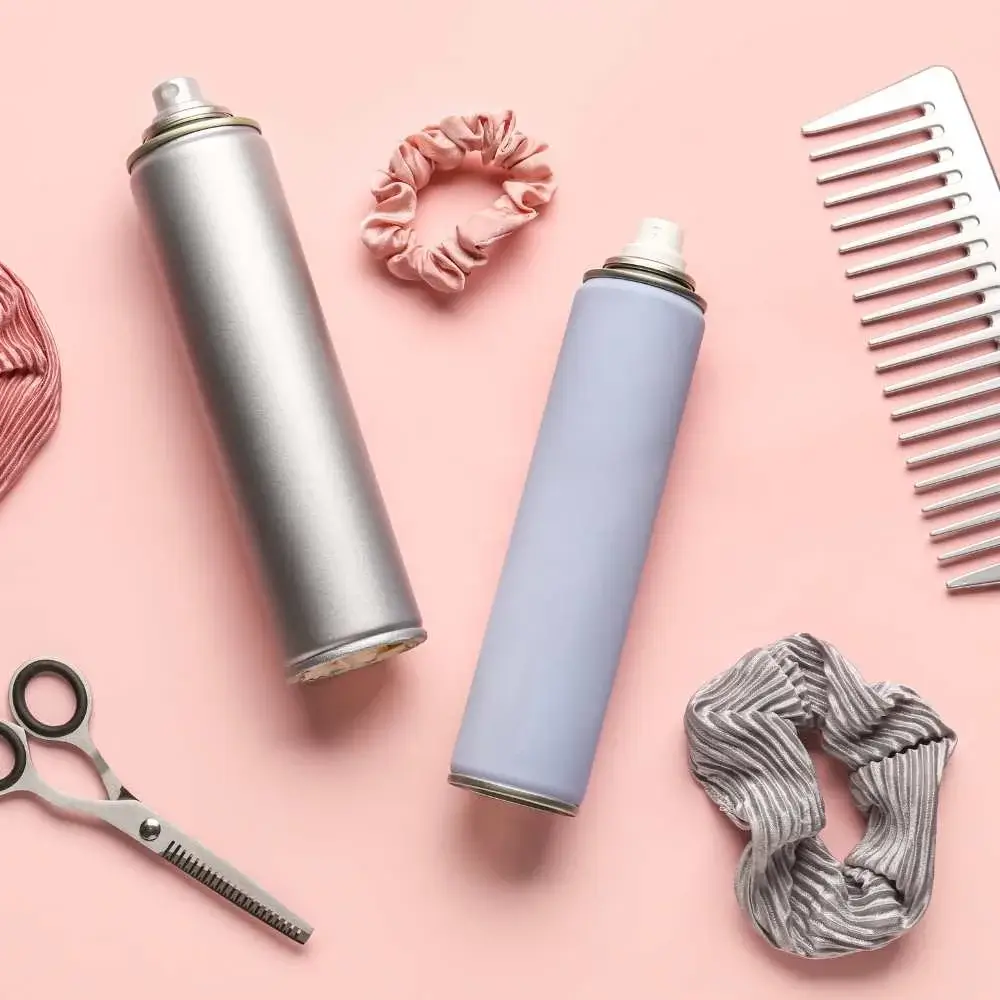
Ah, the dreaded broken hair spray bottle - we've all been there. One minute you're spritzing your locks to perfection, and the next, your once-trusty hair savior turns into a stubborn, uncooperative mess. But fear not, my fellow hair care enthusiasts! This article is here to save the day (and your hairstyle) with a simple and effective solution for fixing that pesky broken hair spray bottle.
The short answer? A quick DIY repair! But don't just take our word for it; keep reading to uncover the reasons why this clever fix will have you back in styling action in no time. Plus, we'll sprinkle in some fun anecdotes and relatable scenarios to keep things light and entertaining. So, let's dive in and tame that wild hair spray bottle together!
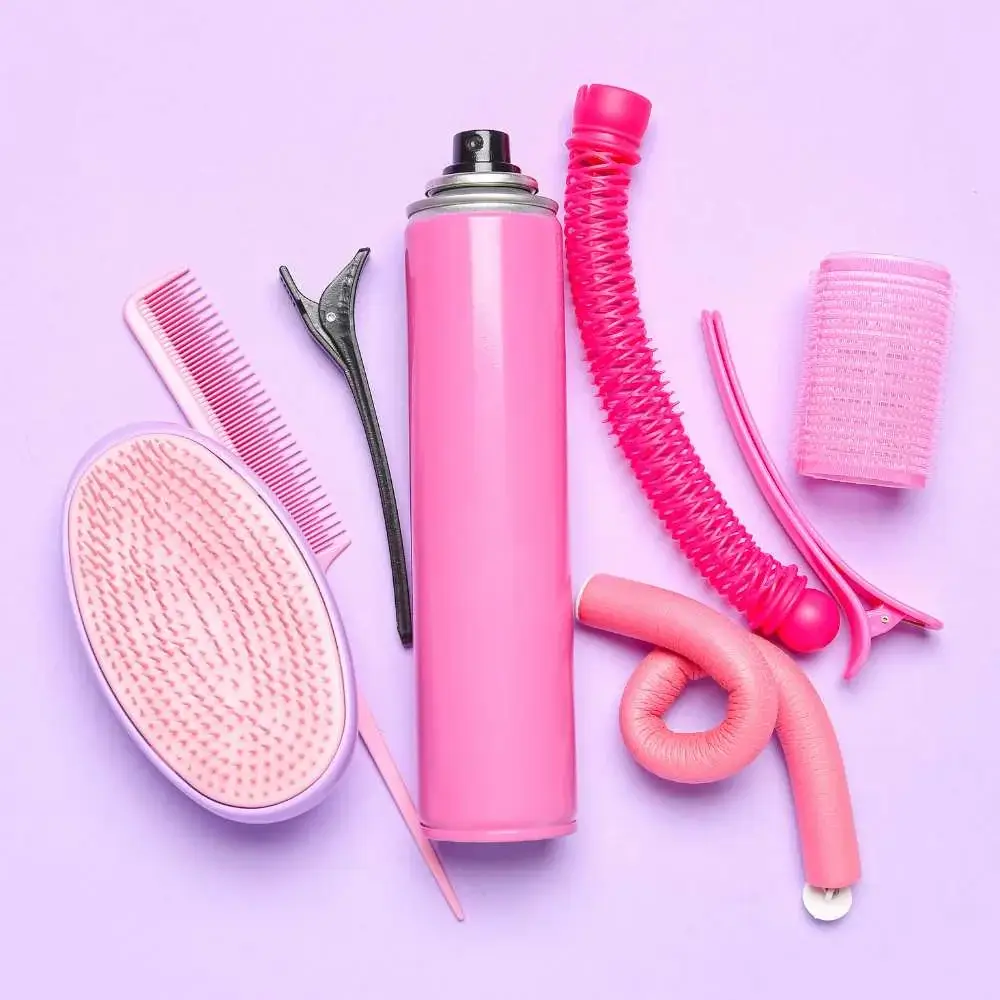
Understanding the Components of a Hair Spray Bottle
If you've ever experienced a broken hair spray bottle, you know how frustrating it can be. You're all set to style your hair, and suddenly, the bottle stops working. But before you throw it away and buy a new one, let's try to understand the components of a hair spray bottle and learn how to fix it.
The Anatomy of a Hair Spray Bottle
A hair spray bottle typically consists of three main parts:
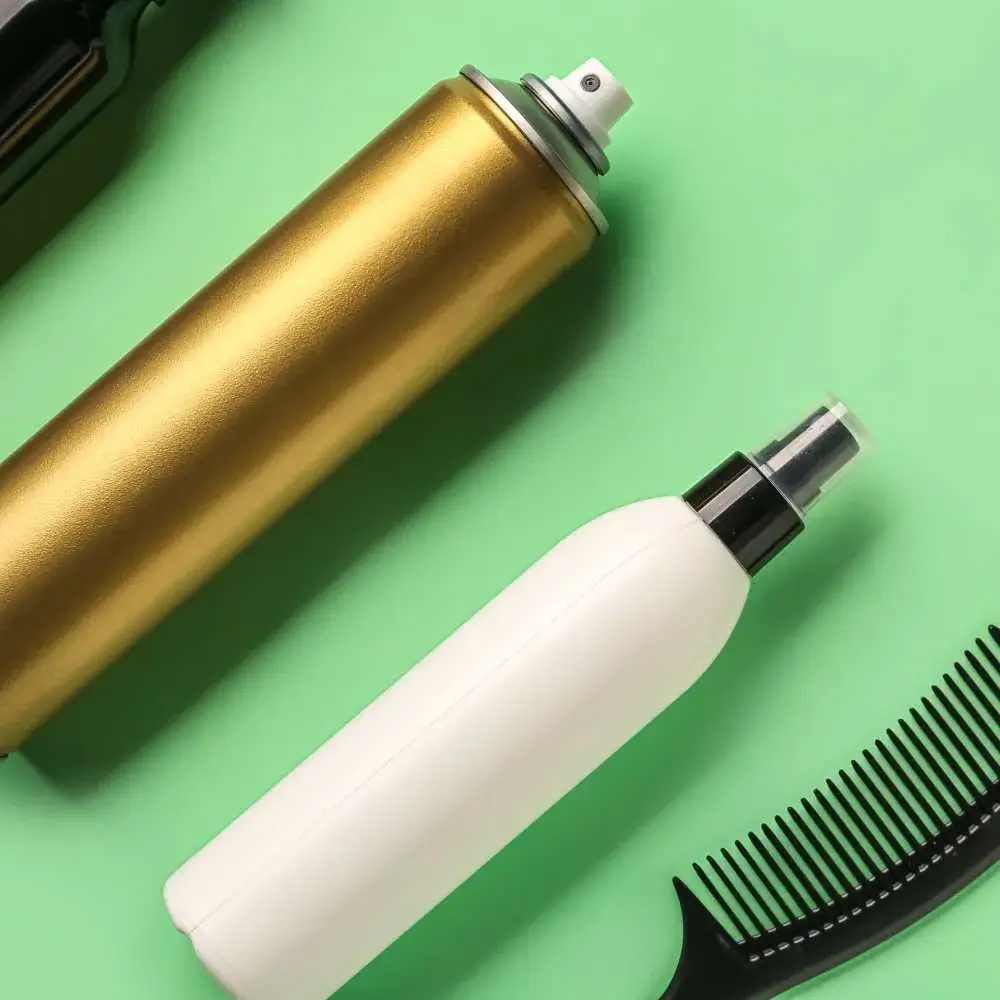
The nozzle: This is the part that sprays the hair spray out of the bottle. It's usually a small plastic piece with a tiny hole through which the liquid is dispensed.
The tube: Also known as the straw or dip tube, this component extends from the nozzle down into the hair spray container. It's responsible for drawing the liquid up and out through the nozzle.
The pump mechanism: This is the heart of the hair spray bottle. It's a complex assembly of parts that work together to create pressure, which forces the hair spray through the nozzle when you press down on the bottle's trigger.
Now that we have a basic understanding of the components of a hair spray bottle, let's dive into the common issues that can cause them to break and how to fix them.
Diagnosing the Problem with Your Broken Hair Spray Bottle
When it comes to fixing a broken hair spray bottle, the first step is to diagnose the problem. By understanding what's causing your hair spray bottle to malfunction, you'll be better equipped to fix it and prevent future issues. Let's explore some common issues that can lead to a broken hair spray bottle.
Clogged Nozzle
One of the most common reasons for a hair spray bottle to stop working is a clogged nozzle. Over time, residue from the hair spray can build up around the tiny hole in the nozzle, preventing the liquid from being dispensed properly.
To check if this is the issue, remove the nozzle from the bottle and inspect it closely. If you see any visible buildup around the hole, this could be the culprit.
Damaged or Misaligned Tube
Another possible cause for a broken hair spray bottle is a damaged or misaligned tube. If the tube becomes bent, cracked, or detached from the nozzle, it can prevent the hair spray from being drawn up and out of the bottle.
To check the tube, remove it from the bottle and inspect it for any signs of damage or misalignment.
Malfunctioning Pump Mechanism
Finally, a malfunctioning pump mechanism can also lead to a broken hair spray bottle. The pump is responsible for creating pressure to force the hair spray through the nozzle, so if it's not working correctly, the bottle won't spray.
To diagnose a pump issue, you'll need to disassemble the pump mechanism to inspect its various components for damage or wear.
In summary, diagnosing the problem with your broken hair spray bottle is an essential first step toward fixing it. Whether it's a clogged nozzle, a damaged tube, or a malfunctioning pump, understanding the root cause will help you tackle the issue head-on and get your hair spray bottle back in working order.
Troubleshooting Pump Issues and Clogs
If you've determined that the problem with your hair spray bottle lies in the pump mechanism or clogging, it's time to dive deeper into troubleshooting these issues. By addressing the root cause, you can effectively fix your broken hair spray bottle and ensure it works smoothly in the future.
Dealing with Clogs
Clogs are a common issue in hair spray bottles, particularly in the nozzle and the tube. Here's how to tackle clogs:
Soak the nozzle: Remove the nozzle from the bottle and soak it in warm, soapy water for a few minutes. This will help loosen any residue or buildup inside.
Clean the nozzle: Use a small brush, toothpick, or pin to gently remove any visible debris from the nozzle hole. Be careful not to damage the nozzle in the process.
Rinse and dry: Once the nozzle is clean, rinse it thoroughly under running water and allow it to air dry before reassembling the bottle.
Inspect and clean the tube: Check the tube for any signs of clogging or damage. If necessary, use a pipe cleaner or small brush to clear any debris.
Addressing Pump Mechanism Issues
If your hair spray bottle's pump mechanism is malfunctioning, follow these steps to troubleshoot and fix the problem:
Disassemble the pump: Carefully take apart the pump mechanism, keeping track of each component and its position in the assembly.
Inspect the components: Look closely at each part of the pump for signs of wear, damage, or debris that might be causing the issue.
Clean or replace parts as needed: If you find any damaged or worn-out components, replace them with new ones. If there's debris or buildup, clean the parts using warm, soapy water and a soft brush.
Reassemble the pump: Once all components are clean and in good condition, reassemble the pump mechanism, ensuring that each part is correctly positioned and aligned.
By troubleshooting pump issues and clogs, you can effectively fix your broken hair spray bottle and prevent further problems. With a bit of patience and effort, you'll be back to styling your hair with ease in no time!
Steps to Disassemble and Inspect the Hair Spray Bottle
Once you've diagnosed the problem with your broken hair spray bottle, it's time to take action. Disassembling and inspecting the various components of the bottle will help you identify any issues and determine the best course of action for fixing them. Here are the steps you need to follow:
Step 1: Remove the Nozzle
Start by carefully removing the nozzle from the top of the hair spray bottle. Depending on the design, it may simply twist off or require a gentle prying motion to detach. Be cautious not to damage the nozzle in the process.
Step 2: Detach the Tube
Next, pull the tube out of the bottle. It should come off easily once the nozzle has been removed. Inspect the tube for any signs of damage or misalignment, as these can prevent the hair spray from being dispensed properly.
Step 3: Disassemble the Pump Mechanism
Now it's time to tackle the pump mechanism. This step can be a bit more complicated, as the pump assembly contains several small parts. Carefully disassemble the pump, keeping track of each piece and its position in the assembly.
Step 4: Inspect the Components
With the pump disassembled, closely examine each component for signs of wear, damage, or debris. Look for any broken or worn-out parts that may be causing the pump to malfunction.
Step 5: Clean and Repair as Needed
If you find any issues during your inspection, clean or replace the damaged parts as necessary. For example, if the nozzle is clogged, use a small brush or pin to remove the buildup. If the tube is damaged, consider replacing it with a new one.
By following these steps to disassemble and inspect your hair spray bottle, you'll be able to pinpoint the issue and take the necessary steps to fix it. With a little patience and attention to detail, you can get your hair spray bottle back in working order and avoid the expense of buying a new one.
Common Fixes
Oh, Snap! A Broken Hair Spray Bottle? We've all been there – that pesky broken hair spray bottle leaving us in a hair-raising situation. Fret not, fellow hair spritzers! We've got some nifty tricks up our sleeves to fix that broken hair spray bottle and get you back to your fabulous self in no time. Let's dive into these magical fixes, shall we
Button Trouble on Your Hair Spray Bottle?
We've all faced that pesky issue when the button on top of our hair spray bottle decides to take a break. Fear not, for we've got just the trick to fix that broken hair spray bottle! Most often, it's a sneaky clog in the nozzle causing all the drama.
Time to roll up your sleeves and give that nozzle a good ol' clean! Grab an old toothbrush (or any tiny brush) and gently scrub away the gunk lurking inside. Once you've shown that debris who's boss, reattach the nozzle and give the button a little press. Voila! If all goes well, you're back in the hair-spraying game. If not, don't worry – we've got more solutions coming your way!
Pesky Air Leaks in Your Hair Spray Bottle?
Sometimes, our beloved hair spray bottles develop air leaks, making it impossible for them to build up enough pressure and do their magic. But fear not, we've got a fun way to fix that broken hair spray bottle!
Ready to play detective? Fill your bottle with water, give it a gentle squeeze, and watch for any sneaky bubbles escaping from the bottle. Aha! Found some bubbles? That means you've got an air leak that needs fixing before your hair spray can dazzle again. Time to get that leak patched up and return to your fabulous hair-spraying adventures!
O-Rings & Valves: Time for a Makeover?
Much like us, the O-rings and valves inside our hair spray bottles can get a little tired after being fabulous for so long. And when they're worn out, they might cause some spray malfunctions or even product leaks. But don't worry – we've got a quick fix for that broken hair spray bottle!
These little parts are like the unsung heroes of your bottle, and luckily, they're easy to replace. They're usually held together by screws, which you can unscrew with a trusty screwdriver or pliers if needed. Once you've given them a fresh start, give the button a press and see if your hair spray bottle is back to its sassy self!
Preventive Maintenance for Hair Spray Bottles
To avoid dealing with a broken hair spray bottle in the future, it's essential to practice preventive maintenance. By taking good care of your hair spray bottle and keeping it clean, you can prolong its lifespan and ensure optimal performance. Here are some tips for maintaining your hair spray bottle:
Keep the Nozzle Clean
Regularly cleaning the nozzle is crucial for preventing clogs and buildup. After each use, wipe the nozzle with a clean cloth or tissue to remove any residue. Additionally, consider soaking the nozzle in warm, soapy water and cleaning it with a small brush or pin once a month.
Store the Bottle Upright
Storing your hair spray bottle upright can help prevent leaks and clogs in the tube. This position ensures that the hair spray remains at the bottom of the container, reducing the chances of the liquid entering and clogging the tube.
Avoid Overfilling the Bottle
Filling the hair spray bottle too full can cause pressure issues within the pump mechanism. To prevent this, always leave some space at the top of the container when refilling it.
Inspect the Bottle Regularly
Periodically check your hair spray bottle for any signs of wear or damage. Examine the nozzle, tube, and pump mechanism for any issues that might affect the bottle's performance. Addressing these problems early on can help prevent more significant issues down the line.
Replace Worn or Damaged Components
If you notice any worn or damaged parts during your inspections, replace them promptly. Keeping your hair spray bottle in good working order will extend its life and ensure a consistent spray.
By following these preventive maintenance tips, you can keep your hair spray bottle functioning at its best and avoid the inconvenience of dealing with a broken bottle. A well-maintained hair spray bottle will not only save you time and frustration but also help you achieve the perfect hairstyle every time.
Deciding When It's Time to Replace Your Hair Spray Bottle
While fixing a broken hair spray bottle can save you money and reduce waste, there comes a time when it's more practical to replace the bottle entirely. Knowing when to let go of your old hair spray bottle and invest in a new one is essential for maintaining optimal performance and achieving your desired hairstyle. Here are some factors to consider when deciding whether to repair or replace your hair spray bottle:
Extent of Damage
If the damage to your hair spray bottle is extensive, such as a cracked container or a severely malfunctioning pump mechanism, it might be more cost-effective and efficient to replace the bottle entirely. Repairing significant damage can be time-consuming and may not guarantee a long-lasting solution.
Availability of Replacement Parts
For some hair spray bottles, finding replacement parts can be challenging or expensive. If you're unable to source the necessary components to fix your broken hair spray bottle, it might be more practical to purchase a new one instead.
Age and Performance
Over time, even well-maintained hair spray bottles can lose their effectiveness due to wear and tear. If your hair spray bottle is several years old and you've noticed a decline in its performance, it might be time to invest in a new one.
Cost-Benefit Analysis
When deciding whether to repair or replace your hair spray bottle, consider the cost of fixing the issue versus the price of a new bottle. If the cost of repairs approaches or exceeds the cost of a new bottle, it's probably more economical to replace it.
Environmental Considerations
Finally, consider the environmental impact of your decision. While repairing a broken hair spray bottle can reduce waste, continually replacing worn or damaged parts may have a more significant environmental footprint than investing in a new, more durable bottle.
By considering these factors, you can make an informed decision about whether to fix your broken hair spray bottle or replace it with a new one. Ultimately, the choice will depend on your specific situation, budget, and preferences. No matter which option you choose, maintaining your hair spray bottle and using it correctly will help ensure its longevity and effectiveness in achieving your desired hairstyle.
And there you have it, folks! As we've discovered, fixing a broken hair spray bottle is as easy as pie with our DIY tricks. Whether it's giving the nozzle a good scrub or swapping out tired O-rings and valves, these handy solutions will have your hair spray bottle back in action in no time!
But remember, a little TLC goes a long way. Keep your bottles in tip-top shape with regular maintenance, and don’t forget to replace those valves and O-rings every now and then. With this newfound knowledge, you'll never have to fret about a broken hair spray bottle ruining your fabulous hair day again!
Your quest for the ultimate hair spray bottle has come to an end! We've been busy bees, searching high and low through countless products and reviews to find that one magical bottle that'll make your locks look fabulous all day long. Whether you're a styling whiz or just need a fuss-free spritz, we've got you covered.
So, what are you waiting for? Click the link and grab your perfect hair spray bottle – it's time to bid adieu to settling for anything less than the best!
FAQs on Fixing Your Broken Hair Spray Bottle!
How do you fix a hairspray bottle?
First, check if the nozzle is clogged – simply grab an old toothbrush and gently scrub away any gunk hiding inside. Still no luck? Time to hunt for air leaks! Fill the bottle with water, give it a gentle squeeze, and watch for escaping bubbles. Found some? Patch up that leak, and you'll be good to go. If these tricks don't work, your O-rings and valves might need a makeover. Grab a screwdriver or pliers, replace those tired parts, and voilà! With these playful yet practical solutions, fixing your broken hair spray bottle will be a breeze!
How do spray bottles work?
The star of the show is the nozzle, which has a small hole for the liquid to escape. When you squeeze the trigger, you create pressure inside the bottle, forcing the liquid up through a straw-like tube and out through the nozzle. But wait, there's more! Inside the nozzle, there's a clever little component called a Venturi valve. As the liquid passes through this valve, it mixes with air, transforming it into a fine mist. And voilà! Your spray bottle delivers that perfect spritz every time. With these playful insights into the world of spray bottles, you can appreciate the magic behind each misty burst, helping you achieve those fabulous hair days!
Is there a way to fix a broken spray can nozzle?
To start, check if the nozzle is simply clogged – find a tiny pin or paperclip and gently poke it into the nozzle hole to clear any blockage. If that doesn't work, swap out the troublesome nozzle with one from another spray can (just make sure they're compatible). Remember, sharing is caring! In no time, your spray can will be back in action, spreading joy and color everywhere. With these playful and effective solutions, fixing a broken spray can nozzle has never been more fun!
How do you fix a hairspray nozzle that won't spray?
First, let's give the nozzle a little spa treatment – simply remove it and let it soak in warm, soapy water for a few minutes. After its relaxing bath, use an old toothbrush or cotton swab to gently scrub away any stubborn residue. Pop the nozzle back on, and give it a test spray! If it's still not working, try swapping it with a compatible nozzle from another bottle (because sharing is caring, after all). With these fun and easy fixes, your hair spray nozzle will be back to misting your gorgeous locks in no time!
Why is my spray bottle not spraying?
There could be a few reasons why it's not spraying. First, let's check if the nozzle is clogged – simply remove it and soak it in warm, soapy water for a little spa session. Then, use an old toothbrush or cotton swab to gently scrub away any lingering gunk. Still no luck? The issue might be hiding inside the bottle – inspect the straw-like tube for any kinks or debris, and give it a thorough clean. If all else fails, it's time to play detective and look for leaks around the O-rings and valves. Replace any faulty parts, and your spray bottle should be back to its spritzing glory in no time! With these playful tips, you'll solve the case of the non-spraying bottle and be on your way to fabulous hair days!
How do you open a spray bottle?
Most spray bottles have a twist-open nozzle, so simply grip the base of the nozzle, and give it a gentle turn (usually counter-clockwise) until it clicks into the "open" position. Voilà! If your spray bottle is playing hard to get and refuses to open, try using a cloth or rubber gloves for extra grip. But wait, there's more! Some sneaky spray bottles come with a built-in safety lock – look for a small button or slider near the nozzle, and press or slide it to release the lock. With these playful tips, opening your spray bottle will be as easy as pie, and you'll be ready to spritz your way to fabulous hair days!
How do you clean spray bottles?
First, remove the nozzle and straw-like tube from the bottle. Give the nozzle a luxurious soak in warm, soapy water for a few minutes, then use an old toothbrush or cotton swab to gently scrub away any residue. For the straw-like tube, use a thin, flexible brush or pipe cleaner to reach inside and banish any hidden gunk. Now, let's pamper the bottle itself – fill it halfway with warm, soapy water, screw the nozzle back on, and give it a few vigorous shakes. Finally, spray out the soapy solution until it runs clear, and you're done! With these easy and fun cleaning hacks, your spray bottle will be squeaky clean and ready to help you achieve those fabulous hair days!