Ah, bronzer - the makeup world's secret weapon to achieving that coveted sun-kissed glow without risking a sunburn. But if you've ever witnessed the dreaded "oompa loompa" look or the unfortunate muddy streaks, you know that applying bronzer can be a tricky business. Fear not, my fellow glow-getters, for we have cracked the code on how to apply bronzer flawlessly! In this article, we'll spill the beans on techniques, tools, and shades that will transform you into a bronzed goddess in no time. So, buckle up and get ready to bask in the golden light of bronzer wisdom. No more "what the heck happened?" moments – just pure, radiant confidence!
Bronzer is like the cherry on top of your makeup sundae, adding that extra oomph of color and dimension to your look. With a whole world of bronzers out there, you're spoiled for choice! From matte bronzers giving you that natural sun-kissed glow, to shimmering bronzers that enhance your features and neutralize undertones, and even cream bronzers for some long-lasting hydration and radiance – there's something for everyone. So, whether you're after a subtle touch or a dramatic effect, get ready to find your perfect bronzer match and let the fun begin!
Exploring the World of Bronzers: Powder, Cream, and Liquid
When it comes to applying bronzer, knowing your options can make all the difference in achieving a flawless, sun-kissed glow. There are three main types of bronzers: powder, cream, and liquid. Each type has its own unique benefits and application techniques, so let's dive into the world of bronzers and find the perfect one for you.
Powder Bronzers: The Classic Choice
Powder bronzers are probably the most popular and widely used form of bronzer. They come in a variety of shades and finishes, from matte to shimmery, making it easy to find a powder bronzer that suits your skin tone and desired look.
Applying powder bronzer is simple and straightforward. You'll need a fluffy, angled brush to apply the product evenly and blend it seamlessly into your skin. Just remember to tap off any excess product before applying it to your face to avoid a heavy or streaky finish.
Powder bronzers are great for those with oily or combination skin, as they tend to have better oil-absorbing properties and can help set your makeup in place.
Cream Bronzers: A Dream for Dry Skin
Cream bronzers are gaining popularity due to their blendable, buildable nature. They typically come in a compact or stick form and are perfect for those with dry or mature skin, as they provide a more hydrating and natural finish.
To apply cream bronzer, use your fingers or a dense, synthetic brush to gently dab the product onto your skin. Then, blend it out using small, circular motions. Cream bronzers can be layered for a more intense bronze, but be sure to give each layer time to set before adding more product.
Liquid Bronzers: The Versatile Option
Liquid bronzers offer a unique, customizable approach to bronzing. They can be mixed with your foundation or moisturizer for an all-over glow, or applied directly onto the skin for more targeted bronzing.
To apply liquid bronzer, use a small stippling brush or your fingers to dab the product onto your skin. Blend it out using gentle patting motions, being careful not to disturb any makeup underneath. Liquid bronzers are ideal for those who want a luminous, dewy finish.
Understanding the different types of bronzers and their unique benefits is key to mastering the art of applying bronzer. Whether you prefer the classic powder, the hydrating cream, or the versatile liquid, there's a bronzer out there for everyone. Experiment with different formulas to find the one that works best for your skin type and desired look.
Pick The Right Formula
Ready to apply bronzer like a makeup maestro? The journey starts with finding that perfect formula tailored to your skin type. For all you lovely dry-skinned folks out there, it's time to embrace a hydrating liquid or cream bronzer. These magical potions will not only quench your skin's thirst but also create a natural-looking glow, making sure those pesky dry patches stay hidden away.
Now, to our fabulous friends with oily skin, let us introduce you to your new beauty BFF: powder bronzer. This trusty sidekick is here to help you keep shine at bay and ensure your makeup stays put all day long, no matter what life throws your way. With the right bronzer formula in hand, you'll be ready to conquer the world, one beautifully bronzed cheek at a time! So go ahead, explore your options, and let your bronzer adventure begin!
Choose The Right Shade
Guess what? Not all bronzers are made equal, and it's time to find your perfect match! When on the hunt for that ideal shade, look for one that's like your natural skin tone's long-lost twin. Going too dark is a no-no; it'll leave your bronzer looking fake and muddy – yikes!
Here's a fun way to test your potential bronzer BFF: swatch it on your jawline and blend away. If it's too light, it'll vanish into thin air. Too dark? Well, everyone will know you're wearing bronzer, and we definitely don't want that. The winning shade will blend seamlessly into your skin, creating a gorgeous, natural-looking finish that'll make you feel like a bronzed goddess! Let the bronzer shade game begin!
Prepping Your Skin: The Foundation for Flawless Bronzer Application
Before you apply bronzer, it's essential to prepare your skin to ensure a smooth, even, and long-lasting finish. Proper skin preparation not only helps the bronzer blend seamlessly but also prevents it from looking patchy or cakey. Let's walk through the steps you should take before applying bronzer for the perfect sun-kissed glow.
Step 1: Cleanse and Exfoliate
Starting with clean, fresh skin is crucial for any makeup application, and bronzer is no exception. Make sure to cleanse your face thoroughly to remove any dirt, oil, or makeup residue. If needed, use a gentle exfoliator to slough away any dead skin cells that could make your bronzer appear uneven or patchy.
Step 2: Moisturize and Prime
Hydrated skin is the key to a flawless makeup base, so don't skip this step! Apply a moisturizer suited to your skin type, allowing it to fully absorb before moving on to the next step. If you have oily skin, opt for an oil-free, lightweight moisturizer to prevent excess shine.
Using a primer is another important step in preparing your skin for bronzer application. Primers help create a smooth canvas for your makeup, filling in pores and fine lines. They also extend the wear time of your makeup, ensuring your bronzer stays put throughout the day.
Step 3: Apply Foundation and Concealer
Before you apply bronzer, make sure to apply your foundation and concealer. This creates an even base for the bronzer and allows you to see where natural shadows fall on your face, making it easier to apply the bronzer in the most flattering way.
Remember to set your foundation and concealer with a light dusting of translucent powder, especially if you're using a powder bronzer. This will help the bronzer blend more easily and prevent it from clinging to any wet or tacky areas on your face.
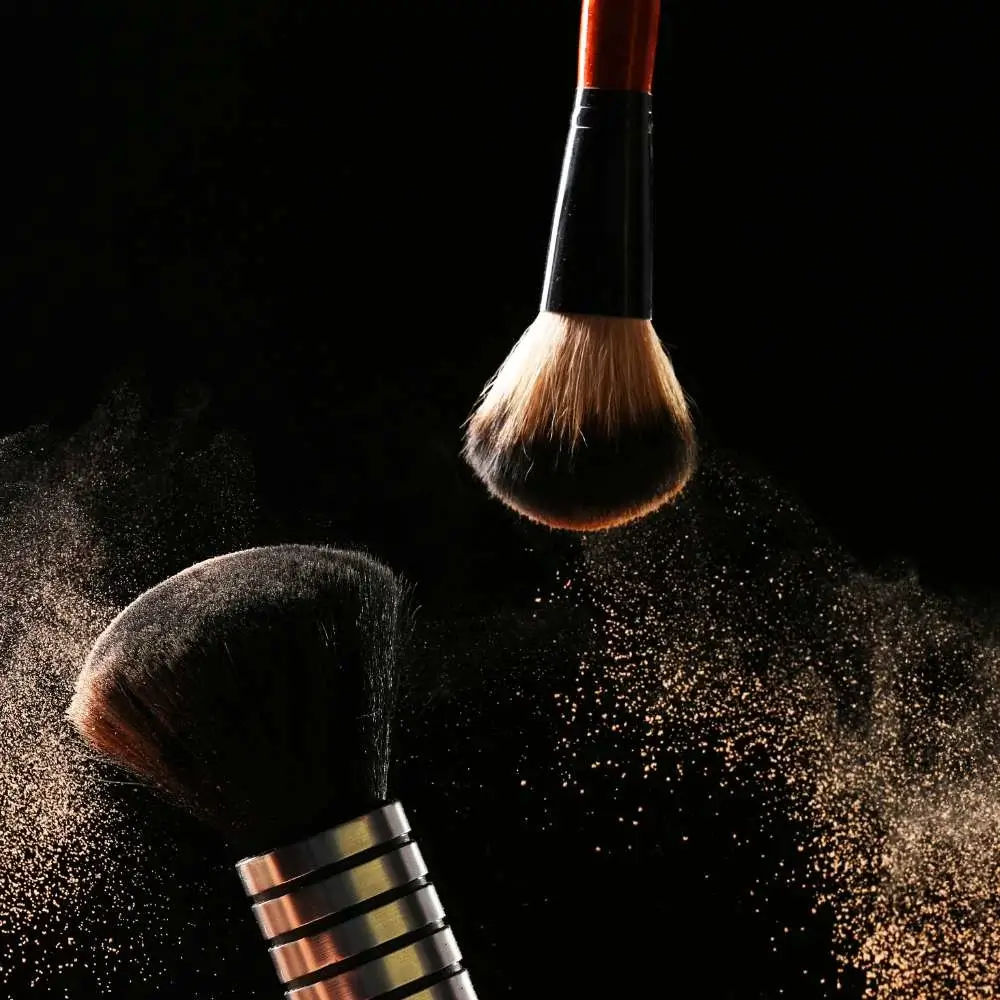
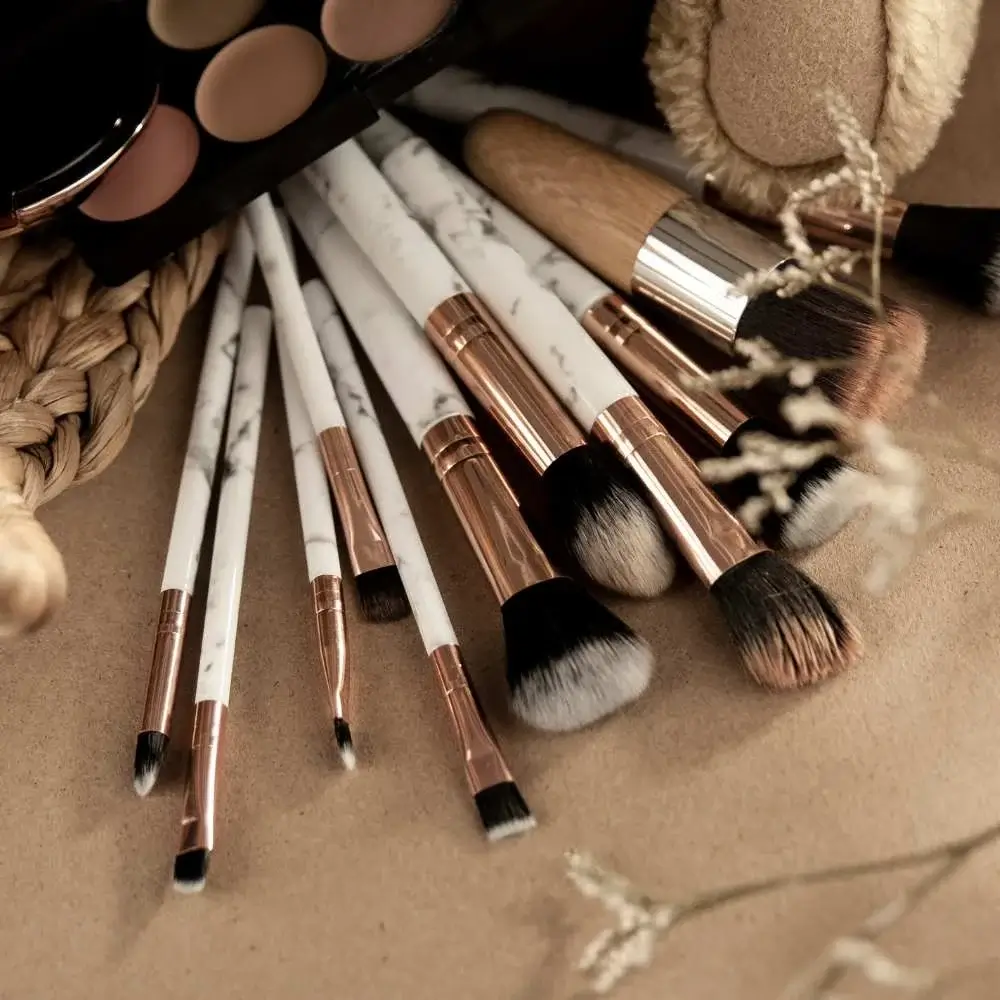
Step 4: Gather Your Tools
Having the right tools is essential for applying bronzer flawlessly. Choose a brush that's specifically designed for bronzer application – typically, this means a fluffy, angled brush that allows for precise placement and easy blending. If you're using a cream or liquid bronzer, you may prefer a dense, synthetic brush or even your fingers for blending.
Now that your skin is prepped and ready, you can confidently apply bronzer knowing that you've set the stage for a smooth, even, and radiant finish. By taking the time to properly prepare your skin, you'll be well on your way to mastering the art of applying bronzer like a pro.
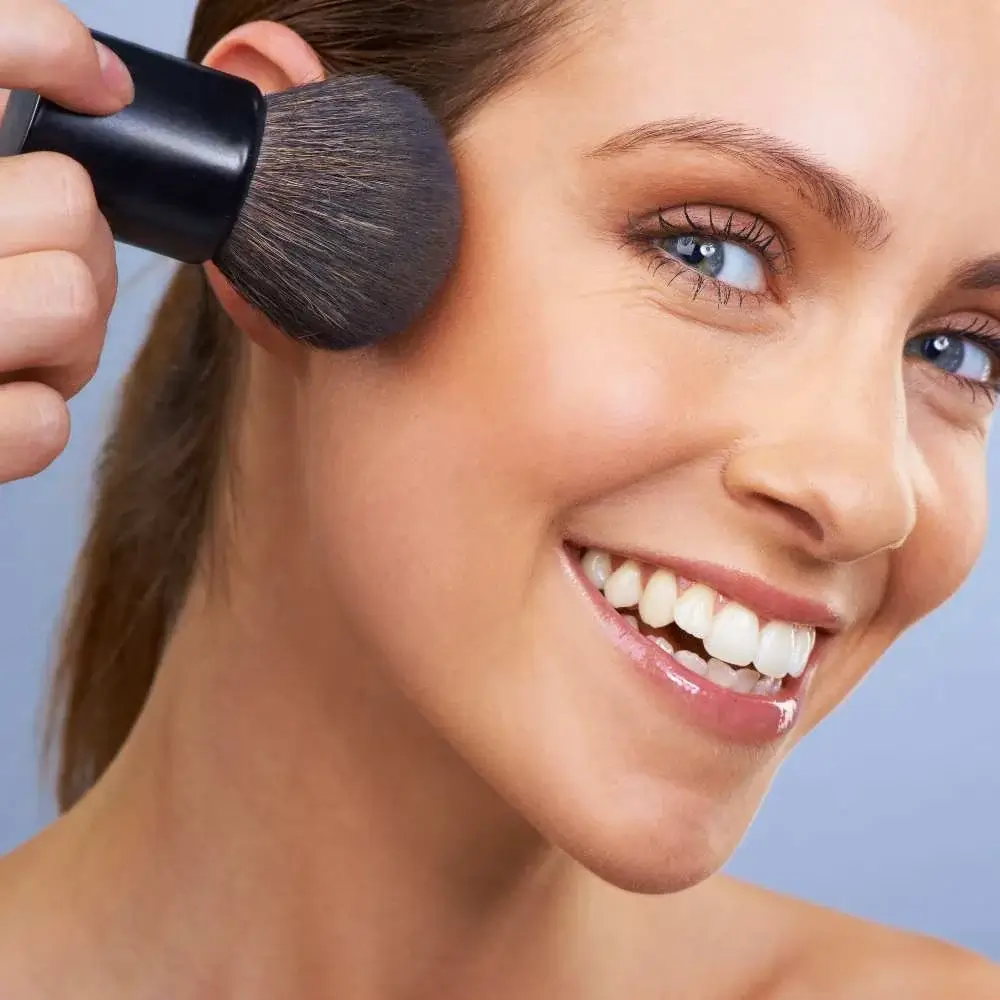
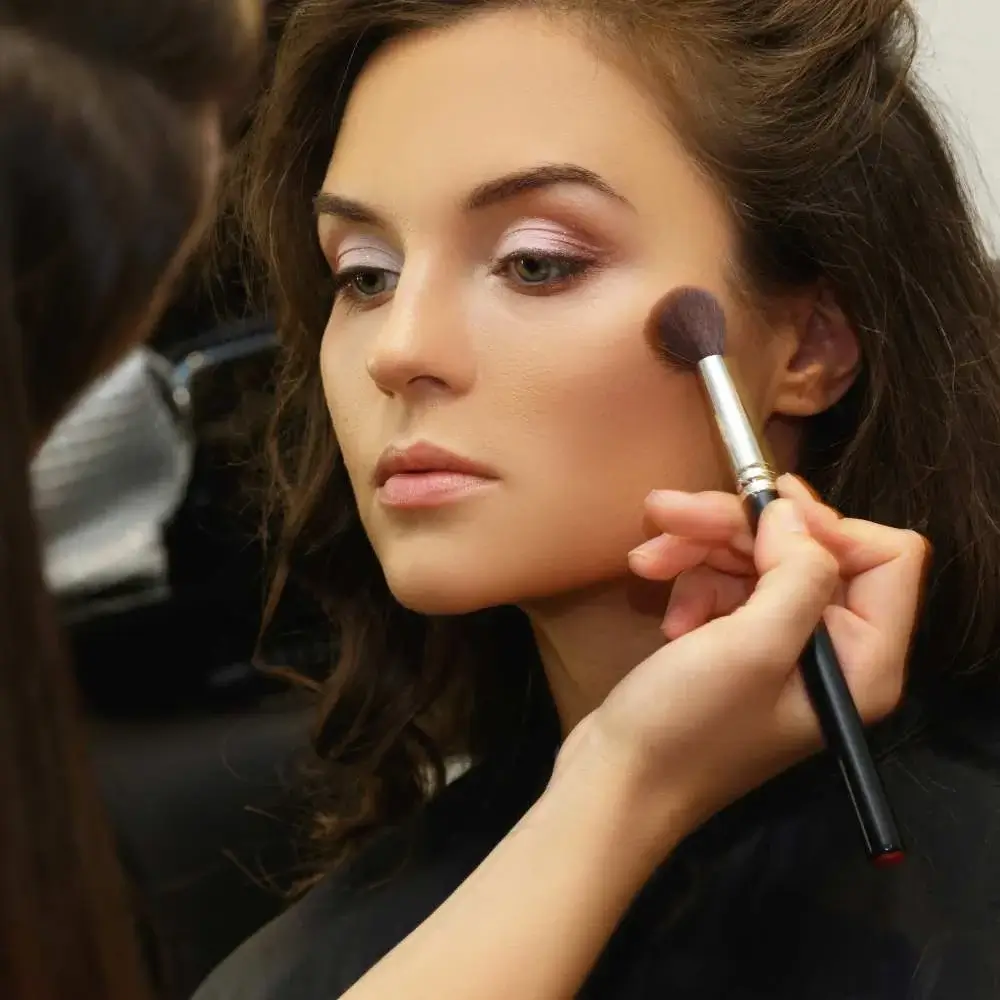
It's Brush Time: The Secret to Flawless Bronzer Application!
Some folks might think using their hands to apply bronzer is the way to go, but trust us, that's a one-way ticket to dirty hands and streaky face city! Instead, let a big, fluffy brush be your bronzer buddy.
Start by sweeping the brush across your forehead, cheeks, and nose like a pro. Next, use circular motions to blend that gorgeous bronzer into your skin. Just make sure to blend well, so you don't end up with any harsh lines – we're going for flawless here!
Tailoring Your Bronzer Application: A Guide for Different Face Shapes
When it comes to applying bronzer, understanding your face shape is key to achieving a flattering and natural-looking result. Each face shape has unique features that can be enhanced or balanced with the strategic application of bronzer. Let's explore how to apply bronzer on different face shapes for a customized, beautiful glow.
Oval Face Shape
Oval faces are considered the most balanced and symmetrical, with a slightly wider forehead, gently rounded jawline, and cheekbones as the widest part of the face. To apply bronzer on an oval face, focus on the perimeter of the face, sweeping the bronzer along the hairline, temples, and just below the cheekbones in a "3" shape. This will add warmth and dimension without altering the natural balance of the face.
Round Face Shape
Round faces have full cheeks and a rounded jawline, with the width and length of the face being almost equal. To apply bronzer on a round face, concentrate on the outer edges of the face, working in a "3" shape from the temples to the hollows of the cheeks, and finishing along the jawline. This technique helps create more definition and elongate the appearance of the face.
Square Face Shape
Square faces have a strong, angular jawline and a broad forehead, with the width of the face being similar to its length. To apply bronzer on a square face, sweep the product along the hairline, focusing on the corners of the forehead, and then along the jawline. This will help soften the angles of the face and create a more balanced appearance.
Heart Face Shape
Heart-shaped faces have a wider forehead, high cheekbones, and a narrow, pointed chin. To apply bronzer on a heart face, start by applying the product around the hairline and temples, then move to the hollows of the cheeks, and finish with a light dusting along the jawline. This technique will help balance the proportions of the face and create a more harmonious look.
Long Face Shape
Long faces have a more elongated appearance, with the length of the face being greater than its width. To apply bronzer on a long face, focus on the temples and the jawline, connecting the two areas with a sweep of bronzer just below the cheekbones. This will help add width to the face and create a more balanced appearance.
Understanding your face shape is essential for achieving a customized and flattering bronzer application. By following these tailored techniques for each face shape, you'll be well on your way to mastering the art of applying bronzer like a pro and enhancing your natural beauty.
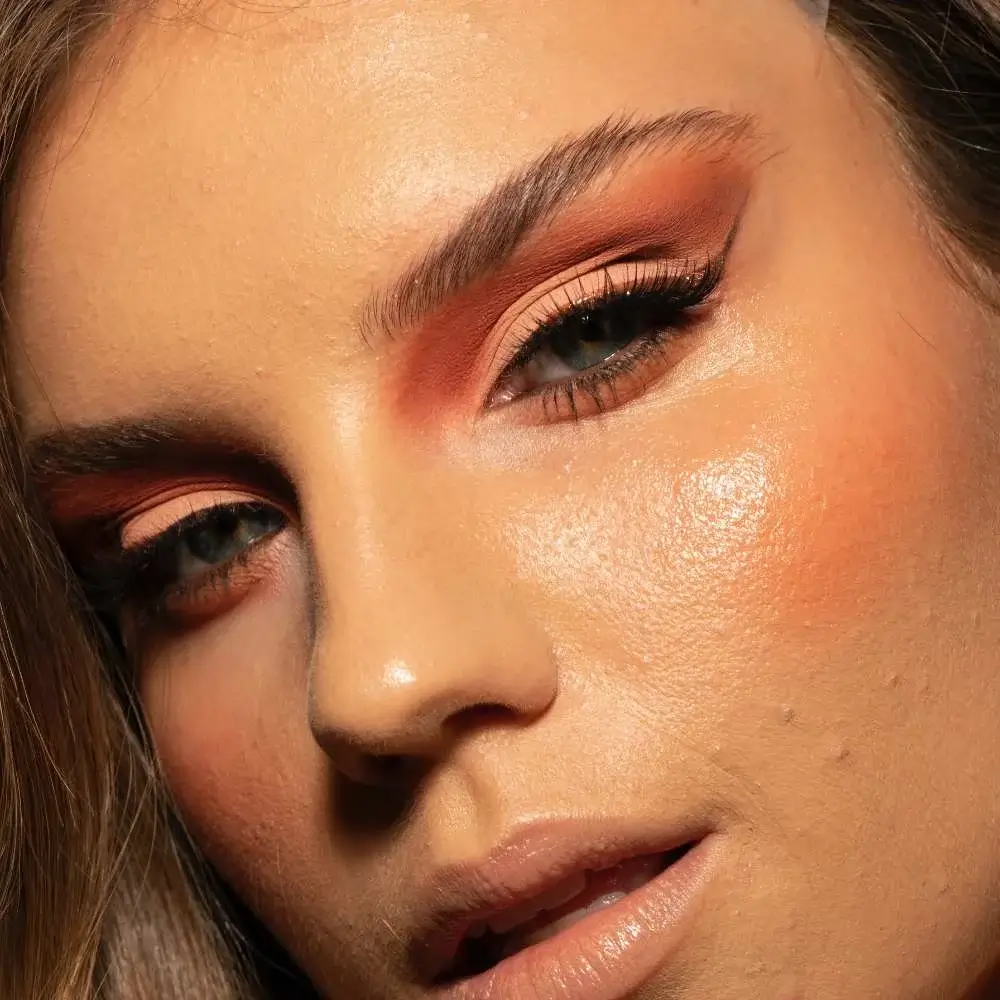
The Art of Blending: Achieving a Natural, Sun-Kissed Look with Bronzer
When it comes to applying bronzer, blending is the secret to creating a natural, sun-kissed appearance. Proper blending ensures that the bronzer seamlessly integrates with your skin and other makeup, avoiding any harsh lines or patches. Let's explore the techniques and tips for blending bronzer like a pro and achieving that coveted, radiant glow.
The Importance of Blending
Blending is essential for making your bronzer look like a natural part of your complexion rather than an obvious addition. By blending the product well, you create a smooth transition between the bronzed areas and the rest of your face, resulting in a more polished and cohesive makeup look.
Technique 1: Circular Motions
One effective technique for blending bronzer is to use small, circular motions with your brush. This helps distribute the product evenly across your skin and ensures a smooth, seamless finish. Start at the outer edges of the bronzer application and work your way inwards, focusing on the areas where the bronzer meets your natural skin tone.
Technique 2: Sweeping Motions
Another blending technique involves using soft, sweeping motions with your brush. This method is particularly useful when blending bronzer along the hairline, jawline, and cheekbones. Gently sweep your brush back and forth, following the natural contours of your face. This will help diffuse the bronzer and create a more subtle, blended effect.
Technique 3: Tapping and Pressing
If you're using a cream or liquid bronzer, tapping and pressing motions can be more effective than traditional blending techniques. Use your fingers or a dense, synthetic brush to gently tap and press the product into your skin, focusing on the edges to create a seamless transition between the bronzer and your natural skin tone.
Additional Tips for Blending Bronzer
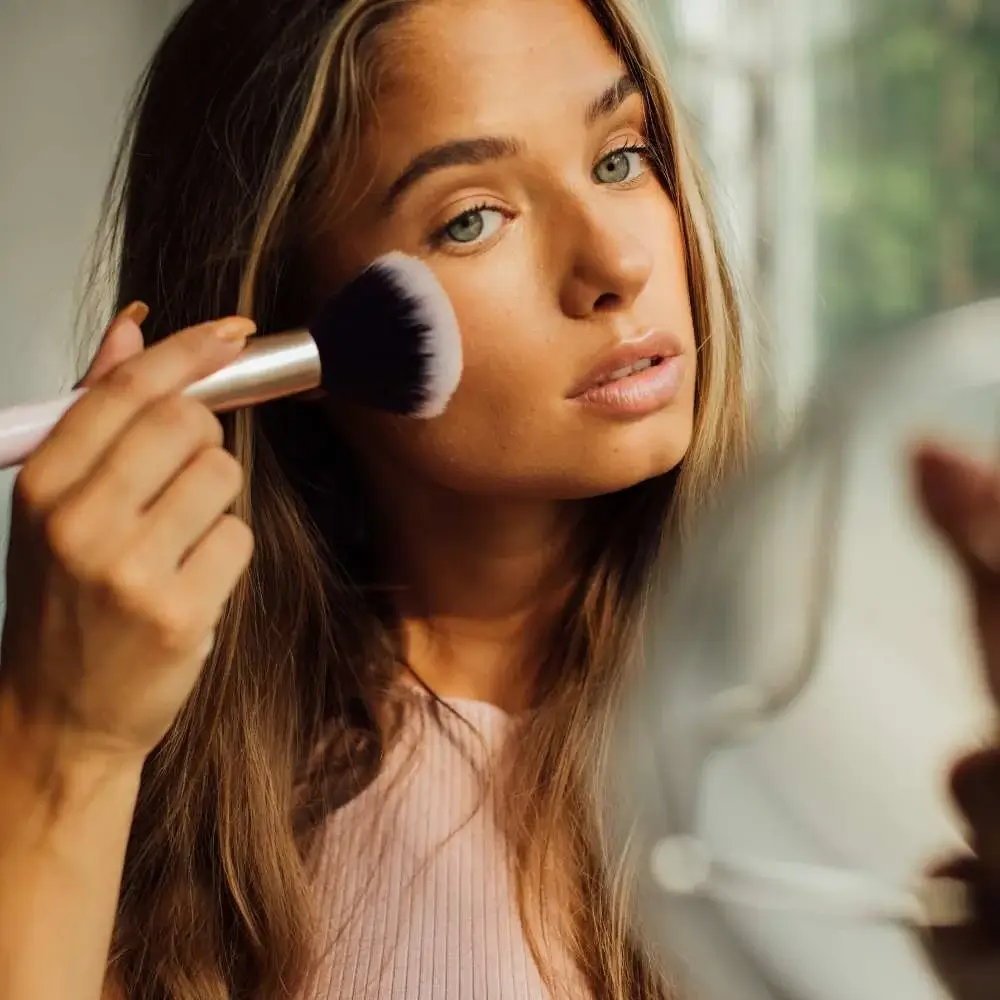
- Choose the right tools: A fluffy, angled brush is ideal for powder bronzers, while a dense, synthetic brush or your fingers work best for cream or liquid formulas.
- Start with a small amount of product: Less is more when it comes to bronzer. Begin with a light layer and build up the intensity as needed.
- Blend other makeup products: To create a cohesive look, make sure to blend any blush, highlighter, or contour products with your bronzer for a seamless finish.
By mastering these blending techniques and tips, you'll be well on your way to applying bronzer like a pro, achieving a natural, sun-kissed look that enhances your features and leaves you looking radiant and glowing.
Tips for Avoiding Common Mistakes
Applying bronzer can be a fantastic way to add warmth, dimension, and a sun-kissed glow to your complexion. However, it's easy to make mistakes that can leave your makeup looking less than perfect. To help you apply bronzer like a pro, let's explore some common bronzer mistakes and how to avoid them.
Tip 1: Choose the Right Shade
As mentioned earlier, selecting the right bronzer shade for your skin tone is crucial for a natural and flattering result. Avoid bronzers that are too dark or orange, as they can look muddy or unnatural. Instead, opt for a shade that's only one or two shades darker than your natural skin tone and complements your undertone.
Tip 2: Use the Right Brush
The right brush can make a world of difference when applying bronzer. A fluffy, angled brush is ideal for powder bronzers, while a dense, synthetic brush or your fingers work best for cream or liquid formulas. Using the appropriate brush will ensure an even, well-blended application.
Tip 3: Apply with a Light Hand
Less is more when it comes to bronzer. Start with a small amount of product and build up gradually to avoid heavy or streaky application. Tap off any excess product from your brush before applying to your face, and remember that you can always add more if needed.
Tip 4: Blend, Blend, Blend
Blending is key to achieving a seamless, natural-looking bronzer application. Make sure to blend the product well into your skin, focusing on the edges to avoid any harsh lines or patches. Don't forget to blend your bronzer into your hairline, neck, and ears for a cohesive and polished look.
Tip 5: Know Where to Apply
Applying bronzer in the right areas can make a significant difference in the overall appearance of your makeup. As a general rule, focus on the areas where the sun would naturally hit your face: the forehead, cheekbones, and jawline. For a more contoured look, apply bronzer in the hollows of your cheeks and along the sides of your nose.
Tip 6: Don't Forget to Set
If you're using a cream or liquid bronzer, remember to set it with a light dusting of translucent powder to prevent it from moving or fading throughout the day. This step is especially important for those with oily or combination skin, as it will help keep your bronzer in place and looking fresh.
By keeping these tips in mind and avoiding common bronzer mistakes, you'll be well on your way to achieving a beautiful, sun-kissed glow that enhances your natural features and leaves you looking radiant and polished. Happy bronzing!
As our bronzer adventure concludes, let's recap the essentials for perfect bronzer application. First, find your ideal formula and shade for your skin type. Next, master blending techniques to achieve a natural, sun-kissed look. Finally, use a big, fluffy brush for flawless application.
With these tips in hand, you're ready to apply bronzer like a pro and enjoy a radiant, glowing complexion. Embrace your new skills and let your inner bronzed goddess shine!
Golden Glow Guidance: FAQs about Mastering the Art of Applying Bronzer
What is the correct way to apply bronzer for a natural look?
The secret lies in a few simple steps. First, grab your trusty big, fluffy brush and give it a gentle swirl in your perfectly-matched bronzer. Then, imagine a "3" shape on each side of your face – starting from your forehead, curving along your cheekbones, and finishing at your jawline. Lightly sweep the brush along this path, making sure to blend well. Voilà! You've just mastered the art of applying bronzer for a natural, sun-kissed glow that'll make you feel like a radiant goddess all day long!
Which brush should I use to apply bronzer?
To achieve that flawless, sun-kissed glow, you'll want to enlist the help of a big, fluffy brush with soft bristles. The ideal bronzer brush should be large enough to cover your cheekbones and forehead with ease, while also being gentle on your skin. Look for brushes with a slightly tapered or angled shape, as they're perfect for sculpting and blending your bronzer like a true makeup maestro. So, go ahead and find your ultimate bronzer brush – your radiant complexion will thank you!
Should I apply bronzer or blush first?
Start by applying bronzer to create a natural, sun-kissed base. Imagine sculpting a "3" shape on each side of your face, starting from your forehead, curving along your cheekbones, and finishing at your jawline. Once you've got that bronzed glow, it's time to add a pop of color with blush! Apply it to the apples of your cheeks, blending outwards for a seamless finish. This dynamic duo will work together to give you a radiant, perfectly-sculpted complexion that's sure to turn heads!
How do I choose the right bronzer shade for my skin tone?
To find your perfect bronzer match, consider your skin's undertone. If you have cool undertones, opt for a bronzer with a subtle rosy hue. For warm undertones, go for a golden or warm-toned bronzer. And if you're blessed with neutral undertones, you have a bit more flexibility – just make sure to avoid anything too orange or pink. As a rule of thumb, pick a bronzer that's only one or two shades darker than your natural skin tone. With these tips in mind, you're ready to discover the bronzer shade that'll make you glow like a sun-kissed goddess!
Can I use bronzer all over my face?
Oh, the temptation to douse your entire face in bronzer for that all-over sunkissed look! But, hold on a minute – let's talk about the best way to achieve that radiant glow. While it's true that bronzer can work magic on your complexion, using it all over your face might lead to an unnatural, muddy appearance. Instead, focus on applying bronzer where the sun would naturally hit: your forehead, cheekbones, and jawline. Remember our trusty "3" shape technique? That's exactly what you need! By strategically placing bronzer on these areas, you'll create a beautiful, naturally-tanned effect that'll make you feel like a bronzed goddess without going overboard!
How can I use bronzer to create a sun-kissed look?
To achieve that dreamy, just-back-from-the-beach look, start by selecting a bronzer shade that's one or two shades darker than your natural skin tone. Now, grab your favorite big, fluffy brush and gently swirl it in the bronzer. Tap off any excess, and let the magic begin! Lightly sweep the brush along the "3" shape on each side of your face – starting from your forehead, curving along your cheekbones, and finishing at your jawline. Blend well for a seamless finish, and don't forget to add a touch of bronzer to your nose for that extra sun-kissed touch. Voilà! You've just mastered the art of creating a radiant, sun-kissed look with bronzer. Time to soak up the compliments!
What is the best technique to blend bronzer?
The key to a seamless, natural-looking bronze is all in the blending technique. Start by choosing a big, fluffy brush with soft bristles – it's your ultimate blending buddy! After applying the bronzer using our fabulous "3" shape method (forehead, cheekbones, and jawline), it's time to get your blend on. Use gentle, circular motions, working from the center of your face outward. Be sure to pay extra attention to the edges, ensuring there are no harsh lines or visible streaks. And remember, less is more – build up the color gradually for a truly flawless, sun-kissed finish. Now, go forth and blend your way to bronzed perfection!
Read our article about best makeup sponges here!
Read our article about best concealer for mature skin here!
Read our article about best concealer brush on the market here!