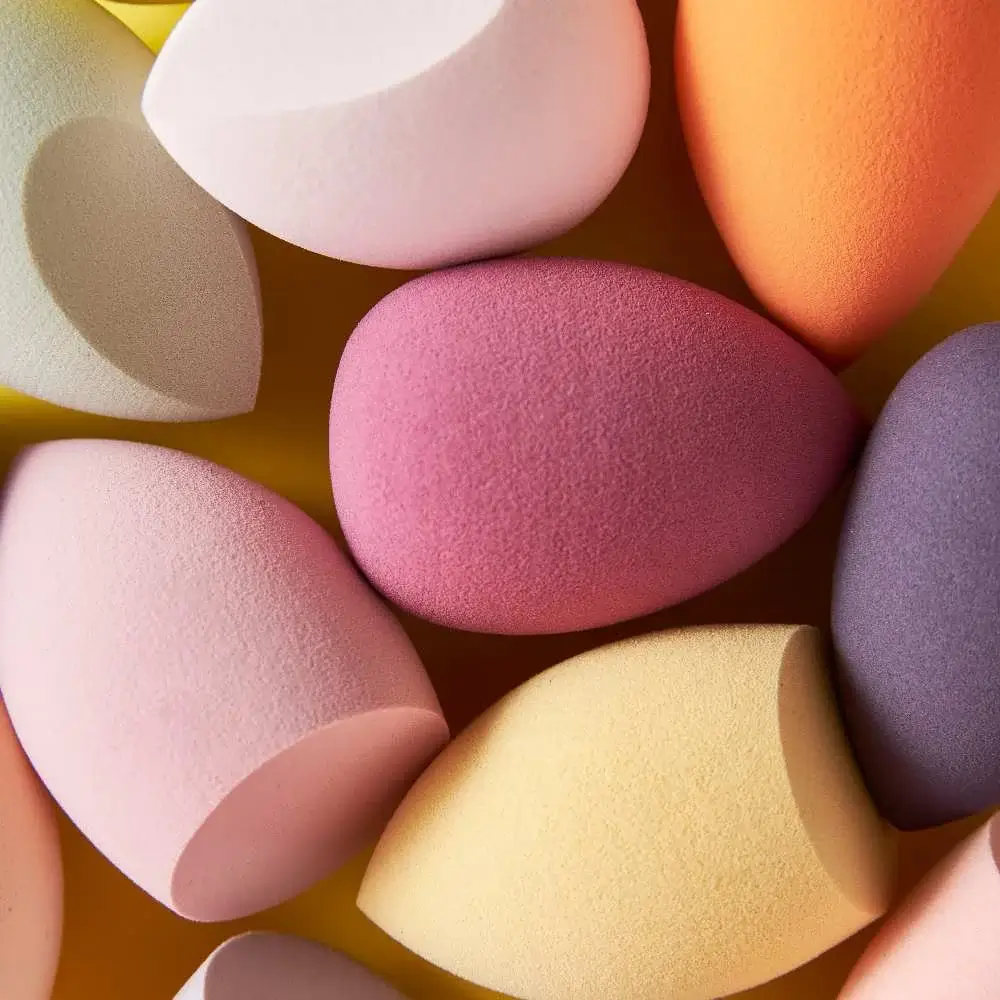
Ladies and gentlemen, gather 'round the vanity, for we are about to embark on a whimsical journey into the magical world of makeup sponges! These colorful little squishy wonders have revolutionized the way we apply makeup, turning our faces into flawless works of art. But what is it that makes makeup sponges so enchanting? In this article, we'll be lifting the veil on these bouncy beauty tools, revealing their mystical secrets, and offering tips on how to achieve complexion perfection. So buckle up your beauty belts and get ready to dive into the soft, pillowy universe of makeup sponges - where blending is a breeze and the cakey foundation is a thing of the past. Stay tuned, because there's a whole lot more to these adorable applicators than meets the eye!

Fabulous Overview of Makeup Sponge Magic
Hey, beauty lovers! Are you still applying your foundation, CC cream, and concealer without a makeup sponge? If so, let us introduce you to your new best friend. A trusty makeup sponge will help you achieve that airbrushed, flawless finish we all crave. So, let's dive into the wonderful world of makeup sponges and how they can elevate your makeup game!
What's the Deal with Makeup Sponges?
Makeup sponges are cute, little porous buddies designed to apply and blend your favorite facial products. They usually come in an egg shape, featuring a pointed tip and a rounded bottom. The pointy end is perfect for those hard-to-reach spots like inner eye corners and cheekbone contours, while the round side effortlessly blends products on larger areas like your forehead and cheeks.
Makeup Sponge Magic: How to Use
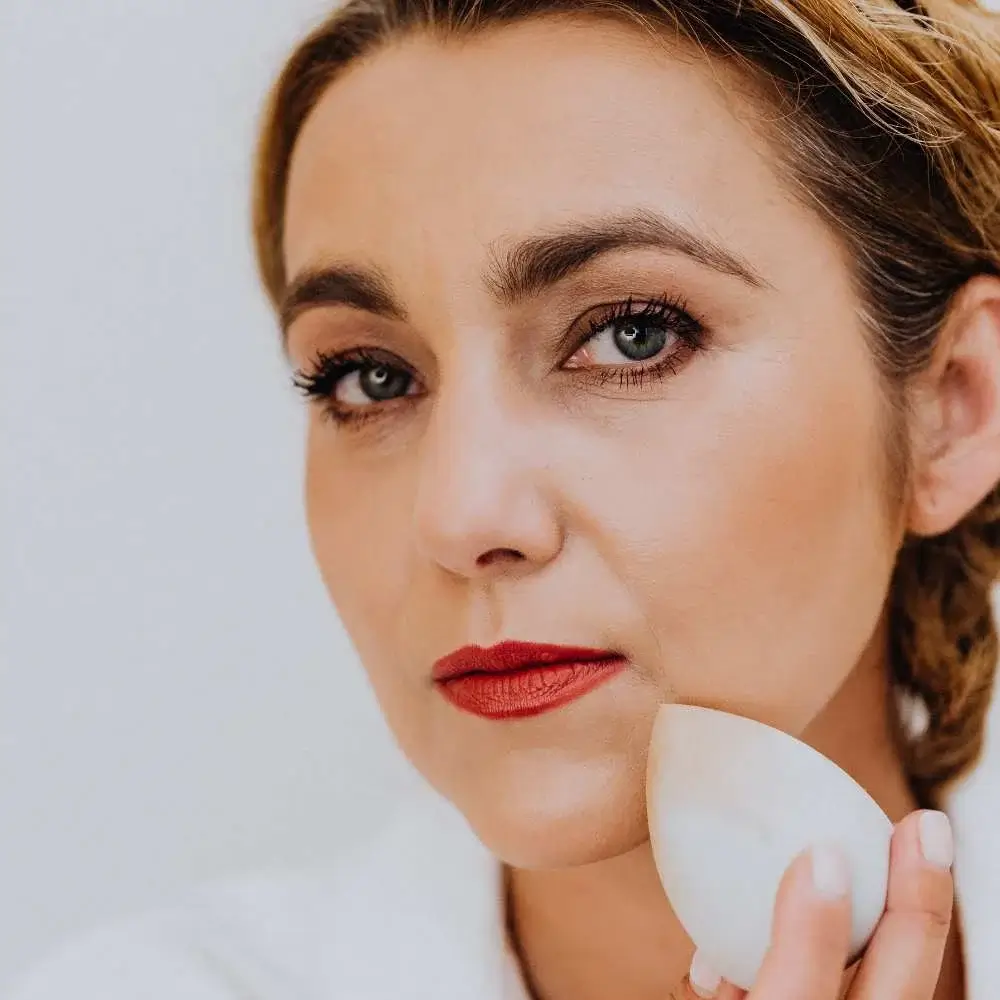
Unleashing the magic of a makeup sponge is easy-peasy. First, wet your sponge and give it a gentle squeeze to remove excess water. Pick up some product with your damp sponge, dab it onto your face where needed, and then blend away using gentle patting motions. Remember, rubbing or scrubbing is a no-no – we don't want to upset our skin!
After you've achieved your flawless look, simply rinse your sponge with water and soap, and let it air dry. For extra cleanliness, use a disinfectant spray specifically designed for beauty tools. Some sponges even come with cute cases or stand for proper drying between uses.
Why You Need a Makeup Sponge in Your Life
A makeup sponge is your ultimate ally for achieving a seamless, professional finish without spending endless hours in front of the mirror. With just a few dabs, you'll apply and blend foundation, CC cream, and concealer, and more like a true expert! Plus, they're super easy to clean – just remember to let them dry thoroughly between uses.
So, whether you're a makeup newbie or a seasoned pro, one thing is clear: a good makeup sponge is a must-have for creating flawless and perfectly blended looks. If you haven't checked out our roundup of the best makeup sponges on the market yet, now's the time! Don't miss out on this fabulous collection handpicked just for you. Your skin will thank you!
Ready to take your beauty game to the next level? Click the link above to explore our amazing makeup sponges and unlock the secret to perfect makeup looks.
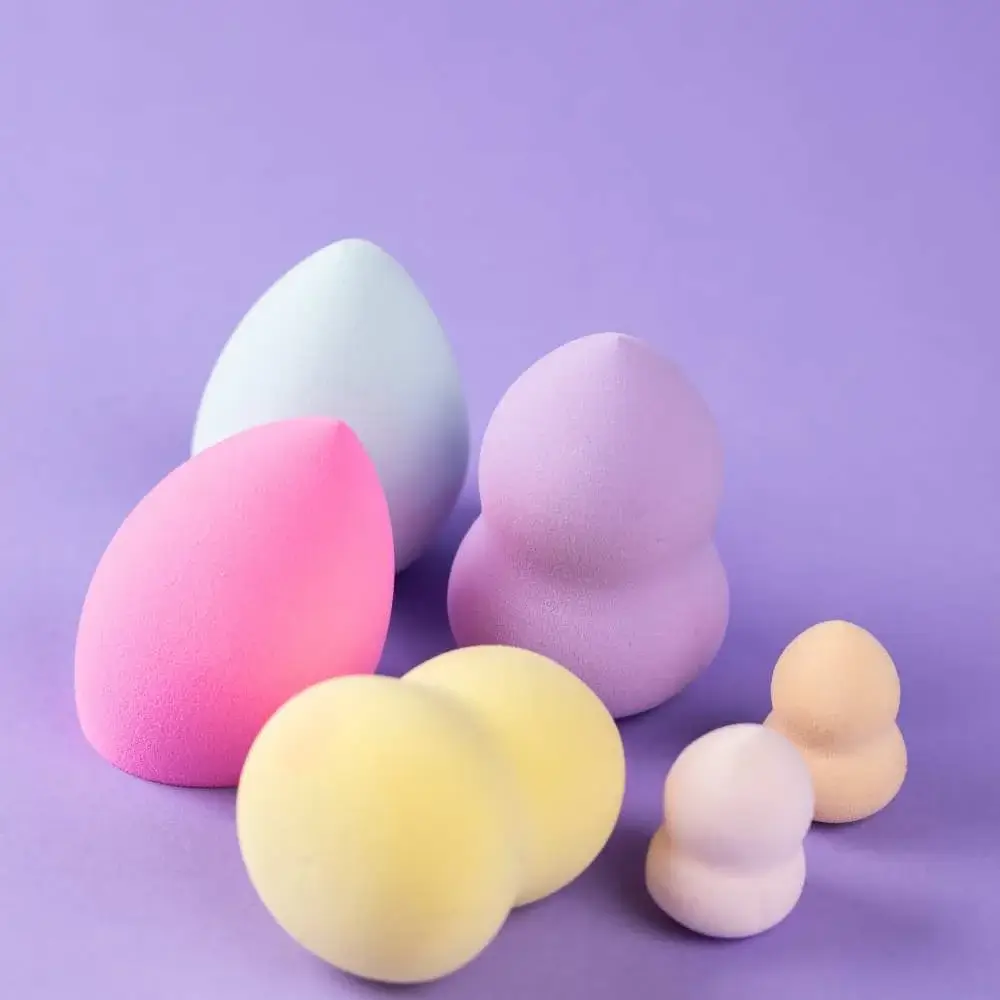
The Versatility of Makeup Sponges: Exploring Shapes and Uses
You might have heard people rave about makeup sponges and their ability to create a flawless, airbrushed look. But did you know that these nifty little tools come in various shapes and sizes, each designed to cater to specific makeup application needs? Let's dive into the world of makeup sponges and explore the different shapes and their uses.
The Classic Teardrop Sponge
The teardrop-shaped makeup sponge is probably the most iconic and recognizable of them all. Its popularity soared with the launch of Beautyblender, and now it's a staple in makeup bags worldwide.
The rounded bottom of this sponge is perfect for applying and blending foundation on larger areas of the face, such as the cheeks and forehead. The tapered tip, on the other hand, allows for precise application in hard-to-reach areas like the corners of the nose and under the eyes.
The Flat-Edged Sponge
Another popular shape in the world of makeup sponges is the flat-edged sponge. This multi-tasking tool features a flat side that's ideal for applying liquid or cream products like foundation, contour, and highlighter.
The flat edge enables you to create sharp lines, making it perfect for chiseling out cheekbones or sculpting the jawline. Additionally, the opposite rounded side can be used for blending out any harsh lines or excess product, ensuring a seamless finish.
The Dual-Ended Sponge
For those who love a good 2-in-1, the dual-ended makeup sponge is a game-changer. One end of this sponge boasts a teardrop shape, while the other features a flat edge. This unique design offers the best of both worlds, allowing you to apply, blend, and sculpt your makeup with just one tool.
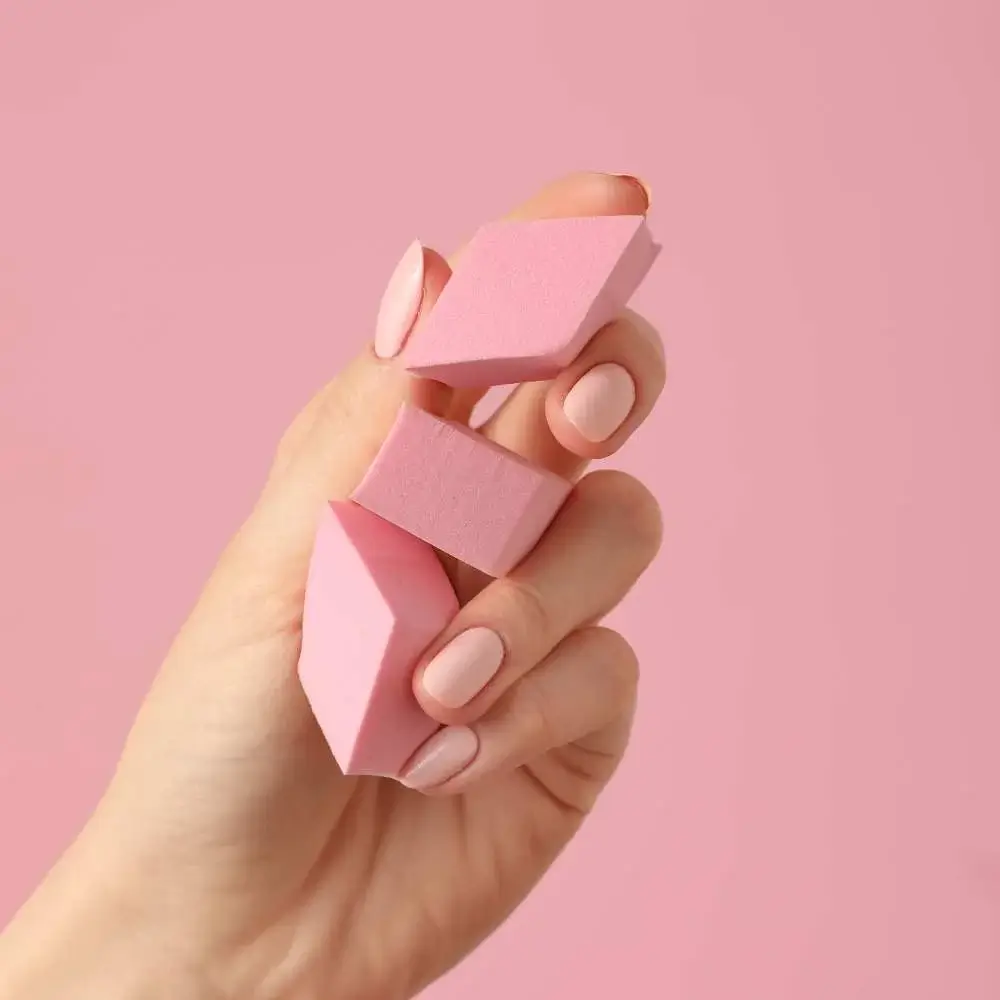
The Micro Mini Sponge
Don't let the small size of these makeup sponges fool you – they pack a punch when it comes to precision application. Micro mini sponges are ideal for applying concealer, color corrector, or highlighter in tight spaces like the inner corners of the eyes or around the nostrils.
These tiny sponges can also be used to clean up any makeup mistakes, such as smudged eyeliner or lipstick that has strayed outside the lip line.
The Hourglass Sponge
The hourglass-shaped makeup sponge is designed for those who love a good contour and highlight. The curved middle section fits perfectly into the hollows of your cheeks, making it easy to apply and blend contour products.
Meanwhile, the rounded top and bottom sections of the sponge can be used for applying and blending out highlighter, ensuring an even and radiant glow.
The Silicone Sponge
Last but not least, we have the silicone makeup sponge. Unlike its foam counterparts, this sponge is made from a flexible, non-porous material that doesn't absorb the product. This means you'll get more bang for your buck when it comes to product usage.
The smooth surface of the silicone sponge allows for easy application and blending of liquid or cream products, although it may require a bit more effort to achieve a seamless finish compared to traditional foam sponges.
Now that you know the different shapes and uses of makeup sponges, you can choose the perfect one for your needs and create a flawless, photo-ready look every time. So, go ahead and experiment with these versatile tools to elevate your makeup game!
Choosing the Perfect Makeup Sponge for Your Beauty Routine
Makeup sponges have become a staple in the beauty industry and for good reason. They help create a flawless, airbrushed finish that's difficult to achieve with brushes or fingers alone. But with so many options on the market, how do you select the best makeup sponge for your needs? Let's take a closer look at some factors to consider when choosing the perfect makeup sponge for you.
Material Matters
When it comes to makeup sponges, there are two primary materials to choose from: foam and silicone.
Foam sponges are the most common and popular choice, as they're soft, bouncy, and can be used wet or dry. Using a damp foam sponge helps sheer out the foundation, allowing for a more natural finish. On the downside, foam sponges tend to absorb product, which can lead to waste.
Silicone sponges, on the other hand, are non-porous and don't absorb the product. This means you'll use less makeup, making them more economical in the long run. However, they may require a bit more effort to blend products seamlessly compared to foam sponges.
Consider your personal preferences and makeup habits when deciding between foam and silicone sponges.
Shape Selection
As we discussed previously, makeup sponges come in various shapes, each designed for specific purposes. Some popular shapes include:
- Teardrop sponges: great for all-around application and blending
- Flat-edged sponges: perfect for precision contouring and sculpting
- Dual-ended sponges: offer versatility with a combination of teardrop and flat edges
- Micro mini sponges: ideal for detailed work, such as concealing and color correcting
Think about the makeup techniques you use most frequently and choose a sponge shape that aligns with your needs.
Size It Up
Makeup sponges also come in different sizes, which can impact their ease of use and the level of precision you can achieve.
Larger sponges are generally quicker to use and cover a greater surface area, making them ideal for applying foundation or blending larger areas. Smaller sponges, however, allow for more precision and control when working with detailed makeup applications, such as concealing blemishes or highlighting specific areas.
Consider your makeup routine and the level of detail you require when selecting a sponge size.
Price Point
Lastly, consider your budget when choosing a makeup sponge. While high-end options like the Beautyblender have a cult following, there are plenty of more affordable alternatives that deliver similar results. Don't be afraid to try different brands and price points to find the perfect makeup sponge for you.
By taking these factors into account, you'll be well on your way to selecting the best makeup sponge for your needs and achieving a flawless, airbrushed finish every time. Happy blending!
Prepping Your Makeup Sponge for Flawless Application
When it comes to achieving a seamless, airbrushed finish with your makeup sponges, proper preparation is key. Ensuring your sponge is prepped and ready for use can make all the difference in your makeup application. Let's explore the essential steps to prepare your makeup sponge for optimal results.
Step 1: Clean Your Sponge
First and foremost, always start with a clean makeup sponge. Using a dirty sponge can not only compromise your makeup application but also lead to potential skin issues like breakouts or irritation.
To clean your sponge, simply wet it under warm water, apply a gentle cleanser or a designated sponge cleaner, and work the product into the sponge until it lathers. Gently squeeze and massage the sponge to release any trapped makeup, then rinse thoroughly until the water runs clear.
Step 2: Dampen Your Sponge (For Foam Sponges)
One of the secrets to achieving a flawless finish with foam makeup sponges is using them damp. When wet, the sponge becomes more porous and bouncy, allowing for a smoother and more even application of your foundation, concealer, or other cream products.
To dampen your sponge, run it under lukewarm water until it's fully saturated. Then, give it a good squeeze to remove any excess water. You can also use a clean towel to gently press out any remaining moisture. The goal is to have a damp sponge that's not dripping wet.
Note: This step doesn't apply to silicone sponges, as they don't absorb water and are used dry.
Step 3: Apply Your Makeup
Now that your makeup sponge is clean and prepped, you're ready to apply your makeup. For liquid or cream products, such as foundation or concealer, dab a small amount onto the back of your hand or a mixing palette. Then, use the appropriate side or edge of your sponge to pick up the product.
When applying makeup with your sponge, use a stippling or bouncing motion rather than swiping or dragging. This technique helps to blend the product seamlessly into your skin for a natural, airbrushed finish.
Step 4: Clean Your Sponge After Use
Once you've finished your makeup application, it's essential to clean your makeup sponge again to prevent bacteria buildup and extend its lifespan. Follow the same cleaning process as before, and allow your sponge to air dry in a well-ventilated area.
By properly prepping your makeup sponges for application, you'll set yourself up for success in achieving that flawless, photo-ready look every time. So go ahead and embrace the power of a well-prepared makeup sponge!
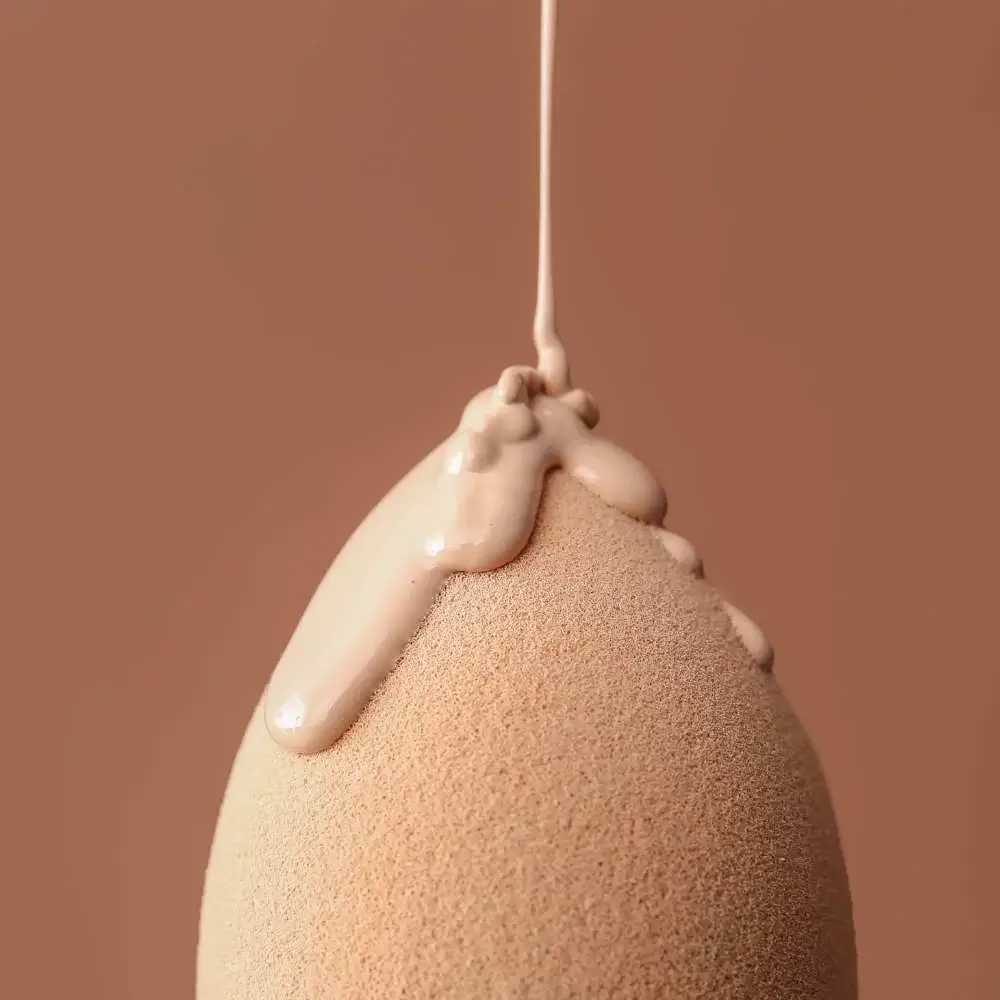
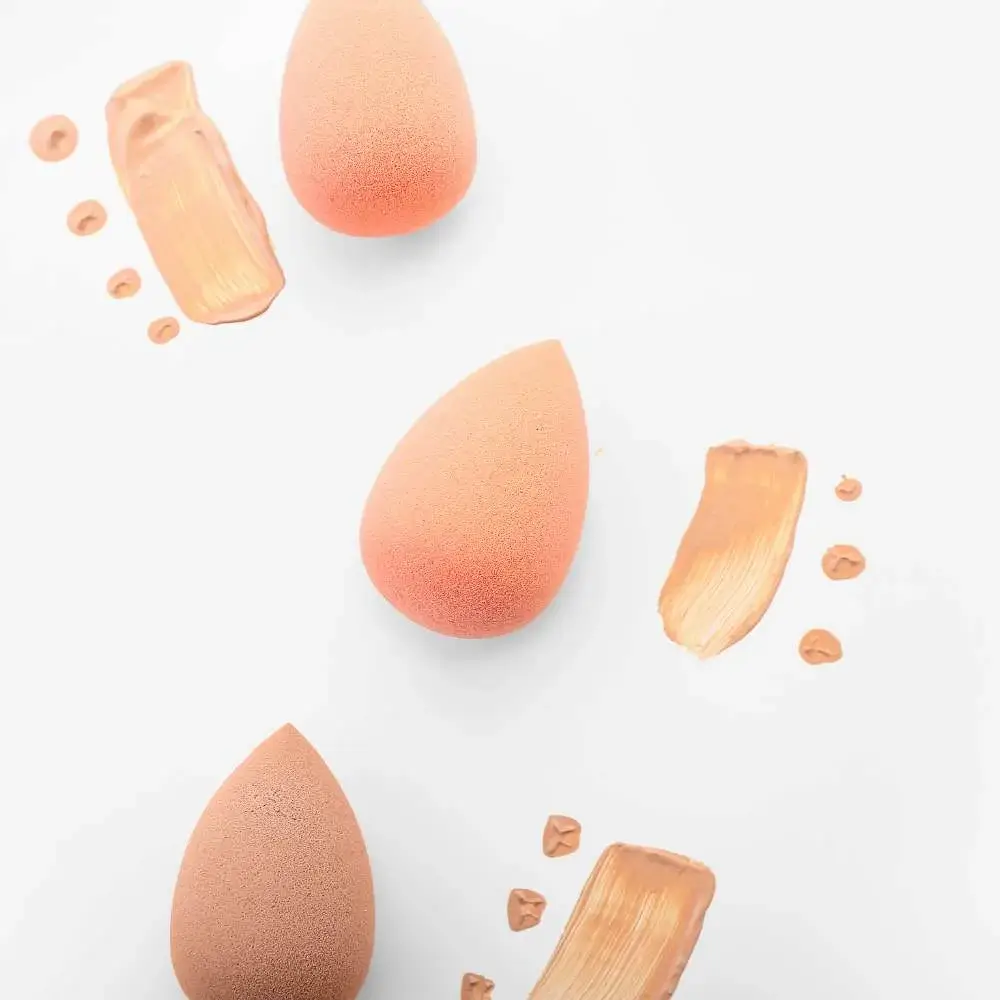
Mastering Foundation Application with a Makeup Sponge
The secret to a flawless complexion often lies in the tools you use, and makeup sponges have proven to be a game-changer for many beauty enthusiasts. When it comes to applying foundation, using a makeup sponge can help you achieve an even, airbrushed finish that looks natural and seamless. Let's dive into some tried-and-true techniques for applying foundation with a makeup sponge.
Technique 1: Stippling
Stippling is a popular technique for applying foundation with a makeup sponge. This method involves gently bouncing or dabbing the sponge onto your skin, rather than swiping or rubbing the product across your face. Stippling helps to blend the foundation evenly, minimizing streaks or lines and creating a smooth, natural finish.
To stipple foundation using a makeup sponge:
- Prep your clean, damp sponge by squeezing out any excess water.
- Apply a small amount of foundation to the back of your hand or a mixing palette.
- Pick up the foundation with the flat or rounded side of your sponge.
- Gently bounce the sponge onto your skin, starting at the center of your face and working outward.
- Continue stippling until your foundation is evenly blended and you've achieved your desired coverage.
Technique 2: Rolling
Another effective technique for applying foundation with a makeup sponge is rolling. Rolling helps to press the foundation into your skin, providing fuller coverage and a more polished finish.
To roll foundation using a makeup sponge:
- Prepare your clean, damp sponge as described above.
- Apply a small amount of foundation to the back of your hand or a mixing palette.
- Pick up the foundation with the flat or rounded side of your sponge.
- Press the sponge onto your skin and gently roll it in a continuous motion, starting at the center of your face and working outward.
- Continue rolling until your foundation is evenly blended and you've achieved your desired coverage.
Technique 3: Layering
For those who prefer a more buildable coverage, the layering technique can be a great option when using a makeup sponge. This method involves applying thin layers of foundation, allowing each layer to dry before applying the next.
To layer foundation using a makeup sponge:
- Follow the steps for either stippling or rolling to apply your first layer of foundation.
- Allow the foundation to dry for a few seconds before deciding if additional coverage is needed.
- If desired, apply another thin layer of foundation using the same technique as before.
- Continue this process until you've achieved your preferred level of coverage, remembering to allow each layer to dry before adding the next.
By mastering these techniques for applying foundation with a makeup sponge, you'll be well on your way to achieving a flawless, photo-ready complexion every time. So go ahead and put your makeup sponge to work, and watch your foundation game soar to new heights!
Makeup Sponges: A Versatile Tool for Concealer, Contour, and Highlight
Makeup sponges are not just for applying foundation – they can also be utilized for other essential makeup steps, such as concealing, contouring, and highlighting. These versatile tools can help you achieve a flawless, sculpted look that accentuates your best features. Let's explore how to use makeup sponges for concealer, contour, and highlight applications.
Concealer Application with a Makeup Sponge
A makeup sponge can be a game-changer when it comes to applying concealer. The soft, bouncy texture of the sponge allows for a seamless blend, resulting in a natural, crease-free finish.
- Choose a small or pointed sponge, such as a micro mini or the tapered end of a teardrop-shaped sponge, for precise concealer application.
- Apply your concealer to the desired areas, such as under the eyes, around the nose, or on blemishes.
- Gently bounce the sponge over the concealer, blending the product into your skin until it appears smooth and even.
- If needed, use the clean side of the sponge to pick up any excess product and further blend the edges.
Contouring with a Makeup Sponge
Sculpting and defining your face with contour products is a breeze when using a makeup sponge. The sponge's various edges and surfaces can help create sharp lines and seamless blends.
- Select a sponge with a flat edge or angled surface, such as a flat-edged or dual-ended sponge.
- Apply your contour product (cream or liquid) to the areas you want to define, such as the hollows of your cheeks, jawline, temples, and sides of the nose.
- Use the flat or angled edge of the sponge to blend the contour lines, making sure to blend upwards for the cheeks and along the natural contours of your face.
- For a seamless finish, use the rounded side of the sponge to further blend any harsh lines.
Highlighting with a Makeup Sponge
A makeup sponge can also be used to effortlessly apply and blend your cream or liquid highlighter, ensuring a radiant glow that catches the light just right.
- Choose a sponge with a small or pointed surface, such as the tip of a teardrop-shaped sponge or a micro mini sponge, for precise highlighter application.
- Apply your highlighter to the high points of your face, like the tops of your cheekbones, brow bones, bridge of the nose, and Cupid's bow.
- Gently bounce the sponge over the highlighter, blending the product into your skin for a natural, luminous finish.
- If desired, use the clean side of the sponge to blend the edges of the highlighter into your foundation or contour for a seamless transition.
By mastering the art of using makeup sponges for concealer, contour, and highlight applications, you'll elevate your makeup game and achieve a flawless, sculpted look every time. So go ahead and experiment with these versatile tools and unlock your full makeup potential!
The Art of Seamless Blending with Makeup Sponges
A flawless makeup look often hinges on seamless blending, and makeup sponges are a go-to tool for many beauty aficionados to achieve this. These versatile tools can help create a smooth, even finish that looks natural and polished. So, let's explore some tips and tricks for achieving a seamless blend with makeup sponges.
Tip 1: Choose the Right Sponge for the Task
As we've discussed before, makeup sponges come in various shapes and materials, each designed for specific purposes. To achieve a seamless blend, it's crucial to select the right sponge for the task at hand. For example, a teardrop-shaped sponge is great for all-around blending, while a flat-edged sponge is perfect for precise contouring and sculpting. Consider your makeup routine and desired outcome when choosing the appropriate sponge.
Tip 2: Prep Your Sponge Properly
Proper preparation of your makeup sponge is essential for achieving a seamless blend. Ensure your sponge is clean and, if using a foam sponge, dampened correctly. A damp sponge helps to sheer out the foundation, allowing for a more natural finish. Remember, silicone sponges are used dry and don't require dampening.
Tip 3: Use the Right Amount of Product
Using the correct amount of product is key to seamless blending. Applying too much makeup can lead to a cakey or uneven finish, while too little may not provide the desired coverage. Start with a small amount of product and gradually build up as needed. It's always easier to add more product than to remove excess.
Tip 4: Employ the Right Technique
Utilize the appropriate blending technique for the product you're working with. Stippling, rolling, or layering techniques can all be effectively employed with makeup sponges, depending on the desired finish and coverage. Experiment with different methods to find the one that works best for you.
Tip 5: Blend in Multiple Directions
To achieve a truly seamless blend, work your makeup sponge in multiple directions. This helps to ensure an even distribution of product and eliminates any visible lines or streaks. Gently bounce or roll your sponge across your skin, blending in circular motions and changing directions as needed.
Tip 6: Take Your Time
Patience is key when it comes to seamless blending. Rushing through your makeup application can result in patchy or uneven coverage. Take your time, working in small sections and continuously blending until you achieve a smooth, even finish.
Tip 7: Clean Your Sponge Regularly
A clean makeup sponge is essential for achieving a seamless blend. Regularly cleaning your sponge prevents the buildup of bacteria and old makeup, which can compromise your makeup application and lead to skin issues. Aim to clean your sponge after each use and allow it to air dry in a well-ventilated area.
By following these tips and mastering the art of seamless blending with makeup sponges, you'll be well on your way to achieving a flawless, photo-ready complexion every time. So go ahead, embrace the power of makeup sponges, and unlock your full blending potential!
Your Go-To Guide for All Makeup Sponge FAQs
What is a makeup sponge, and what is it used for?
Let me introduce you to the fabulous world of makeup sponges – the unsung heroes of the beauty realm. A makeup sponge is a soft, squishy, and versatile little tool that comes in various shapes and sizes, designed to make your makeup application a breeze. It's like a magic wand for your face, blending foundation, concealer, and even cream blushes to perfection. The secret lies in its ability to evenly distribute product, giving you a flawless, airbrushed finish that'll make you feel like a superstar. So, next time you're getting dolled up, don't forget to call upon your trusty makeup sponge – it's ready to transform your look from "meh" to "marvelous" in a matter of seconds!
How do I use a makeup sponge?
First things first, dampen that delightful little sponge by running it under water and giving it a good squeeze until it's just slightly damp – this helps prevent your precious makeup from being absorbed. Now, dab a small amount of foundation or concealer onto the back of your hand, and gently pick it up using the flat side or the rounded bottom of your sponge (depending on its shape). Time for some action! Lightly tap and bounce the sponge all over your face, blending your makeup as you go. Remember, it's all about the bouncing – no dragging or rubbing here, please! Be sure to get into those tricky spots like around your nose and under your eyes. Voilà! You've just mastered the art of applying makeup with a sponge, and your face is looking absolutely fabulous! Go on, take a bow – you've earned it!
How often should I clean my makeup sponge?
Ideally, you should give your adorable little sponge buddy a thorough cleansing after each use – yes, you heard that right! Keeping it squeaky clean not only ensures flawless makeup application but also keeps pesky bacteria and germs at bay. Now, if you're a busy bee and find daily cleaning a bit too much, aim for at least once or twice a week. Just remember, the longer you wait between washes, the more stubborn those makeup stains become. So, treat your trusty sponge to a spa day (a.k.a. a good scrubbing) regularly, and it'll return the favor by keeping your face looking fabulous and fresh!
Can I use a makeup sponge with different types of makeup products?
Oh, absolutely! Your versatile makeup sponge BFF is a true multitasker and loves playing with all sorts of makeup products! From liquid foundations and concealers to cream blushes, bronzers, and even highlighters – it's got you covered. But wait, there's more! You can also use this magical tool for applying loose or pressed powder, ensuring a smooth, even finish. And don't be shy about experimenting with different techniques like stippling, blending, or contouring – your sponge is always game for some beauty adventures. So go on, unleash your creativity and let your makeup sponge work its charm with a variety of makeup products, helping you create stunning looks that'll have everyone swooning!
How long do makeup sponges typically last?
While these little beauties are quite the troopers, they don't last forever. On average, your trusty makeup sponge should be replaced every three months – but that's not set in stone! Keep an eye on its condition, and if you start noticing tears, discoloration, or a funky smell (yikes!), it's time to bid adieu and welcome a fresh new sponge into your beauty arsenal. To extend your sponge's life, be gentle when cleaning, and avoid digging your nails into it. And remember, parting ways with your old sponge is not the end; it's simply making room for a new, bouncy companion to help you keep slaying the makeup game!
Read our article about best concealer for mature skin here!
Read our article about best concealer brush on the market here!
Read our article about best essie nail polish colors here!