"Blink and you'll miss it!" isn't just a phrase for fast-paced action movies anymore; it's also the motto for our exploration into the world of the best eyelash curlers. Ever stood in front of the mirror, your weapon of choice clutched in hand, and wondered if this curious contraption could actually give your lashes the runway-ready uplift they deserve? Spoiler alert: It can, and it will, if you're using the right tool!
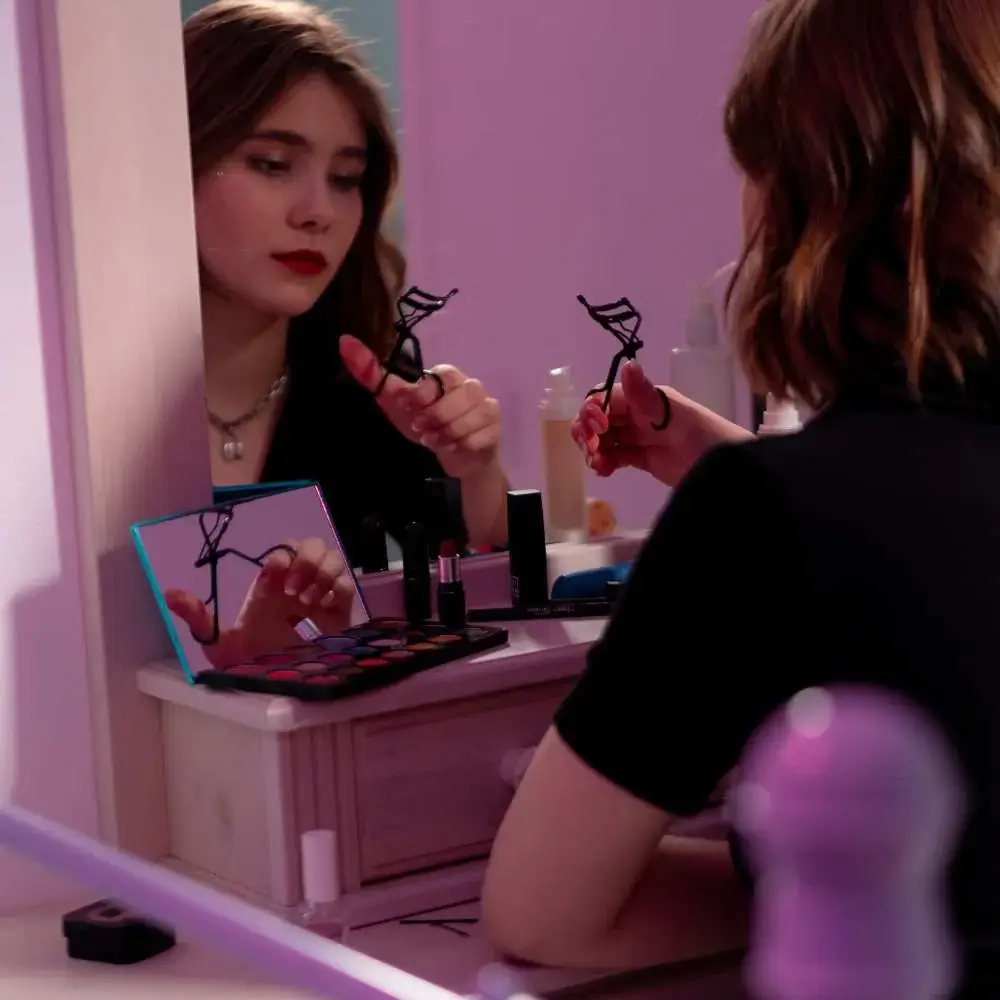
In our quest for that perfect, eye-opening swoosh, we've kissed a lot of eyelash curler frogs to find true royalty. And, ladies and gentlemen, may we proudly present the reigning champion of eyelash curlers: The Shu Uemura S Curler. Why is this beauty tool a must-have in your makeup bag? Stay with us, as we unfurl the riveting journey of our search for the supreme lash curler, the laughable blunders we made, the near misses, and the game-changing beauty hacks we picked up along the way.
So, whether you're a seasoned beauty guru or an eyelash-curling novice, strap in for this wild ride where we'll be curling, comparing, and conquering. By the end of it all, we guarantee you’ll be fluttering your lashes with an extra ounce of confidence and a dash of sass!
Lash Out Loud: A Sassy Guide to Mastering the Art of Eyelash Curlers!
Who doesn't yearn for that perfect swoosh of Hollywood-esque lashes? With the best eyelash curlers as your partner in beauty crime, those dreamy lashes are just three playful steps away! Time to trade in the fear of eyelash curlers for some flirtatious fun. Fasten your mascara wands, ladies and gents, because here’s our sassy guide to using your eyelash curler like a total boss!
First Base - Warming Up Your Lash Curler: Imagine if your lash curler was a warm hug for your lashes. That's exactly what you need to do—heat it up! How, you ask? Just let it sunbathe in the glow of a blow dryer for a few seconds. Make sure it's warm, not sizzling hot—we wouldn't want a hot mess of lashes now, would we?
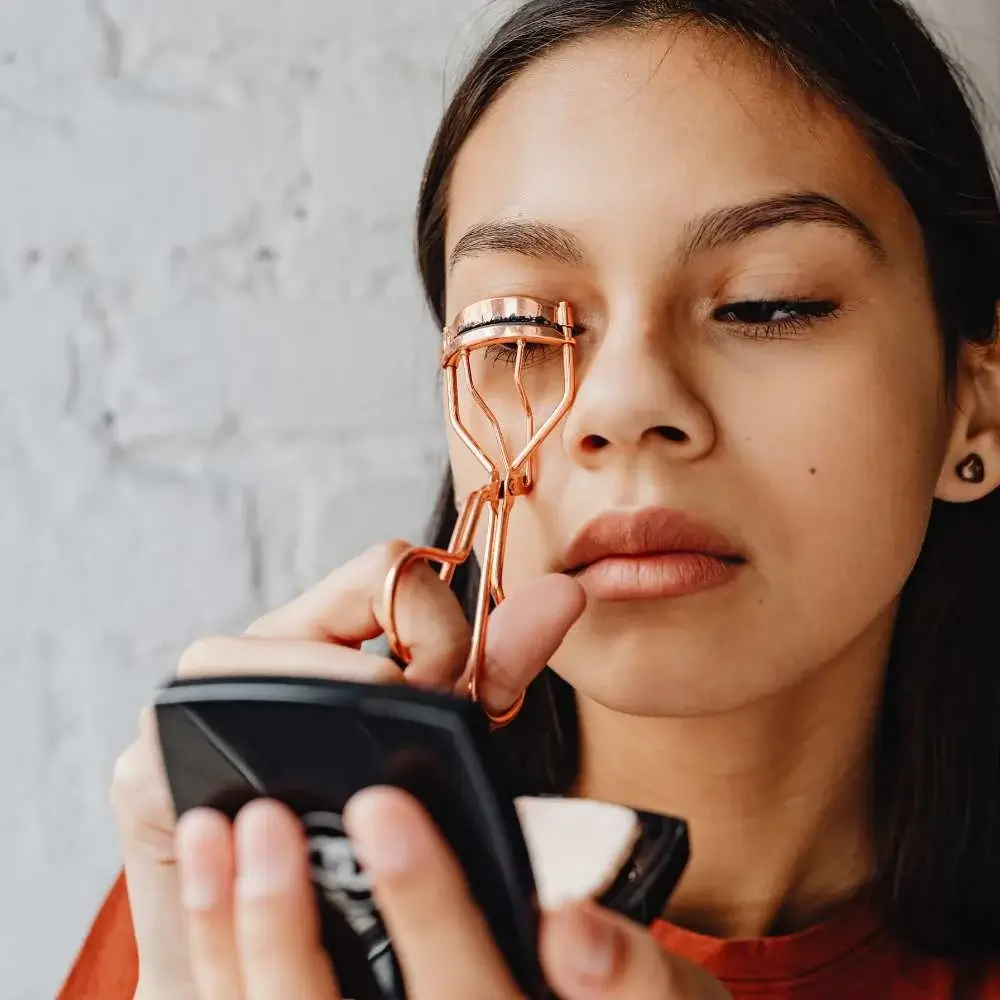
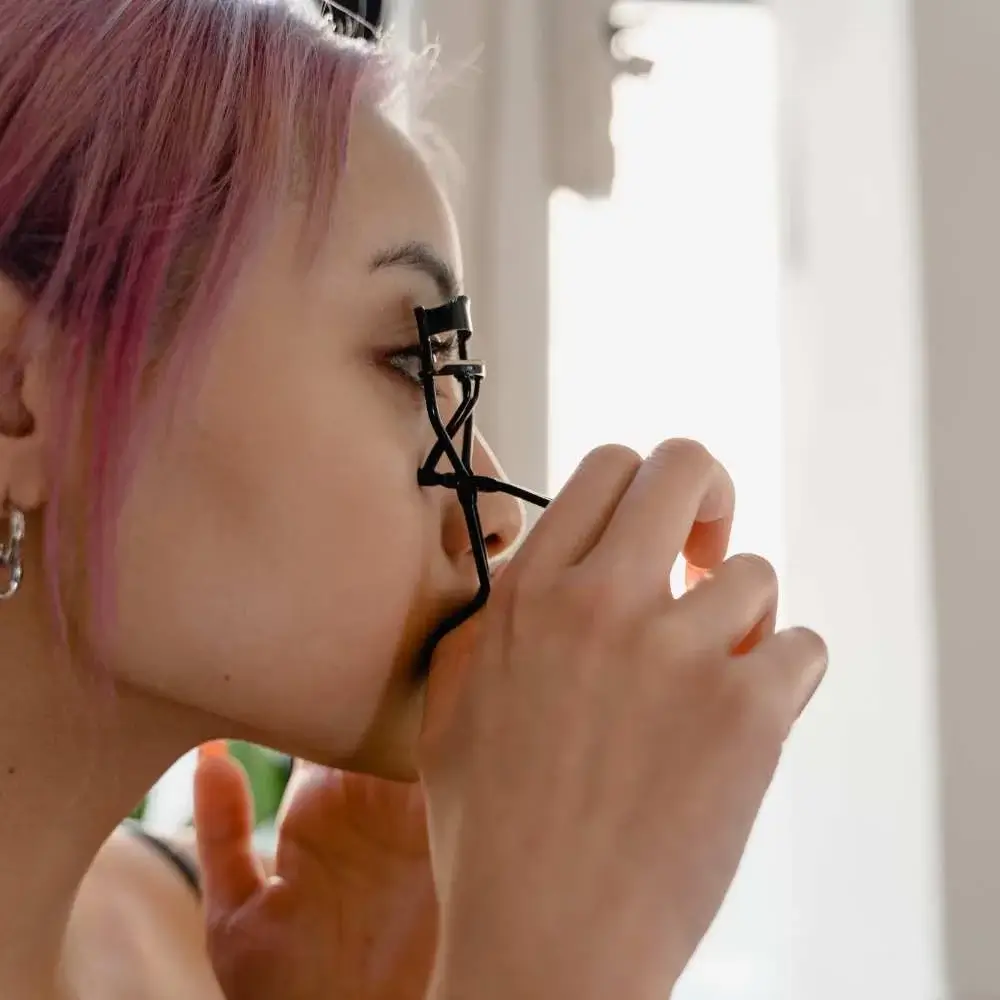
Second Base - Positioning the Lash Curler Just Right: Warm curler in hand, it's time to get up close and personal with your lashes. Like a loving embrace, place the curler as close to the base of your lashes as possible, and gently squeeze. Then, shimmy the curler slightly upward and repeat the squeeze. But beware, straying too far off-base could end in an uneven curl. Talk about a faux pas!
Home Run - Mascara Time: It's now time to seal the deal with some good old mascara. Applying it post curling not only sets the curl, but also ensures that your lashes don’t go back on their promise of staying perky all day. Start at the base and sweep your mascara wand upward towards the tips. If you're feeling particularly voluminous, add an extra coat of mascara at the tips.
Voila! With these three easy steps, you're now a proud owner of beautifully curled lashes. All you needed was a bit of warm-up, some strategic positioning, and a final mascara lock-in for those lasting results. Ready to give it a shot? Your lashes are waiting!
While beauty research can be as elusive as finding a four-leaf clover, we've got your back! Beauty editors across the digital cosmos have named our top recommended eyelash curler. With just one click on Amazon, this curler, boasting durable materials and an ergonomic handle that wraps around the lash line like a dream, could be yours! Trust us, you'll be reaching for this beauty lifesaver daily. Hurry, though, they're flying off the shelves faster than you can blink!
A Deep Dive into Heating Your Eyelash Curler: Ensuring Safety and Effectiveness
Perfectly curled lashes are a beauty essential, and they're just a heated eyelash curler away. Yes, you read that right – heated. Let’s explore the world of heated eyelash curlers, focusing primarily on ensuring your safety while heating them.
The best eyelash curlers take your lashes from 'meh' to 'marvelous', and a heated one takes it even a notch higher. Think of your lashes like a stubborn lock of hair. Just as a heated curling iron helps mold your hair into beautiful curls, a warm eyelash curler can help your lashes hold a curl longer and look more pronounced. The heat breaks down the protein structure of your lashes (very mildly, of course), allowing them to take the shape you desire.
The Art and Science of Heating Your Eyelash Curler Safely
Heating your eyelash curler can yield fantastic results. However, when we say 'heat,' it’s not a cue to stick your eyelash curler in a candle flame or a stovetop burner. We're talking about a gentle warmth that's just enough to give your lashes that stunning curl. Here are the top tips for heating your eyelash curler safely:
1. Harnessing the Power of Your Hairdryer
Your trusted hairdryer can be a great tool for heating your eyelash curler. Simply point the dryer's nozzle at the curler for about 5 seconds. Be sure to test the curler on your wrist before bringing it near your eye. It should be warm to the touch but not hot.
2. Warm Water Wonders
Another fool-proof method to heat your eyelash curler safely is by using warm water. Run your curler under a stream of warm water for about 10 seconds. Dry it off thoroughly before using it – remember, water and mascara are not the best of friends.
3. Body Heat Bonanza
If you're not near a hairdryer or a warm water source, don't worry. Your own body heat can come to the rescue. Hold the curler between your hands or under your arm for a few minutes. This gentle heat is usually just right for a safe lash curling session.
While heating your eyelash curler can give your lashes an amazing lift, it's essential to always prioritize safety. Always test the heated curler on your wrist to ensure it's not too hot. Your eyes are sensitive, and it's always better to err on the side of caution.
So, here's to achieving that perfect flutter with the best eyelash curlers, and doing so safely! With these tips in your beauty repertoire, your lashes will be the talk of the town in no time.
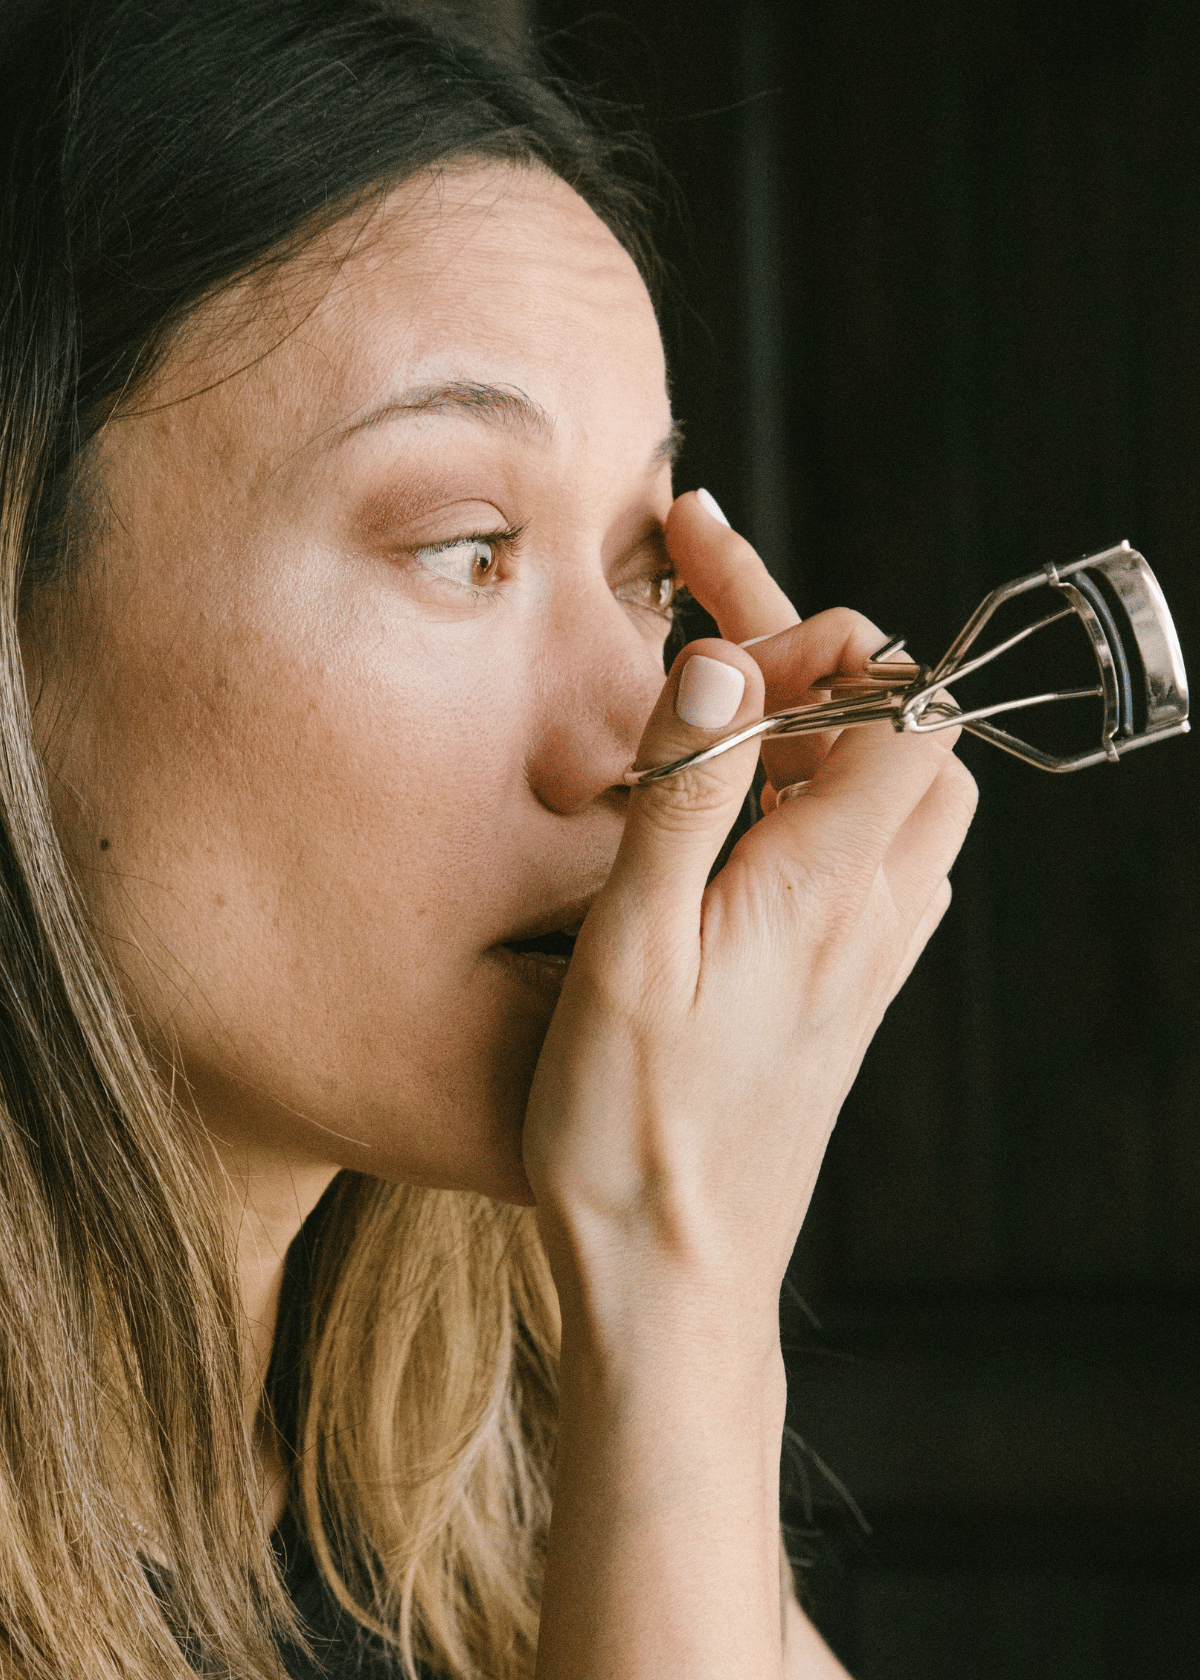
Achieving the Perfect Curl: Positioning Your Eyelash Curler
There's a secret in the beauty world that often goes unspoken, and it revolves around finding the best eyelash curlers and using them correctly. The key lies in the art of positioning, and mastering this can open up a world of lush, voluminous lashes that add the perfect finishing touch to any look.
Getting the Position Just Right
Eyelash curlers might look a bit like contraptions out of a sci-fi movie, but their mechanics are pretty simple. Correctly positioning your eyelash curler is the first and most important step towards achieving that enviable curl.
Start by positioning the curler at the base of your lashes. Easy, right? But here's where it gets a bit nuanced: be careful not to get too close to the skin. You want to catch all your lashes without pinching your delicate eyelid skin.
Best Eyelash Curlers and Their Curve
Have you ever noticed how the top-ranked items in any "best eyelash curlers" list all have a unique curve to them? This isn't a design quirk - this curve is meticulously crafted to align with the natural curve of your eyes.
When positioning your eyelash curler, ensure it follows the shape of your eye for the most natural curl. If you find that your curler is too flat or too curved for your eye shape, it might be time to hunt down a new one that fits better.
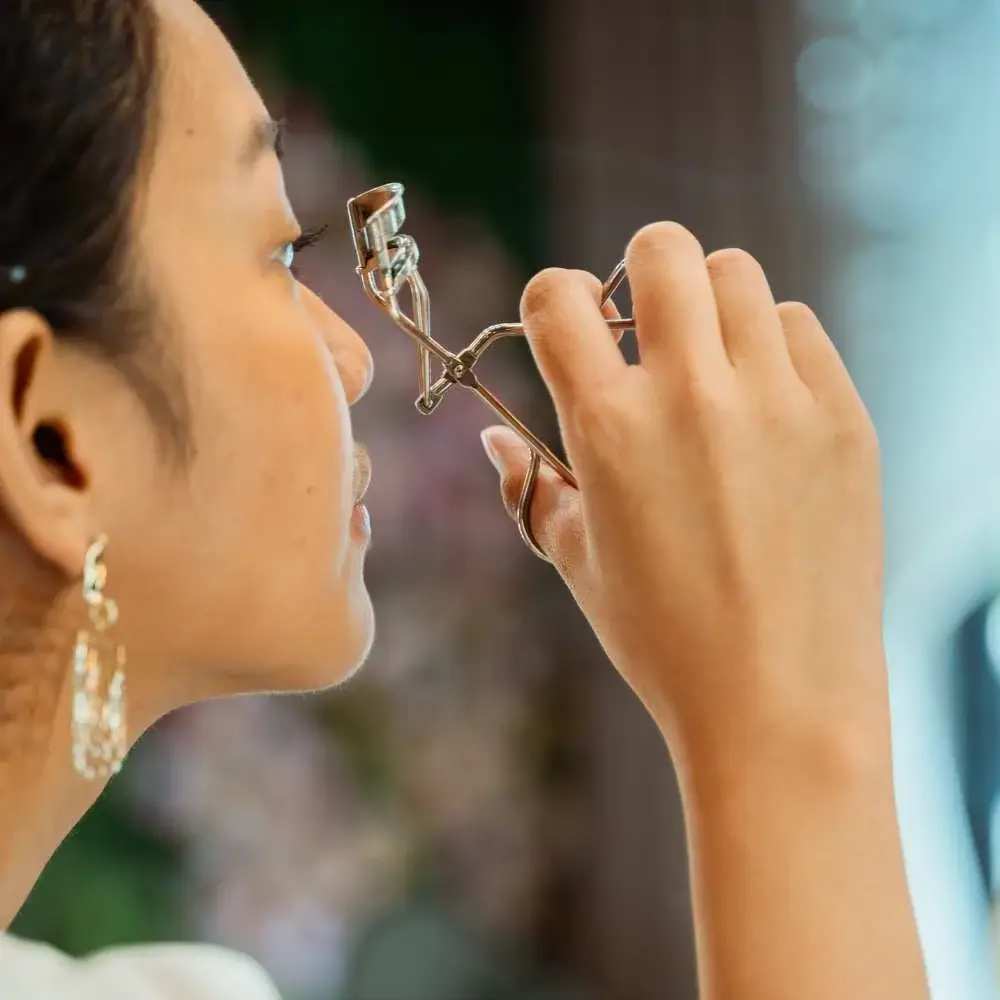
Mastering the Squeeze
The 'squeeze' part of the curling process is also integral to the overall positioning technique. One common mistake is to squeeze the curler once and think it's job done. But for truly stunning results, you need to adopt a three-part squeezing technique.
Start at the base of your lashes with a gentle squeeze. Then, move the curler to the middle of your lashes, and squeeze again. Finally, position it near the tips and give one last squeeze. This technique ensures a gradual, even curl from base to tip.
Positioning your eyelash curler correctly is crucial for maximizing the potential of even the best eyelash curlers. The right positioning technique combined with a quality curler can help you achieve a professional, salon-like curl at home. So here's to perfectly curled lashes and captivating gazes!
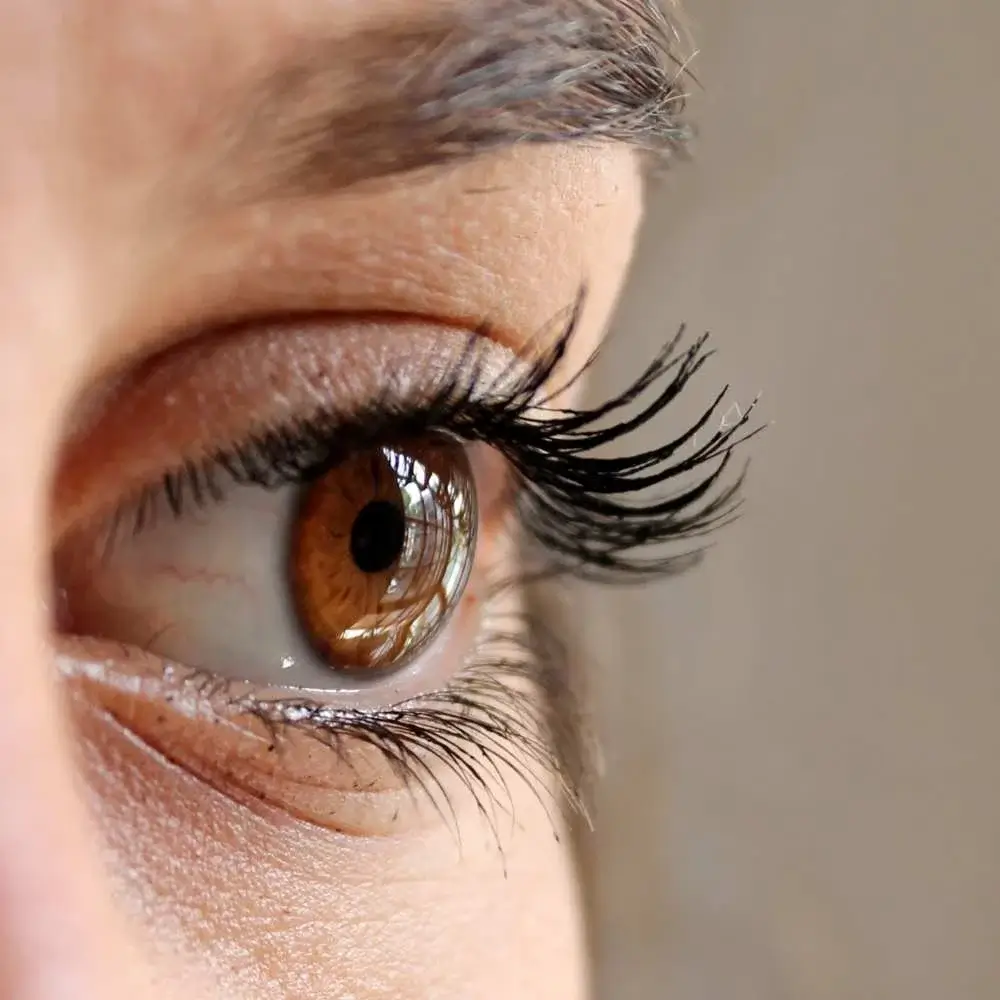
The Best Eyelash Curlers and the Magic of Applying Mascara Post Curling
For that mesmerizing flutter, what could be more essential than the best eyelash curlers? It's no secret that the right beauty tools can elevate your look from ordinary to extraordinary. And one tool that frequently tops the list is, without a doubt, the eyelash curler. But, what if we told you that the magic doesn't stop there? In fact, it just begins. The real enchantment lies in a trick as old as time – applying mascara post curling.
It all starts with the best eyelash curlers. From the delicate artistry of Japanese designs to the tried-and-true classics, the best eyelash curlers are carefully crafted to enhance the natural beauty of your eyes. But what makes these tools the best? It’s all in the design, the materials, and the gentle, precise curl they create. An essential in every makeup bag, the best eyelash curlers are your first step toward those movie-star eyes.
The Grand Act: Applying Mascara Post Curling
After curling your eyelashes with the best eyelash curlers, the next step is to apply mascara. This might sound straightforward, but there's a method to this madness. And that method is what transforms this routine step into an art.
The Method of Applying Mascara Post Curling
- Start with a Curl: Grab your best eyelash curlers and curl your lashes. This will provide the initial lift and curve.
- First Coat of Mascara: Apply a light coat of mascara, starting from the roots to the tips of your lashes. This initial coat will help in holding the curl.
- Let it Dry: Wait for the first coat of mascara to dry. This is a crucial step and ensures that your lashes remain curled.
- Second Coat: Apply a second coat of mascara to add volume and thickness to your lashes.
The Benefits of Applying Mascara Post Curling
Applying mascara post curling does not just elevate the beauty of your eyes, but also provides several other benefits.
- Longer-lasting Curl: The application of mascara post curling helps in retaining the curl for a longer time. The mascara works like a setting spray for your lashes, keeping them curled all day.
- Volume and Definition: A second coat of mascara adds depth and volume to your lashes, making them appear fuller and more dramatic.
- Reduced Clumping: Waiting for the first coat of mascara to dry before applying the second coat reduces the risk of clumping, leading to a smoother and more natural finish.
The secret to captivating eyes lies in the harmony of using the best eyelash curlers and the artistry of applying mascara post curling. Master this, and you’ll never have to worry about your lashes falling flat or looking clumpy. So grab your best eyelash curlers and mascara, and start crafting those dramatic, long-lasting curls today!
FAQs on the Best Eyelash Curlers
How do you get perfectly curled eyelashes?
First things first, arm yourself with one of the best eyelash curlers. Now, here's the trick: start at the root of your eyelashes, make sure you've got all those little lash soldiers lined up, then gently clamp down. Hold for a few seconds and then move the curler to the middle of your lashes and repeat. Finish off at the tips for that extra sky-high curl. Boom! You've got lashes that even your favorite Hollywood celebs would envy. Just remember, don't rush through it. Patience and practice are your best friends here. So go on, flutter those perfectly curled lashes, and let them do the talking!
Why won't my eyelashes curl with an eyelash curler?
There can be a few reasons why your lashes are being disobedient. First, it could be the case of a poor-quality eyelash curler. Remember, the best eyelash curlers are like magic wands, they do wonders! Secondly, your technique might need a little brush-up. It's like learning to dance - it takes time to get the moves right. Make sure you're starting at the base of your lashes and gently working your way up to get that ideal swoop. Lastly, it might be your mascara weighing your lashes down. Try curling your lashes before applying mascara and see the magic unfold. And hey, practice makes perfect! So keep going with those best eyelash curlers and soon enough, you'll be batting those beautifully curled lashes like a pro!
Do lash curlers damage eyelashes?
The answer is a resounding 'no', but there’s a tiny ‘if’ hitching a ride on that 'no'. The best eyelash curlers, when used properly, don't harm your lovely lashes. But, if you get a little overzealous, or decide to save a few bucks on a not-so-great curler, then your lashes might bear the brunt. So, remember the golden rule: gentle pressure, good quality curler, and no curling post-mascara! Get your hands on the best eyelash curlers, treat them like the delicate fringes they are, and voila, damage-free, beautifully curled lashes are all yours!
How long should you hold an eyelash curler on your lashes?
Well, darling, imagine you're giving your lashes a warm, friendly hug. You wouldn't rush a good hug, right? The same goes for your lashes. Count to a good 10-15 seconds. Yes, like you're playing a thrilling game of hide-and-seek with time! By giving your lashes this mini spa moment with the best eyelash curlers, you ensure that the curl holds and your eyes look wide-awake and ready to dazzle. And remember, no cheating on the counting! Your lashes deserve every second of that curl-hugging joy!
How do you keep your eyelashes curled without mascara?
The key player here? The best eyelash curlers. Here's your game plan: start by giving your lashes a good curl with your chosen champion from the realm of the best eyelash curlers. I'm talking about a nice, slow squeeze at the base, then midway, and finally at the tips, like you're creating the world's most delicate fan wave. Now, for the secret sauce: grab a clear lash gel, it's like hair gel but for your lashes. Apply it post curling, et voila! You've got all-day hold for your beautiful, naked curls. It's like your lashes went to the gym and are now flexing their stunning biceps. Show 'em off, you gorgeous, mascara-free rebel!
Read our article about best conditioner for color treated hair here!
Read our article about best sunscreen for tattoos here!
Read our article about best makeup brush cleaner here!