Picture this: It’s early in the morning, you’re running late, and your hair has decided to embrace the spirit of a rebellious teenager. Sound familiar? Fear not, fellow hair wranglers, for the humble Curling Brush is here to tame those wild tresses. This isn't some magic wand from a fairy tale, but it might as well be! In this article, we'll demystify the Curling Brush, a must-have tool for everyone who's ever looked at their disobedient locks and thought, "Not today, Satan!"
We'll be diving deep into the world of curling brushes, exploring their diverse varieties, what makes them tick, and how you can master the art of the perfect curl. Whether your hair is as straight as a runway model's diet or as unruly as a basket of kittens, we've got your back (or, more accurately, your hair).
Keep reading, and you’ll soon understand why the Curling Brush has garnered a dedicated cult following. We’ll uncover the mysteries behind its magical ability to turn 'bad hair days' into 'fab hair days.' And you’ll leave with an arsenal of tips and tricks that will put those tangles and frizzes in their place once and for all. So, let's flip the script on our hair horror stories, one curl at a time!
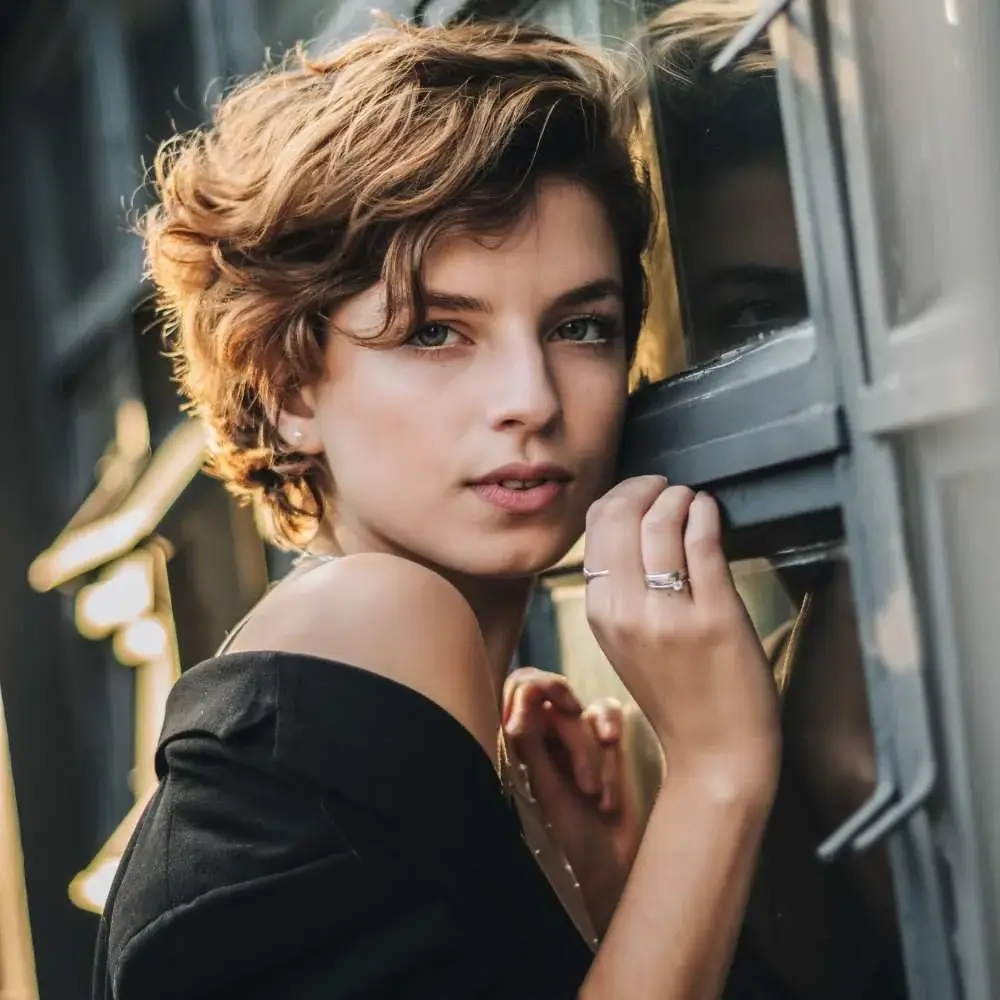
Wrestling with Short Hair? Meet the Mighty Curling Brush!
So, your hair is more pixie than Rapunzel, and you're wondering how to create some sass and style in that short mane? Well, buckle up, because the Curling Brush is about to become your new best friend. This spunky little tool is set to rescue you from flat, uninspiring hair days, giving your locks the body and bounce they've been begging for. Ready for a style upgrade? Let's get started!
Your Hair's Perfect Shower Routine
Think about your hair like the Queen it is: you wouldn’t present her with a dirty, cluttered castle, right? So give your hair a royal treatment: a thorough cleanse and proper drying before you go all in with the curling brush. A dry head means those fabulous curls are going to hold their own, transforming you from limp to luxurious.
Feel the Heat (But Not Too Much!)
Now, heat can be a friend or a foe – it all depends on how you use it. So when you're gearing up to use the Curling Brush, remember, it's not a race to the highest temperature. If your hair is as delicate as a butterfly's wings, you'll want to stick to the low end of the heat spectrum, between 250-300°F (121-149°C). For those sporting thicker strands, feel free to nudge it up to a cosy 400°F (204°C). But remember, going above that is like sunbathing without sunscreen – not recommended!
Play Hair-Tetris: Section It Out
When dealing with short hair, it's all about the details. You'll want to channel your inner hair stylist and create sections for your hair masterpiece. Split it into top and bottom, then quarter it off into left and right. It’s like a road map to fabulous hair, no strand left uncurled!
Don't let the size fool you: styling short hair can be a blast! Armed with these steps and your trusty curling brush, you'll soon be strutting with volume-packed curls that scream confidence. Keep your eyes on that heat setting, though, we wouldn't want any crispy catastrophes.
Now that you're equipped with these curling commandments, it's time to choose your weapon. Looking for the best Curling Brush on the market? We've played detective so you don't have to! Hop on over to our recommended tool and discover your hair's new soulmate. Its design is as unique as you are, promising to elevate your style to dazzling heights. So go ahead, click that link, and let the curling adventures begin!
Stepping into the World of the Curling Brush
There's a revolution happening right under our noses - the curling brush. This tool, a fusion of a traditional hairbrush and a curling iron, is changing the game in hair styling. Offering versatility, convenience, and creativity, a curling brush can give your hair an instant glam-up or a subtle wave. It’s all about how you use it.
But, before we dive deep into its usage, let's lay down a key consideration - heat settings. Choosing the right heat setting for your hair type is crucial to making the most out of your curling brush. So, here's your handy guide.
Understanding Your Hair Type and Heat Settings
Everyone’s hair is different. Some of us have thick, robust locks, while others have delicate, fine strands. Knowing your hair type is the first step in deciding what heat setting is right for you.
For Fine or Damaged Hair
If your hair falls into the category of fine or damaged, it needs a little extra TLC. These hair types are vulnerable and can easily get scorched by high temperatures. So, when using a curling brush, stick to the lower heat settings, ideally between 250 and 300 degrees Fahrenheit. This will provide just enough heat to style your hair without causing any unnecessary damage.
For Medium or Normal Hair
If you have normal or medium hair, a heat setting that falls in the middle range is best for you. You're lucky - your hair type is less prone to heat damage, and you can confidently use a curling brush with a heat setting of around 300 to 350 degrees Fahrenheit. This will ensure your curls hold their shape and last longer.
For Coarse or Thick Hair
Those of you with thick or coarse hair may need to crank up the heat a little more. Higher heat settings, usually between 350 and 400 degrees Fahrenheit, are the way to go. Don't worry about damaging your hair - it can handle the heat, and the higher temperatures will ensure those stubborn locks are styled to perfection.
The Key to Success: Gradual Heating
When using a curling brush, always remember this golden rule - start low and go slow. Begin with the lowest heat setting, see how your hair reacts, and gradually increase the temperature if necessary. This method protects your hair from heat damage and helps you discover the perfect heat setting for your hair type.
Let’s Not Forget about Hair Protection
No matter what type of hair you have or what heat setting you use, never forget to use a heat protectant. This product adds a protective layer to your hair strands, reducing potential damage from the curling brush's heat.
Summing Up the Heat Setting Guide for Curling Brushes
The curling brush is indeed a game-changer in the hair styling world. However, understanding the right heat setting for your specific hair type is crucial. Remember, the key is to go low and slow, gradually increasing the temperature if necessary. And don't forget to use a heat protectant!
Through understanding and properly using the heat settings on your curling brush, you can effortlessly create the hairstyles you've always wanted. You're not just saving time; you're also doing it safely and healthily. Now, it's time to step out, flaunt those curls, and let the world see your hair's full potential!
The Magic of a Curling Brush: Unraveling Short Hair Styling Secrets
If you've ever watched a hairstyling tutorial, you'll know that the curling brush is the secret weapon in a hair stylist's arsenal. Not just a tool to detangle those unruly locks, it has the power to transform the simplest bob into a red carpet-worthy hairstyle.
Curling Brush: Not Just For Long Hair
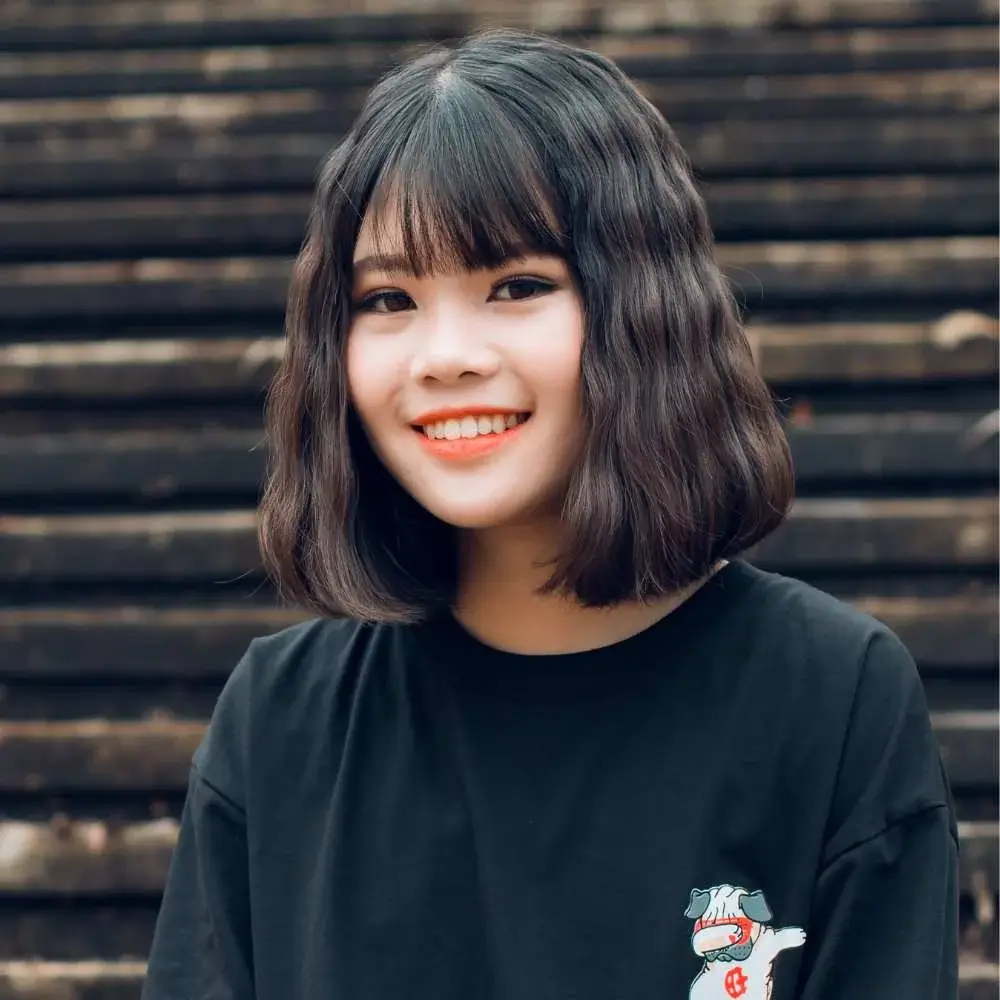
Often, people think that curling brushes are reserved only for those with long, flowing tresses. But that's not the case. In fact, a curling brush can be a game-changer for people with short hair.
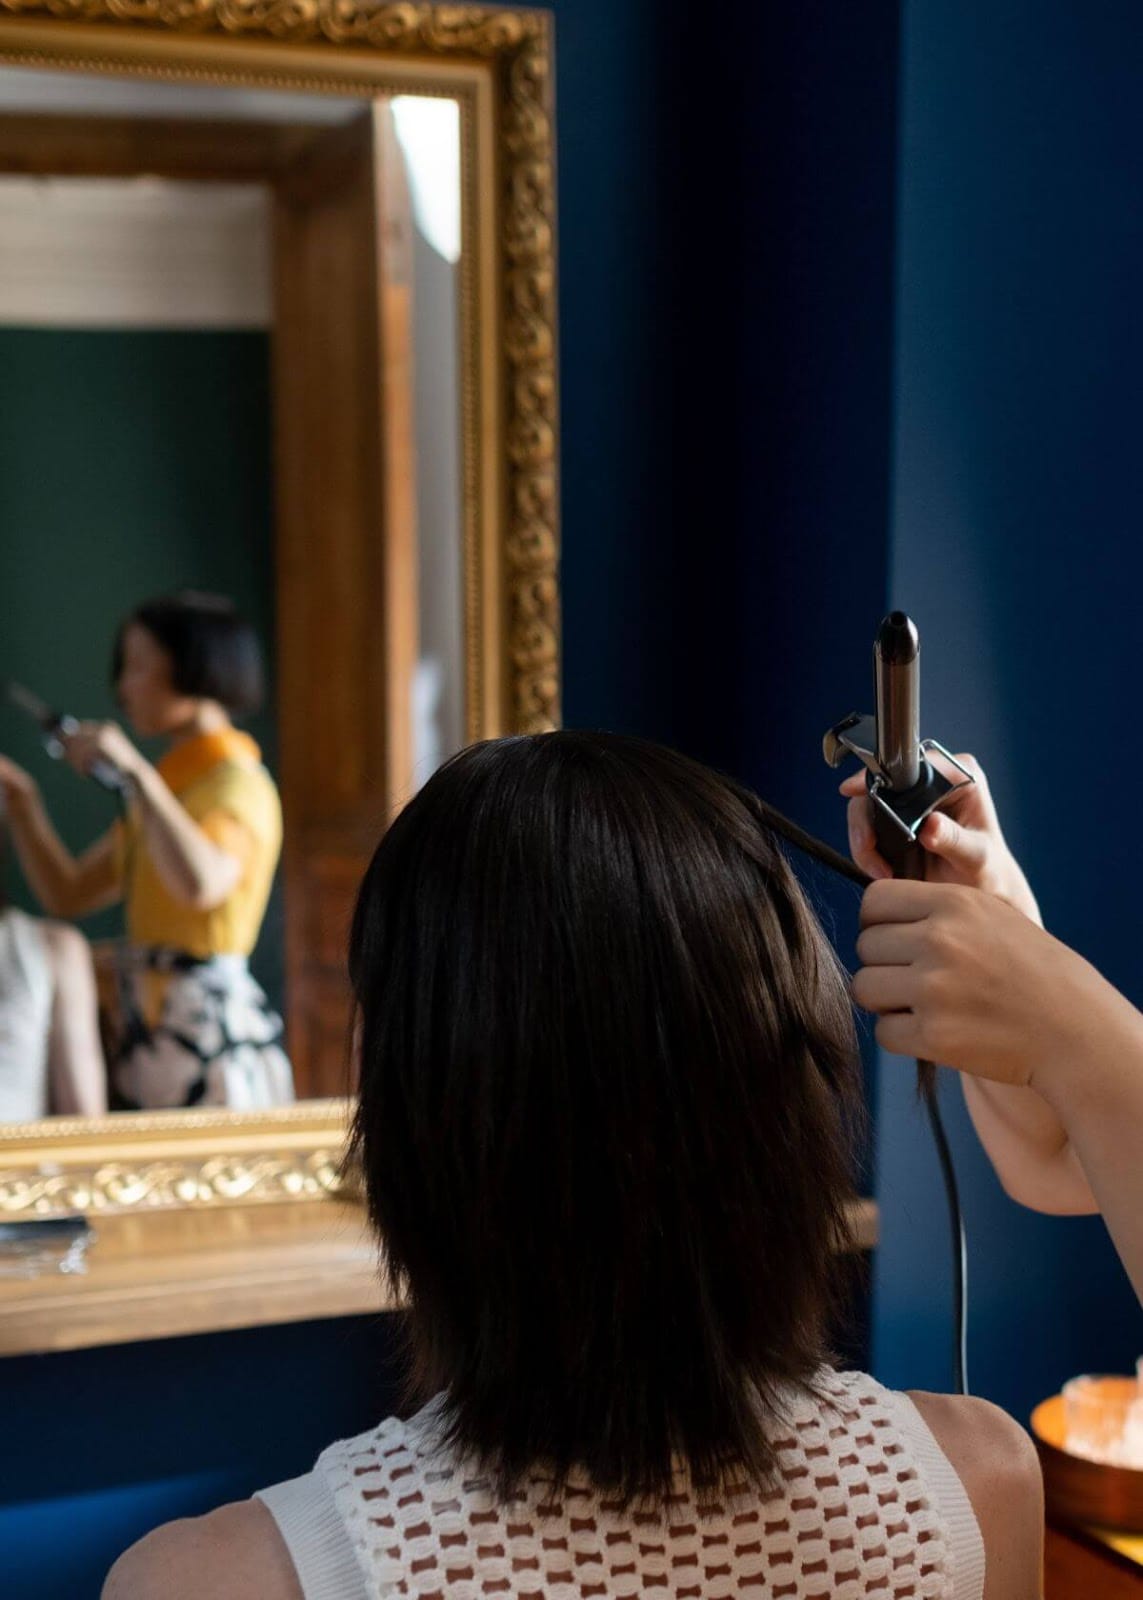
Imagine waking up in the morning, looking in the mirror, and seeing a messy, disheveled pixie cut staring back at you. With a curling brush in hand, you can turn that bedhead into a stunning, tousled look in no time.
How to Use a Curling Brush for Short Hair
The process of using a curling brush on short hair might seem a bit tricky at first, but once you get the hang of it, it becomes second nature.
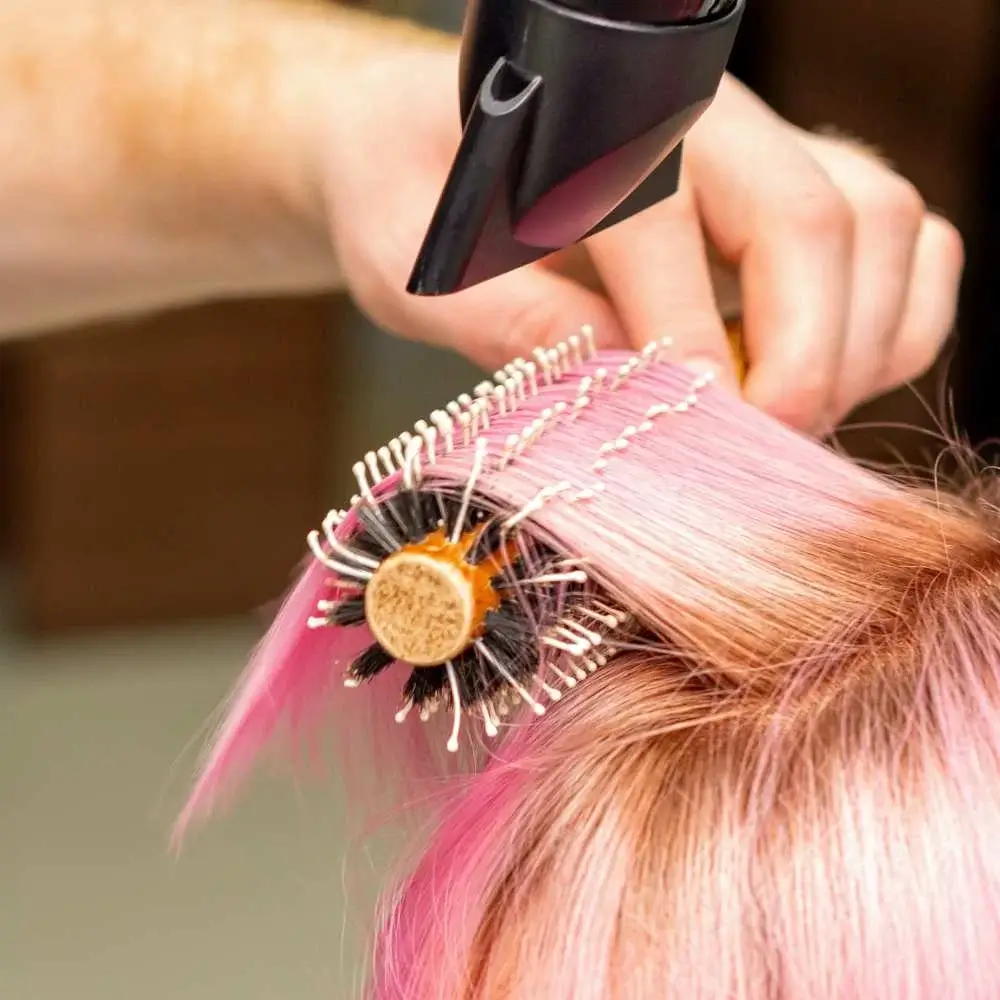
First, dry your hair until it's slightly damp. Then, apply a heat protectant spray to prevent damage from the heat. Grab a section of your hair and wrap it around the curling brush. Now, apply heat using a hairdryer and keep it at a distance to avoid overheating. Slowly roll the brush out and voila! You've got yourself a lovely curl.
Making Waves: The Curling Brush Technique
To create wavy hair using a curling brush, the technique differs slightly. Instead of wrapping the hair around the brush, you're going to wrap the brush around your hair. Twist the brush as you pull it through your hair, this creates a spiral effect and when released, forms a wave.
Selecting the Right Curling Brush
The key to nailing short hair styling with a curling brush is picking the right brush. The size of the brush's barrel will directly influence the size of the curls. For short hair, you'd want a curling brush with a smaller barrel for tighter curls. Brushes with larger barrels will give you looser waves, better suited for longer hair.
Curling Brush Maintenance
Maintaining your curling brush is essential for its longevity and performance. Hair products and natural oils can build up on your brush over time, affecting its effectiveness. Regular cleaning with warm water and a mild shampoo will keep your brush in tip-top shape.
Wrapping Up the Short Hair Styling Secrets
In the world of hair styling, the curling brush is a versatile tool that can enhance your look, regardless of your hair length. Whether you're aiming for tight curls or gentle waves, a curling brush has you covered. Armed with this knowledge, it's time for you to embrace the magic of the curling brush and turn those short hair bad hair days into a thing of the past.
Elevating Your Short Hair Game: Master the Art of the Curling Brush
So, you've got short hair, and you're eager to elevate your look with some fabulous curls. What's the secret weapon in your hairstyling arsenal? The keyword here, my friends, is the 'Curling Brush'.
This nifty tool is your ticket to salon-worthy curls at home. Let's dive into this step-by-step guide to using a curling brush on short hair.
Step 1: Choose Your Curling Brush
Choosing the right curling brush is paramount to achieving those bouncy, enviable curls. For short hair, you'll want a smaller diameter brush, ideally one inch or less.
This is because smaller barrels result in tighter curls, which tend to work better for shorter hairstyles. A curling brush with ceramic or tourmaline coating would be a perfect choice. These materials heat up evenly, reducing the risk of damaging your precious locks.
Step 2: Prep Your Hair
Once you have your curling brush in hand, the next step is to prep your hair. Start with clean, dry hair.
If you can, wash your hair the night before. Hair that's slightly "day-old" often holds styles better. Before styling, ensure your hair is detangled to avoid snags and breakage.
A heat protectant spray is also a great addition. It forms a protective barrier over the hair shaft, shielding it from the high temperatures of the curling brush.
Step 3: Section Your Hair
Dividing your hair into sections makes the curling process smoother and more manageable. It allows you to focus on one area at a time, ensuring no strands are left behind.
Start by sectioning your hair into two halves, top and bottom. Secure the top section with a clip.
Step 4: Begin the Curling Process
Now we're getting to the heart of it – using the curling brush to create those luscious curls. Take a small section of hair from the unclipped portion.
Place the curling brush near the roots, then wrap the hair around the brush, and slide it down to the ends. Apply heat for a few seconds, then gently unroll the brush. Voila! You've got your first curl.
Step 5: Continue Curling
Continue this process, working your way through all the hair sections. Remember, smaller sections will give you tighter curls while larger sections create looser waves.
Ensure you’re curling away from your face for a more natural and flattering look. Don’t forget to let each curl cool down before touching to preserve the curl shape.
Step 6: Finish Up with Hairspray
Once you've curled all your hair, set your style with a hairspray. This will provide hold and ensure your curls last throughout the day.
Just a light mist will do - you don't want to weigh down those beautiful curls you've just created with your curling brush!
There you have it, folks – a step-by-step guide to using a curling brush on short hair. This handy tool is a game-changer for those seeking an easy way to create gorgeous curls at home. Happy curling!
Your Ultimate Guide to Curling Brush FAQs
What is the best tool for curling short hair?
When it comes to transforming those short tresses into curly wonders, the curling brush is your new BFF! Forget about those intimidating curling irons or bulky hot rollers. The curling brush is the superhero of hair tools for short hair. It's lightweight, easy to handle, and works like magic to create those bouncy curls you've been dreaming of. Plus, it's gentle on your hair and gives you control over the size and shape of your curls. So, if you're looking to add some va-va-voom to your short hair, grab a curling brush and let the curling games begin!
What is the easiest way to curl short hair?
Well, darling, if you're on the hunt for the easiest way to curl those short locks, look no further than your trusty curling brush! This little gem is the star of the show when it comes to creating effortless, bouncy curls. Here's the scoop: Start with dry hair, apply a bit of heat protectant (we don't want any frazzled strands, do we?), and section off your hair. Now, take your curling brush and wrap a small section of hair around it, hold for a few seconds, and voila! Easy, peasy, curly breezy! The best part? You're in control, so you can create tight ringlets or loose waves, whatever tickles your fancy. So go ahead, grab that curling brush, and let your hair twirl its way to fabulousness!
How do you use a curling brush?
First, make sure your hair is dry and brushed through. We don't want any tangles now, do we? Next, apply a dash of heat protectant to keep your hair safe and shiny. Now, section off your hair into manageable chunks. The fun part begins: take your curling brush, wrap a section of hair around it, and roll it upwards towards your scalp. Hold for a few seconds (a perfect time for a quick selfie!), then gently unwind. Repeat this process with all sections. Voila! You've just created gorgeous, bouncy curls with your curling brush. Remember, practice makes perfect. So, go on, have fun, and let your hair enjoy its curly dance!
Do heat brushes work on short hair?
Absolutely, darling! Heat brushes are like the fairy godmothers of the hair styling world, especially for short hair. They work their magic by adding volume, creating waves, or sculpting those cute, bouncy curls you're after. The best part? They're super easy to use. Just section off your hair, apply some heat protectant (because safety first!), and glide the brush through from root to tip. In no time at all, you'll have transformed your short hair into a voluminous, curly masterpiece. So, don't hesitate to invite a heat brush to your next hair-styling party! Remember, it's not about the length of your hair, but how you style it that counts!
Does a round brush make hair curly?
Round brushes are like secret agents in the beauty world, covertly creating those lush curls we all love. They might seem like ordinary brushes, but they're actually curl-creating wizards in disguise! Here's how it works: when you wrap your hair around the round brush while blow-drying, it acts as a curling wand, creating bouncy, salon-worthy curls right at home. It's like having your own personal hair stylist at your fingertips! So, if you're dreaming of curly locks, grab a round brush and start creating your own hair magic! Remember, curls just wanna have fun!