
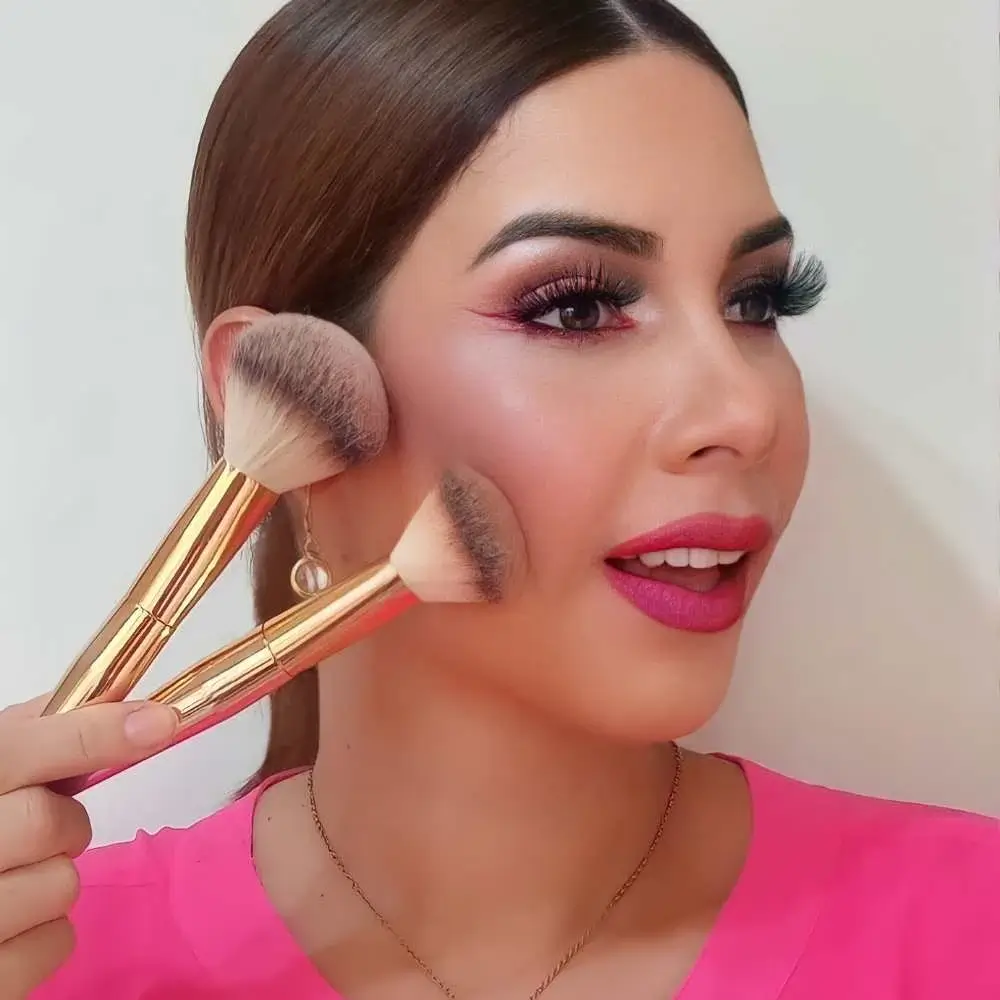
Ladies and gents, let's talk dirty, but not the kind you're thinking! Clean your makeup brushes, we mean. We all know that feeling of applying makeup with freshly cleaned brushes, but how often do we actually give them the spa treatment they deserve? Well, buckle up, because we're diving into the glamorous world of brush hygiene.
In this article, we'll reveal the short answer to keeping your brushes in tip-top shape, as well as reasons why you should keep reading. Spoiler alert: the secret to cleaning makeup brushes lies in a simple routine that takes just minutes. But don't stop there! Keep reading to discover expert tips, tricks, and hilarious anecdotes that'll have you looking at your makeup tools in a whole new light. Let's scrub away the grime and get ready to face the world with a fresh, fabulous look!
Why You Need to Clean Your Makeup Brushes
Once upon a time, in a land filled with fabulous makeup looks, there were two brushes. One brush was cleaned regularly, while the other was not. The well-cared-for brush glided effortlessly across faces, creating flawless makeup applications. The neglected brush, on the other hand, left behind streaks, breakouts, and disappointment. The moral of the story? Clean your makeup brushes, of course!
Cleaning your makeup brushes is essential for maintaining their quality and preventing skin issues. Dirty brushes can harbor bacteria, causing breakouts and even infections. Moreover, makeup residue can build up on your brushes, affecting their performance and making it harder to achieve the desired look.
Choosing the Right Brush Cleaner or DIY Solution
Now that we've established the importance of cleaning your makeup brushes, let's talk about selecting the appropriate brush cleaner or making a DIY solution. There are plenty of options available on the market, but how do you choose the right one?
Store-Bought Brush Cleaners
There are various store-bought brush cleaners available, ranging from liquid solutions to solid cleansers. When selecting a product, consider the following:
- Ingredients: Look for gentle, non-abrasive ingredients that won't damage your brushes or irritate your skin. Avoid harsh chemicals and fragrances.
- Compatibility: Make sure the cleaner is compatible with the type of makeup brushes you own (synthetic or natural bristles).
- Ease of use: Opt for a cleaner that is easy to apply and rinse off, without leaving any residue behind.
DIY Brush Cleaning Solutions
If you prefer a more natural approach, you can create your own DIY brush cleaner using simple household ingredients. Here are two popular recipes:
- Mild soap and water: Mix a few drops of mild liquid soap (such as baby shampoo) with warm water. Swirl your brushes in the solution, then rinse thoroughly and gently squeeze out any excess water.
- Olive oil and dish soap: Combine equal parts olive oil and dish soap in a small bowl. Dip your brushes into the mixture, then massage the bristles to break down makeup residue. Rinse well and gently squeeze out any excess water.
Whether you choose a store-bought cleaner or whip up a DIY solution, the key is to clean your makeup brushes regularly. Doing so not only extends their lifespan but also keeps your skin looking its best. Remember the tale of the two brushes, and don't let your makeup tools become a source of frustration. Happy cleaning!
The Art of Cleaning Your Makeup Brushes: Timing is Everything
Clean your makeup brushes – a phrase that every beauty enthusiast should have etched into their minds. But how often should you actually clean them? The answer lies in understanding the different types of brushes and their recommended cleaning frequencies. So let's dive in and decode the art of keeping your brushes fresh and ready to create stunning makeup looks.
Foundation and Concealer Brushes: The Frontline Defenders
Foundation and concealer brushes are the frontline defenders of your makeup arsenal. They come into direct contact with your skin, helping to create a flawless base for the rest of your look. Due to their close contact with liquid and cream products, these brushes should be cleaned at least once a week. This will prevent product build-up and reduce the risk of transferring bacteria onto your skin.
Powder, Blush, and Bronzer Brushes: The Cheeky Companions
Next up, we have powder, blush, and bronzer brushes – the cheeky companions that add color and definition to your face. Since these brushes are used with powder products, you can afford to clean them less frequently. Aim for a thorough cleaning every two weeks to keep them in tip-top shape and maintain their performance.
Eyeshadow Brushes: The Colorful Chameleons
Eyeshadow brushes are the colorful chameleons of your makeup collection. They help you blend, define, and experiment with various shades on your eyelids. Given their frequent exposure to pigments, it's essential to clean these brushes at least once a week. This will ensure that your eyeshadow application remains precise and true to color.
Eyeliner and Eyebrow Brushes: The Detail-Oriented Duo
Your eyeliner and eyebrow brushes are the detail-oriented duo responsible for creating sharp lines and filling in sparse areas. These brushes require extra care due to their delicate bristles and the nature of their tasks. To maintain their precision, clean them at least once a week. This will prevent product build-up and keep the bristles in optimal condition.
Lip Brushes: The Pout Perfectors
Last but not least, we have lip brushes – the pout perfectors that help you achieve a flawless lip look. These brushes are often exposed to creamy and pigmented products, making it crucial to clean them after each use. Doing so will prevent color mixing and ensure that your lip application is always on point.
Understanding the recommended cleaning frequency for various brush types is key to maintaining their performance and protecting your skin. By following these guidelines, you can ensure that your makeup brushes stay clean, hygienic, and ready to create beautiful looks. So go ahead, clean your makeup brushes, and enjoy the benefits of a well-maintained makeup collection.
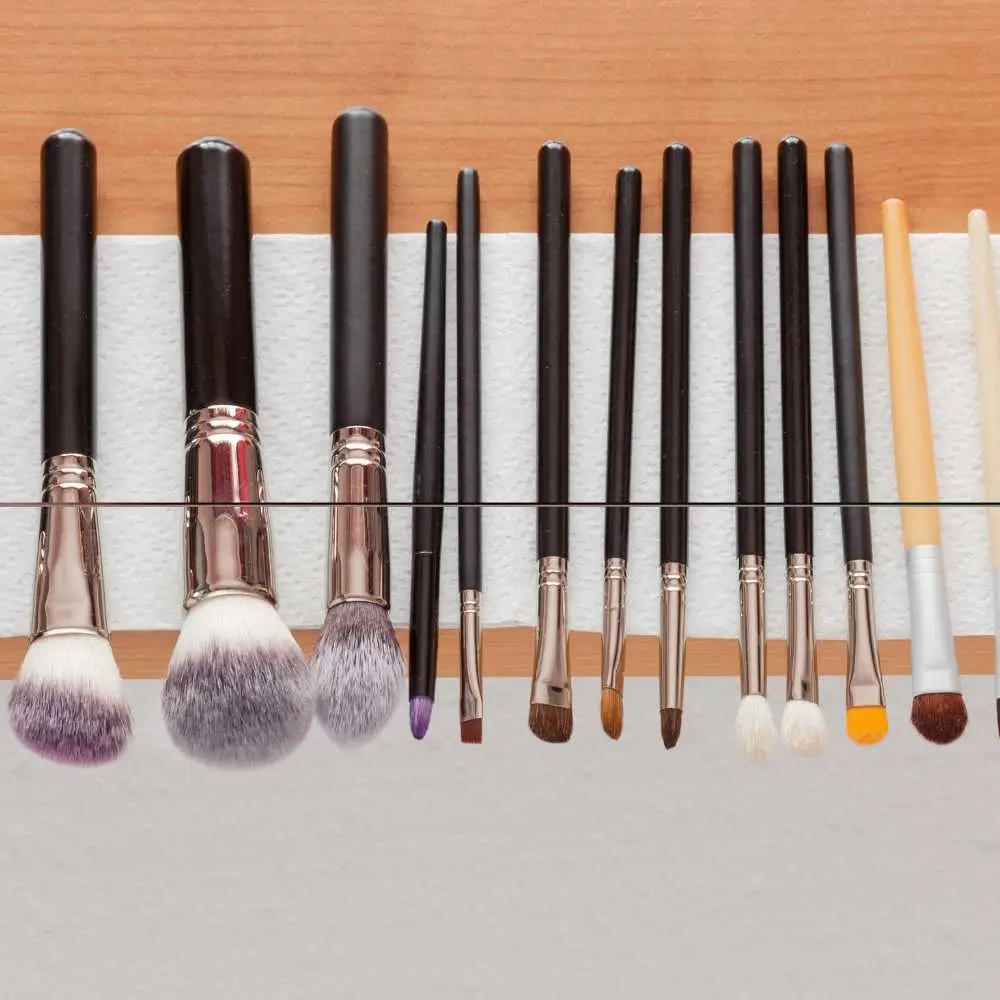
A Step-by-Step Guide to Properly Clean Makeup Brushes
Hey there, gorgeous! We know you're all about keeping your skin looking fabulous. And guess what? So are we! That's why we want to share the secret to preventing breakouts and achieving flawless makeup application: clean your makeup brushes!
We get it – cleaning those brushes can feel like a chore. But fear not, beauty enthusiast! We're here to turn this task into a fun-filled adventure with our super-simple, step-by-step guide to properly cleaning your makeup brushes. Ready, set, let's get those brushes sparkling!
Gather Your Makeup Brush Cleaning Supplies!
Alright, beautiful people, it's time to round up the squad for a brush-cleaning extravaganza! But before we get this party started, let's make sure we have all the essentials to clean your makeup brushes:
- The Star of the Show: Makeup brush cleanser (because every party needs a fabulous host)
- The VIP Lounge: A bowl or cup (a luxurious spot for your brushes to take a cleansing dip)
- The Red Carpet: A clean towel (for your brushes to strut their stuff after their spa treatment)
- The Paparazzi: Paper towels (ready to capture any extra moisture and keep those brushes looking glam)
Now that we've got our supplies, let's get ready to rock this brush-cleaning bash!
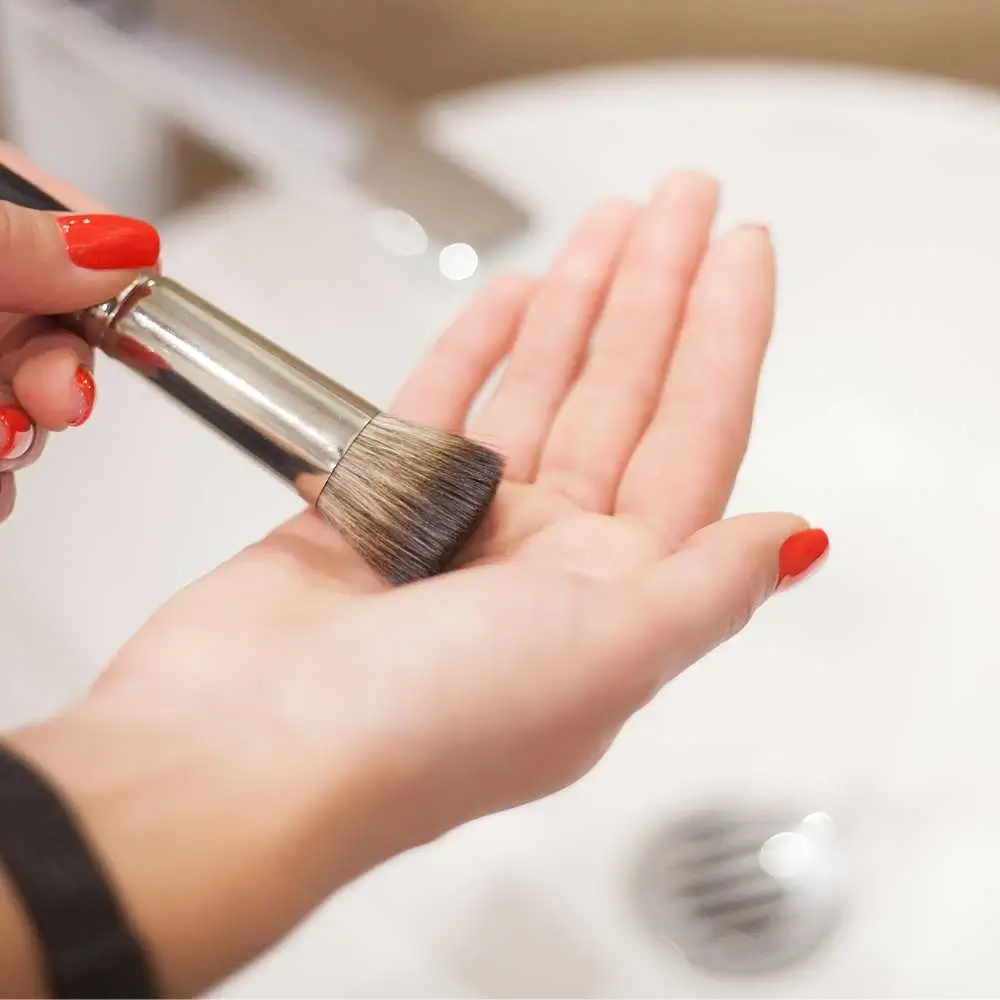
Step One: Wet Your Brush Head
Alright, it's time for the first step in our brush-cleaning adventure! Let's give that brush head a warm and welcoming bath. Gently wet the head of your brush with warm water – this will help break up any stubborn makeup or dirt that's been crashing the party. Remember, clean your makeup brushes and let the fun times roll!
Step Two: Add Cleanser to Your Brush
Now that your brush head has enjoyed a refreshing dip, it's time to introduce it to the life of the party: the cleanser! Add a pump or two of cleanser to the bristles and let the magic happen as you work up a fabulous lather. Don't have a dedicated makeup brush cleanser? No worries! Any gentle soap will do just fine. So go ahead, clean your makeup brushes and let them dance in those sudsy bubbles!
Step Three: Rinse Your Brush Head
Alright, party people, it's time to rinse off those dancing bristles! Gently wash the head of your brush under warm water until the water runs clear. You might need to do a few encores to make sure all the soap and makeup residue is gone. Then, give the bristles a gentle squeeze to remove excess water, and let them lounge on a clean towel to dry.
Pro tip: Don't let your brushes go skinny-dipping for too long – this can cause the bristles to fall out!
And there you have it! Cleaning your makeup brushes can be a blast with these simple steps. Now go enjoy your squeaky-clean, bacteria-free brushes, and keep slaying those looks!
We all know makeup brushes are a must-have for creating stunning looks, but they can also be sneaky little hideouts for bacteria and dirt. That's why it's time to show those brushes some love and clean them regularly!
But how you ask? Fear not, fabulous friends – we've done the research and found the best cleansers for makeup brushes. Just click on the link and check out the prices today. Whether you're into foamy fun or germ-busting sprays, we've got your back.
So, what are you waiting for? Let's get those brushes squeaky clean and keep the good vibes rolling! Clean your makeup brushes and unleash your inner makeup artist!
The Art of Drying and Storing Your Makeup Brushes: A Crucial Step in the Cleaning Process
So, you've taken the time to clean your makeup brushes – great job! But before you start celebrating, there's one more crucial step to consider: proper drying and storage. Ensuring your brushes are adequately dried and stored not only prolongs their lifespan but also prevents the growth of bacteria. Let's explore the best techniques to keep your brushes in tip-top shape for longer.
The Golden Rules of Drying Your Makeup Brushes
When it comes to drying your makeup brushes, following these golden rules will make all the difference:
- Gently squeeze out excess water: After cleaning, gently squeeze the bristles of your brush to remove any excess water. Be careful not to tug or pull on the bristles, as this can cause damage.
- Reshape the bristles: While the brush is still damp, use your fingers to reshape the bristles into their original form. This will help maintain their shape and performance over time.
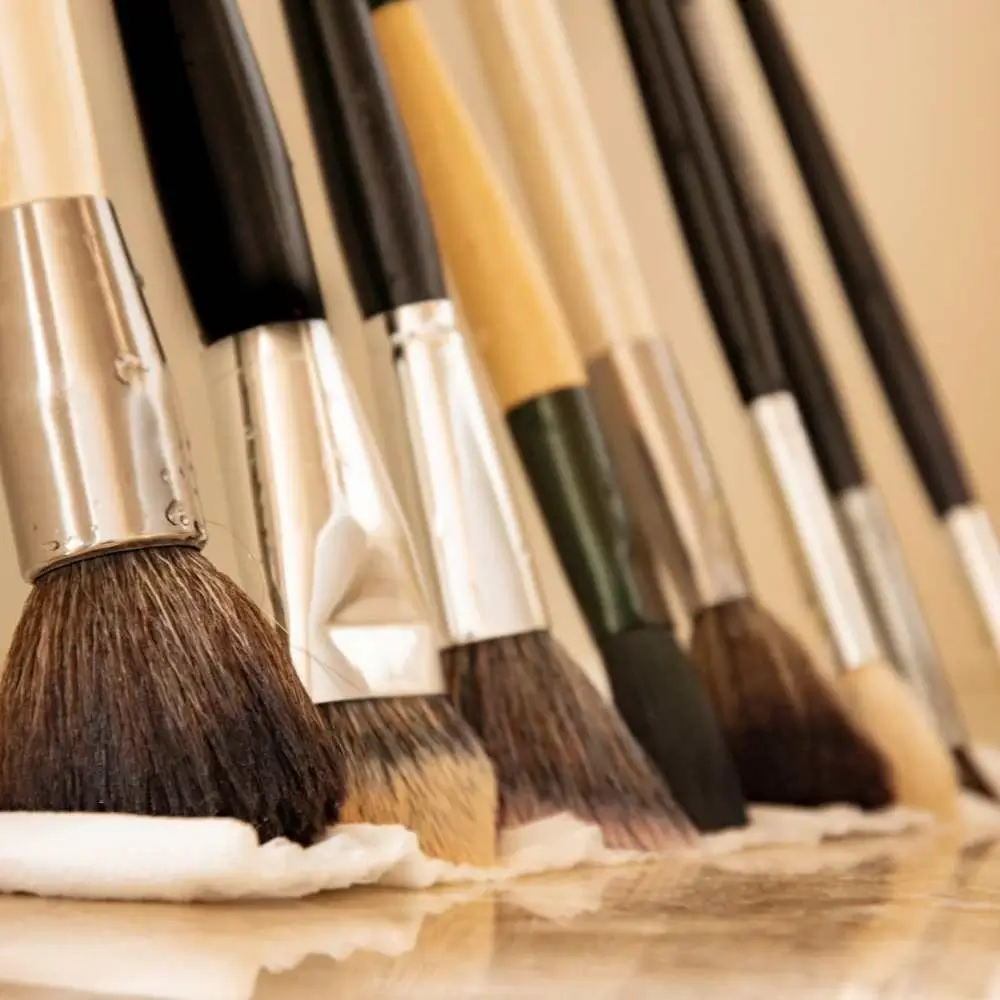
- Lay brushes flat to dry: Place your brushes on a clean, dry towel and lay them flat to dry. Avoid standing them upright, as water can seep into the handle and cause damage to the glue that holds the bristles in place.
- Allow for adequate airflow: Ensure your brushes are in a well-ventilated area while they dry. Good airflow will speed up the drying process and prevent any funky smells from developing.
Smart Storage Solutions for Your Makeup Brushes
Once your brushes are clean and dry, it's time to think about storage. Here are some smart solutions to keep your brushes organized and ready for action:
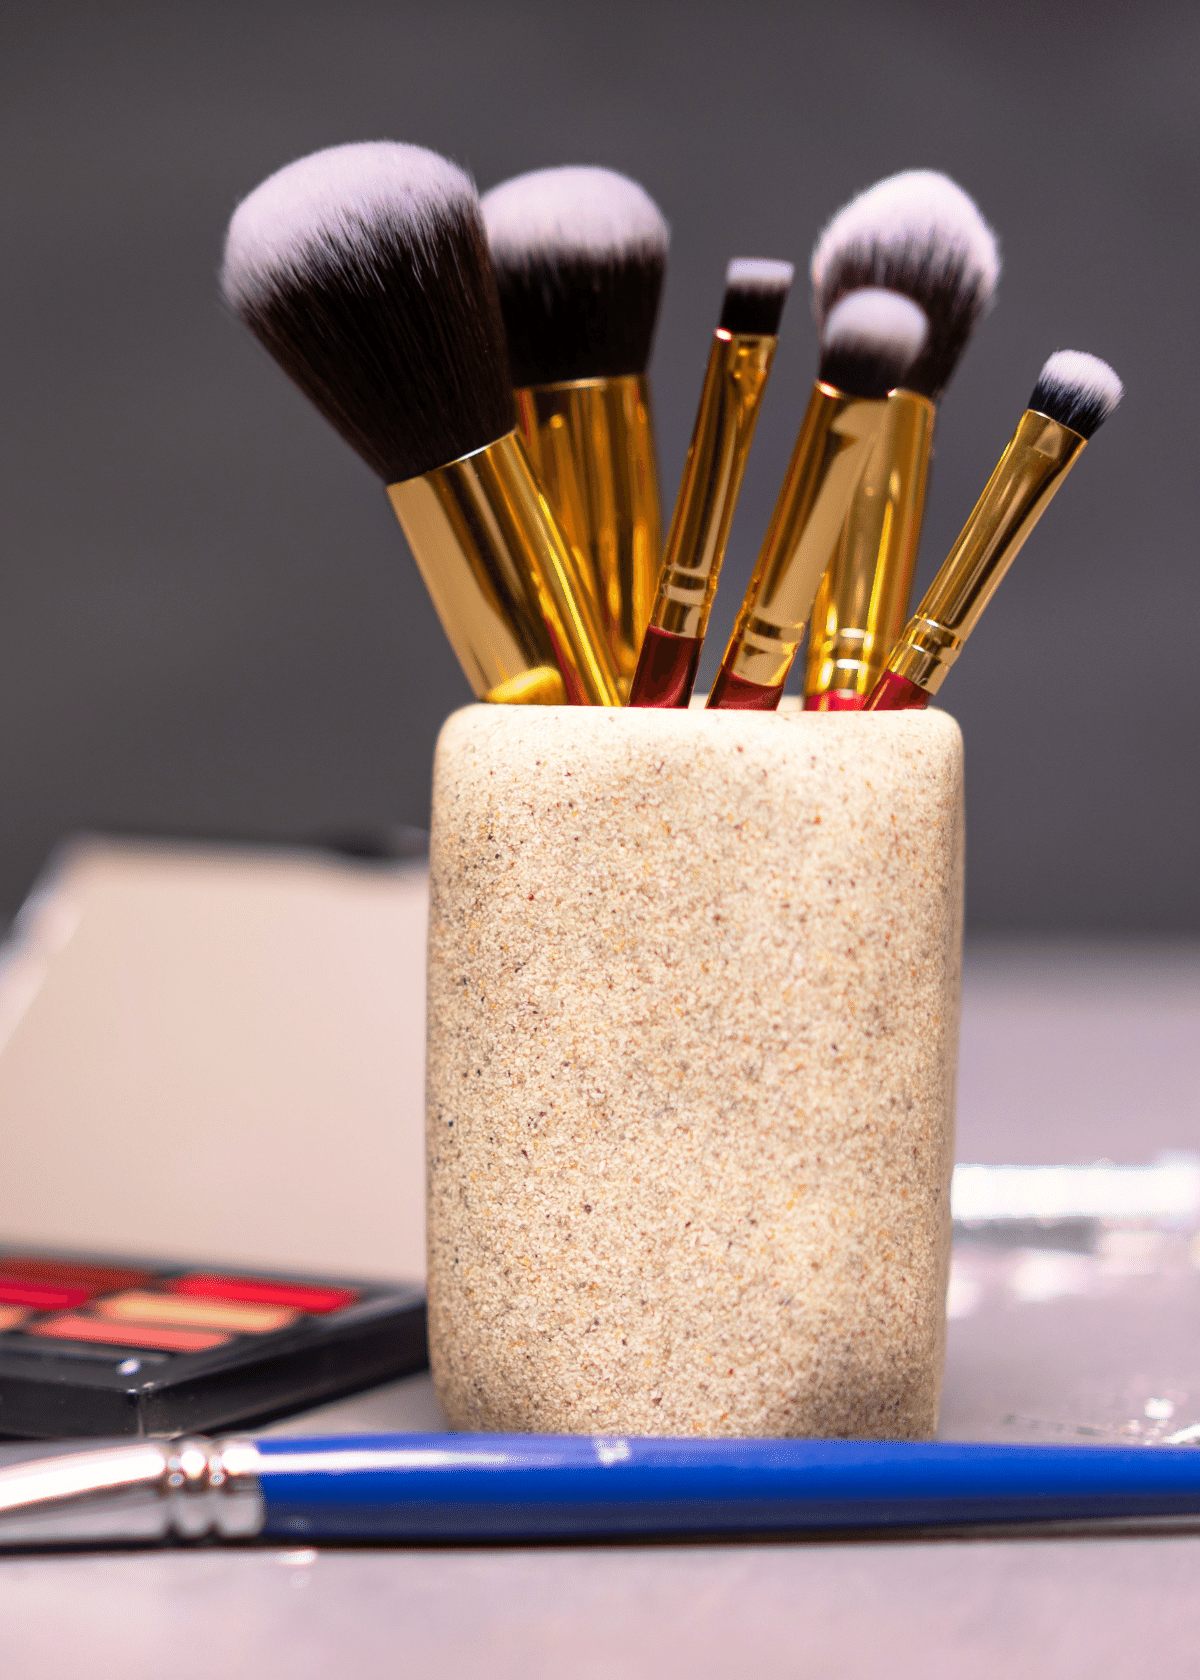
Upright Storage: The Classic Approach
Storing your brushes upright in a cup or brush holder is a classic and practical approach. This method keeps the bristles suspended in the air, preventing them from becoming misshapen. Just make sure to store your brushes in a clean, dry area and avoid overcrowding them, which can cause the bristles to lose their shape.
Roll-Up Brush Case: The Travel-Friendly Option
For those who are always on-the-go, a roll-up brush case is an excellent travel-friendly option. This type of storage keeps your brushes organized and protected while you're on the move. Look for cases with individual compartments or slots for each brush to prevent bristle damage and maintain their shape.
Magnetic Wall-Mounted Storage: The Space-Saving Solution
If you're short on counter space, consider a magnetic wall-mounted storage solution. By attaching a magnetic strip to your wall or the inside of a cabinet door, you can easily store your brushes out of the way while still keeping them easily accessible. Just make sure to attach small magnets to the handles of your brushes so they'll stick to the strip.
Mastering the art of drying and storing your makeup brushes is just as important as cleaning them. By following these techniques, you'll ensure your brushes remain in excellent condition, ready to help you create stunning makeup looks. Remember, a well-cared-for brush is a happy brush – and a happy brush leads to flawless makeup applications!
Your Ultimate FAQ Guide to Cleaning Makeup Brushes!
What is the best home solution to clean makeup brushes?
Oh, DIY enthusiasts, have we got a treat for you! If you're looking for the best home solution to clean your makeup brushes, look no further than your very own kitchen! Here's a fabulous concoction that will leave your brushes squeaky clean and ready for action: Mix two parts of gentle dish soap with one part of olive oil (yes, the same one you use for cooking!). The dish soap will work wonders in breaking down makeup residue, while the olive oil keeps those bristles soft and conditioned. Just swirl your brushes in this magical mixture, rinse 'em off, and let them dry – voilà! Your brushes are now sparkling clean and ready for your next makeup masterpiece!
What kind of soap do you use to clean makeup brushes?
While there are fancy brush cleansers out there, you don't have to break the bank to get those bristles squeaky clean. Your best bet is a gentle, unscented soap – think baby shampoo or even a mild dish soap. These soapy superheroes are gentle enough not to damage your brushes while still being tough on makeup residue and bacteria. Just work up a lather, give your brushes a good scrub, rinse, and let them dry. And there you have it – a simple and affordable way to keep your makeup brushes in tip-top shape! Happy cleaning, brush buddies!
Can I use rubbing alcohol to clean my makeup brushes?
The answer is yes but with a little twist. Rubbing alcohol can be a quick and efficient way to disinfect your brushes and remove stubborn makeup residue. However, since it can be drying, it's best to use it in moderation and not as your go-to cleaner. Here's a fun way to use it: Mix equal parts rubbing alcohol and water in a spray bottle. Give your brushes a light spritz, then gently wipe them off with a clean cloth or paper towel. This way, you'll keep those bristles germ-free while still ensuring they stay soft and fluffy. Remember, though, that a good ol' soap-and-water wash is still the gold standard for regular brush cleaning. Happy brush sanitizing, you cleanliness connoisseurs!
How do you clean makeup brushes fast and easy?
Hey there, busy beauties! We know you're short on time, but that doesn't mean your makeup brushes have to suffer. Here's a quick and easy method to get those bristles clean in a flash: Grab a gentle, unscented soap (baby shampoo works like a charm!) and pour a small amount onto a clean, damp cloth or paper towel. Gently swirl your brush in the soap, working up a lather while watching makeup residue disappear. Next, rinse your brush under lukewarm water until all the soap is gone. Gently squeeze out any excess water, reshape the bristles, and lay your brush flat to dry. And there you have it – a fast, fuss-free way to keep your makeup brushes looking and feeling fabulous! Now go rock that stunning look, you gorgeous time-saver!
Can I use a cleanser to clean makeup brushes?
If you're wondering whether you can use your favorite facial cleanser to clean your makeup brushes, the answer is a resounding yes! In fact, it's a fabulous idea, especially if your cleanser is gentle and effective at removing dirt and makeup. Simply wet your brush with lukewarm water, apply a small amount of cleanser to the bristles, and gently massage it in using circular motions. Rinse thoroughly under running water until the water runs clear and all the cleanser is gone. Gently squeeze out any excess water, reshape the bristles, and lay your brush flat to dry. And voilà! Your brushes are now squeaky clean and ready for more makeup magic, thanks to your trusty cleanser. Happy brush cleaning, you beauty aficionados!
How do you dry makeup brushes fast?
First, gently squeeze out any excess water from the bristles (but be gentle – no wringing!). Next, grab a clean towel and press the brush head gently against it to absorb even more moisture. Now, for the pièce de résistance: find a spot with good air circulation, like near an open window or fan. Position your brushes with the bristles hanging over the edge of a counter or table, so they're not touching any surfaces. This will allow air to circulate around them and speed up the drying process. And remember, always dry your brushes flat or facing down to prevent water from seeping into the ferrule and loosening the glue. Voilà! Your brushes will be dry and ready for action in no time. Happy speedy drying, you makeup maestros!
Read our article about best cruelty free lipstick here!
Read our article about best deodorant for kids here!
Read our article about best lip balm for men here!