
Picture this: You wake up after a long night of binge-watching your favorite TV show, only to find dark circles under your eyes that could rival a panda bear. Fear not, my friend! In this article, we'll reveal the secrets to applying concealer like a pro, turning you into a makeup magician. The short answer? It's all about blending, choosing the right shade, and knowing where to apply it. But don't just settle for the short version—keep reading and we'll guide you through each step with humor, relatable anecdotes, and expert tips that will have you camouflaging those pesky imperfections in no time. Get ready to conquer the concealer game and wave goodbye to tired eyes and blemishes!
Concealers are like magical wands for anyone with dry or sensitive skin, zapping away blemishes and imperfections in a snap! They can even help you sculpt and define your features like a pro. Packed with nourishing ingredients, these skin-loving potions hydrate and soothe flakiness and irritation. And guess what? Many concealers come with SPF, shielding your skin from the sun's pesky rays. So, if you're on the hunt for a versatile product to tackle dryness and sensitivity, look no further than a top-notch concealer. Oh, and don't forget to pick up the perfect concealer brush to apply concealer like a pro! Wink, wink!

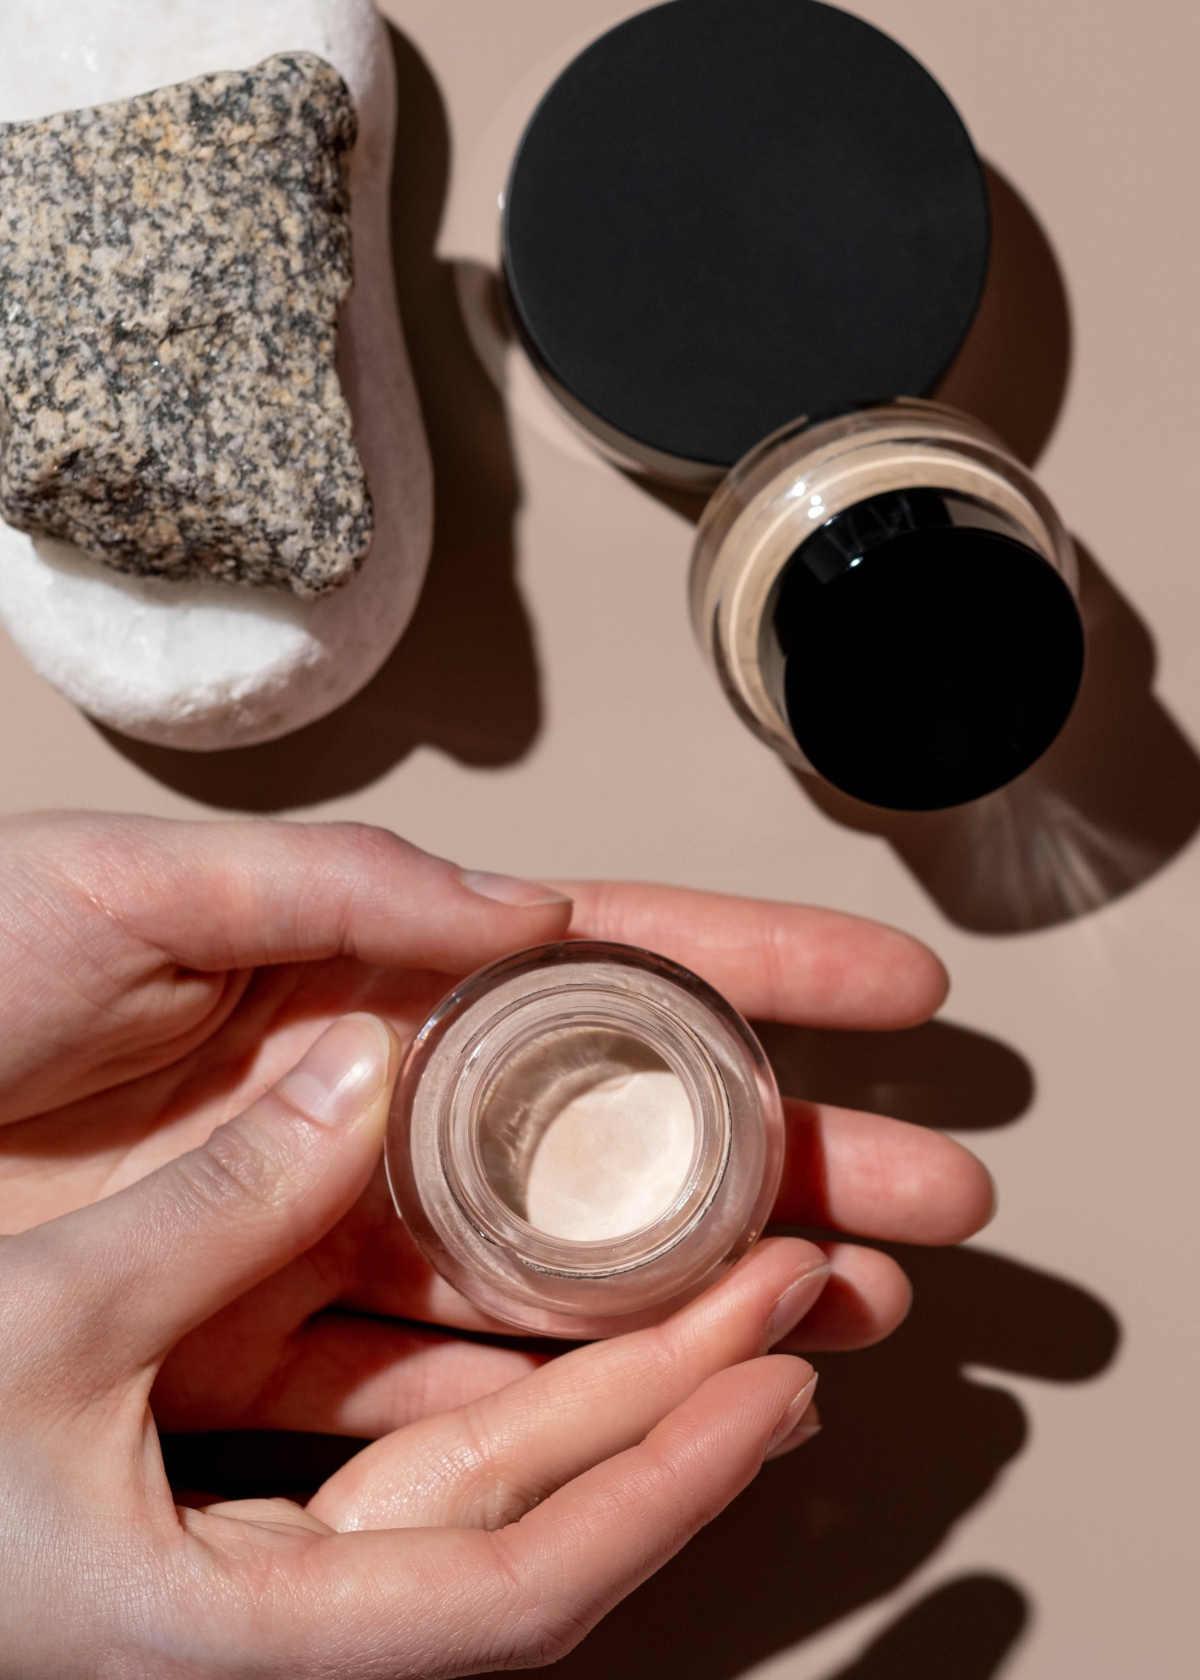
Different Types of Concealers
Learning to apply concealer like a pro is a game-changer when it comes to achieving a flawless complexion. However, before you can become a concealer expert, it's essential to understand the different types of concealers available and their specific purposes. In this article, we'll break down the various concealer options and help you choose the perfect one for your unique needs.
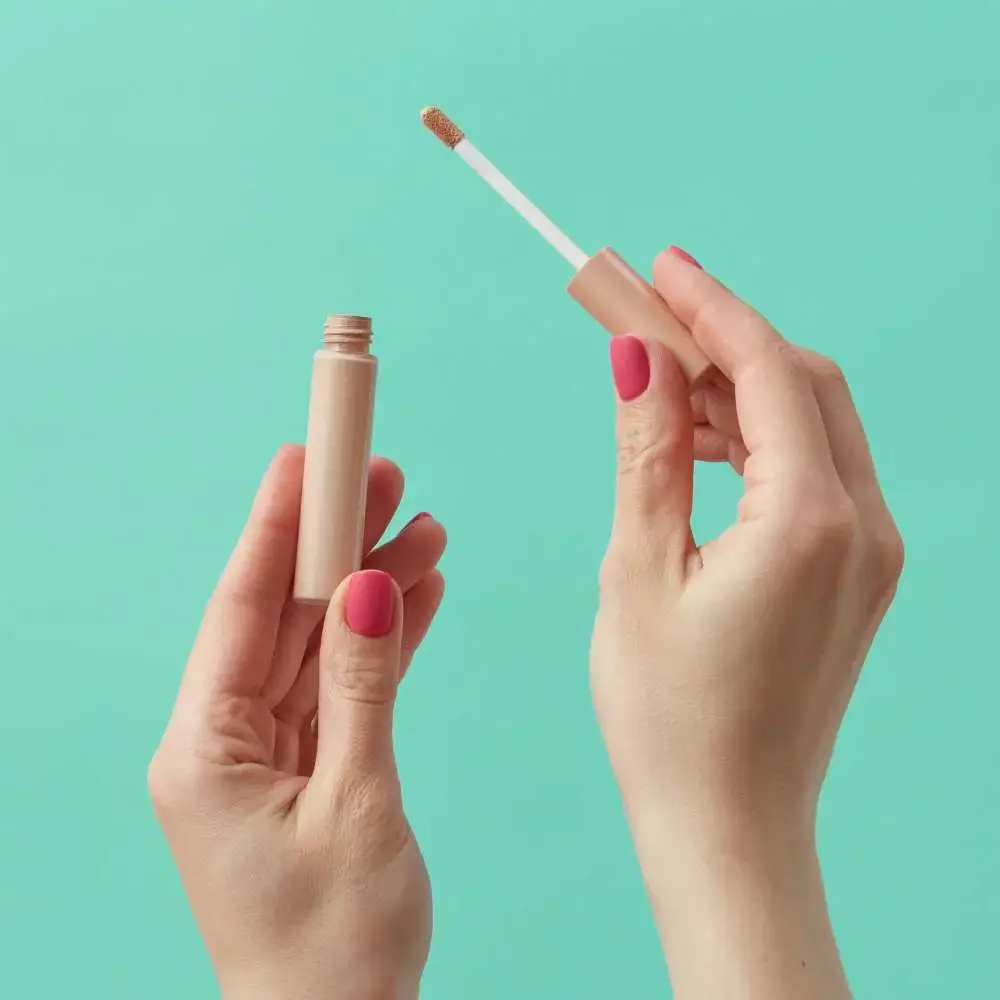
Liquid Concealer
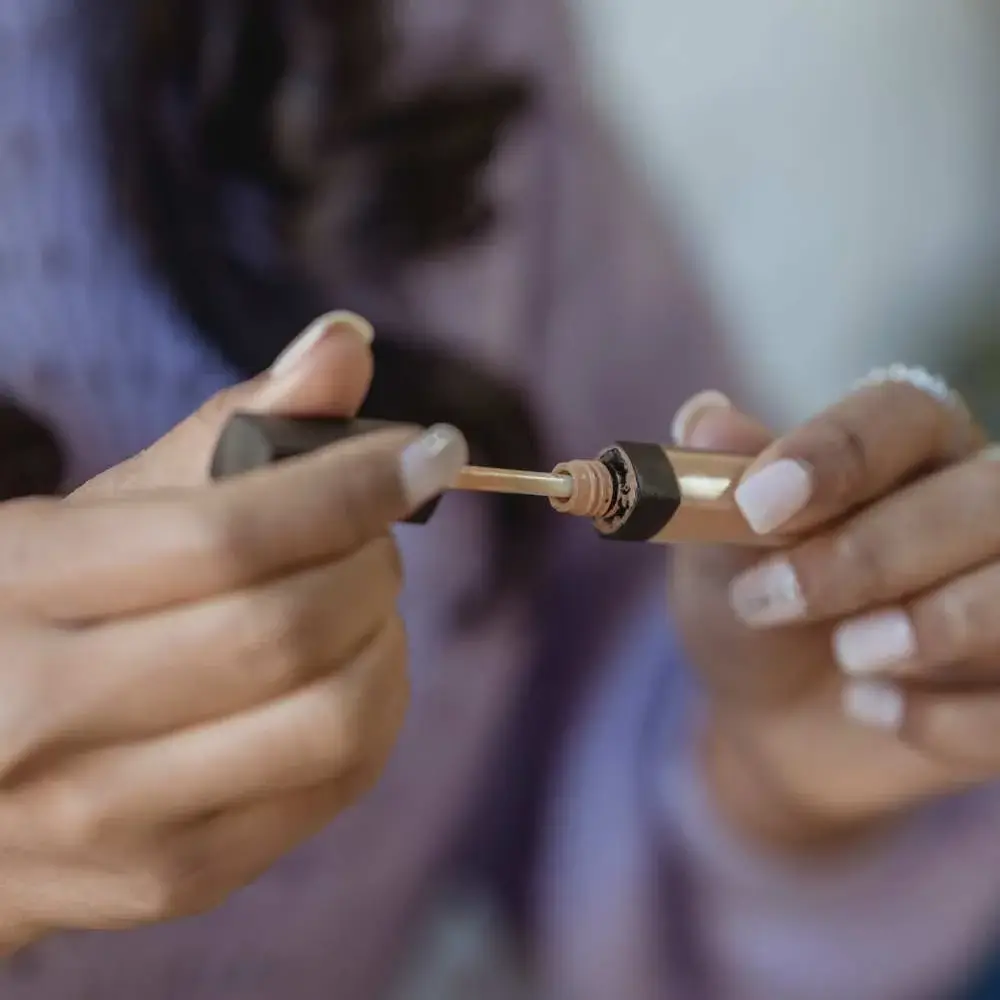
Liquid concealer is a versatile and popular choice among makeup enthusiasts and professionals alike.
- Best for: All skin types, especially for those with dry or combination skin.
- Coverage: Ranges from light to full, depending on the formula.
- Application: Easily applied with a brush, sponge, or your fingertips.
This type of concealer offers a natural finish and is excellent for covering dark circles, redness, and minor blemishes. Plus, it's buildable, allowing you to achieve your desired level of coverage without looking cakey.
Cream Concealer
Cream concealers have a thicker consistency, providing more coverage compared to liquid formulas.
- Best for: Normal to dry skin types.
- Coverage: Medium to full.
- Application: Apply with a brush or your fingertips, and blend using a damp sponge.
Due to its creamy texture, this type of concealer is ideal for covering more prominent imperfections like blemishes, scars, and discoloration. However, it may require setting with powder to prevent creasing, especially in the under-eye area.
Stick Concealer
Stick concealers come in a solid form, making them convenient for on-the-go touch-ups.
- Best for: Normal to oily skin types.
- Coverage: Medium to full.
- Application: Draw directly onto the skin and blend with a brush, sponge, or your fingertips.
These concealers are perfect for targeting specific areas like blemishes, redness, and dark spots. However, they might not be the best choice for the under-eye area, as their thicker texture can settle into fine lines.
Color-Correcting Concealer
Color-correcting concealers come in various shades designed to neutralize specific skin concerns.
- Best for: All skin types.
- Coverage: Light to medium.
- Application: Apply with a brush or your fingertips, and blend using a damp sponge.
These concealers work by following the color wheel principles: opposite colors cancel each other out. For example, green cancels redness, while peach or orange counteracts blue or purple undertones (like dark circles).
Remember, when using color-correcting concealers, always apply them before your regular concealer to achieve the best results.
Understanding the different types of concealers is crucial if you want to apply concealer like a pro. By choosing the right formula for your skin type and concerns, you'll be one step closer to mastering the art of concealing and achieving a flawless complexion. So, go ahead and explore the world of concealers to find your perfect match!
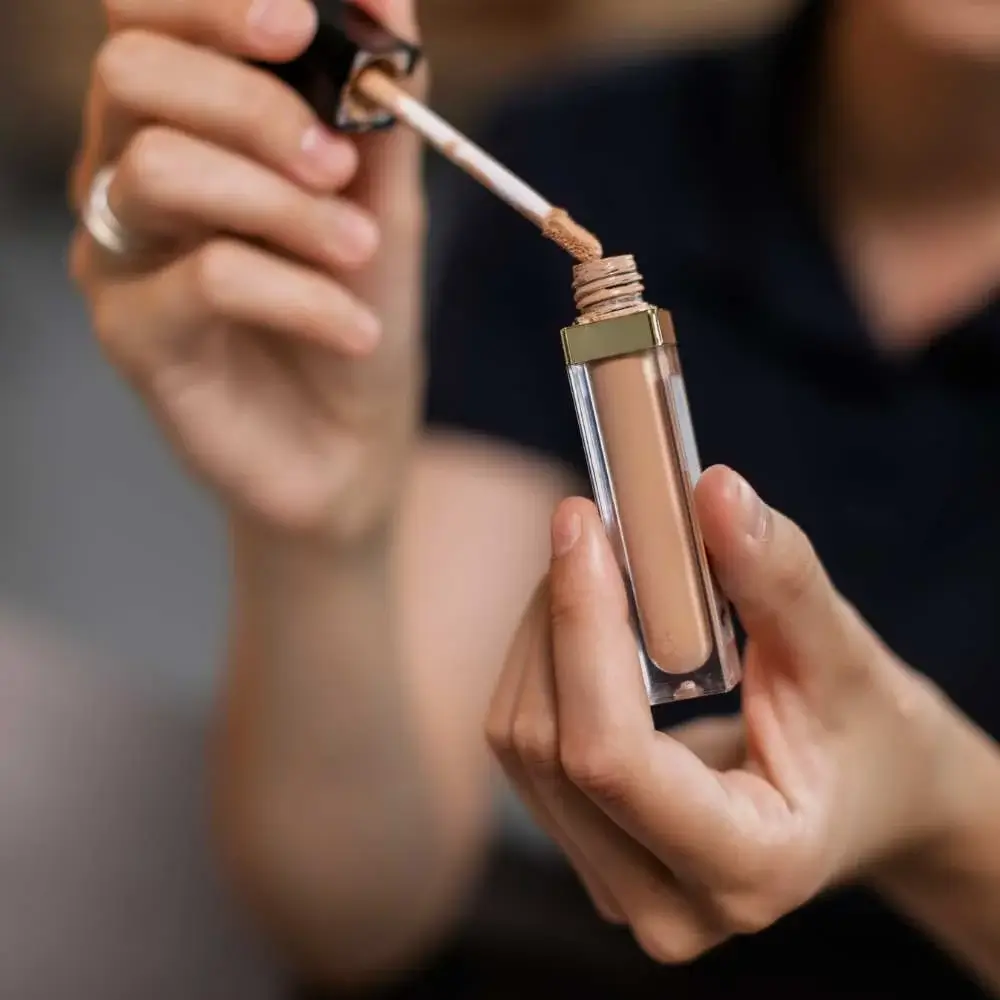
Proper Concealer Application Tools
To apply concealer like a pro, you'll need more than just the perfect product; you'll also need the right tools. Using the proper application tools can make all the difference in achieving a seamless, natural-looking finish. In this article, we'll discuss the essential tools for applying concealer and how to use them effectively.
Concealer Brushes
Concealer brushes come in various shapes and sizes, each designed for a specific purpose. Here are some popular options:
Flat concealer brush: This type of brush has a flat, rounded tip, making it ideal for precise application on targeted areas like blemishes and redness.
Pointed concealer brush: With its tapered tip, this brush is perfect for getting into hard-to-reach areas such as the inner corners of the eyes or around the nose.
Fluffy blending brush: A small, fluffy brush is excellent for buffing out the edges of your concealer to create a seamless blend with your foundation.
Makeup Sponges
Makeup sponges are another essential tool for applying concealer. They come in various shapes and sizes, but the most popular option is the egg-shaped sponge.
How to use: Dampen the sponge before using it to prevent the concealer from being absorbed too much. Gently bounce the sponge on your skin to blend the product evenly.
Benefits: Makeup sponges provide an airbrushed, streak-free finish and are perfect for blending out liquid and cream concealers.
Fingertips
While not technically a "tool," your fingertips can be quite effective in applying and blending concealer, especially for cream formulas.
How to use: Warm up the product between your fingers before gently patting it onto your skin. Use a light touch and avoid dragging or pulling the skin.
Benefits: The warmth of your fingers can help melt the concealer into your skin, creating a natural, skin-like finish.
Having the right tools in your makeup arsenal is crucial if you want to apply concealer like a pro. Whether you prefer brushes, sponges, or your fingertips, mastering the proper technique with each tool will help you achieve a flawless, natural-looking complexion. So, invest in quality application tools and practice your technique to become a true concealer pro!
Preparing Your Skin for Concealer
Before you can apply concealer like a pro, it's essential to prepare your skin properly. Creating a smooth, hydrated canvas ensures that your concealer will glide on effortlessly and blend seamlessly into your complexion. In this article, we'll discuss the crucial steps for prepping your skin before applying concealer.
Step 1: Cleanse
Starting with a clean face is vital for any makeup application, including concealer.
How to: Use a gentle cleanser suitable for your skin type to remove dirt, oil, and impurities. Rinse with lukewarm water and pat your face dry with a clean towel.
Why: Cleansing helps create a fresh canvas for your makeup, reducing the chances of clogged pores and breakouts.
Step 2: Exfoliate
Exfoliating your skin removes dead skin cells, ensuring a smoother surface for your concealer.
How to: Choose a gentle exfoliant appropriate for your skin type, and use it 1-2 times per week. Be careful not to over-exfoliate, as it can cause irritation and sensitivity.
Why: Regular exfoliation helps to refine your skin's texture, allowing makeup to apply more evenly and last longer.
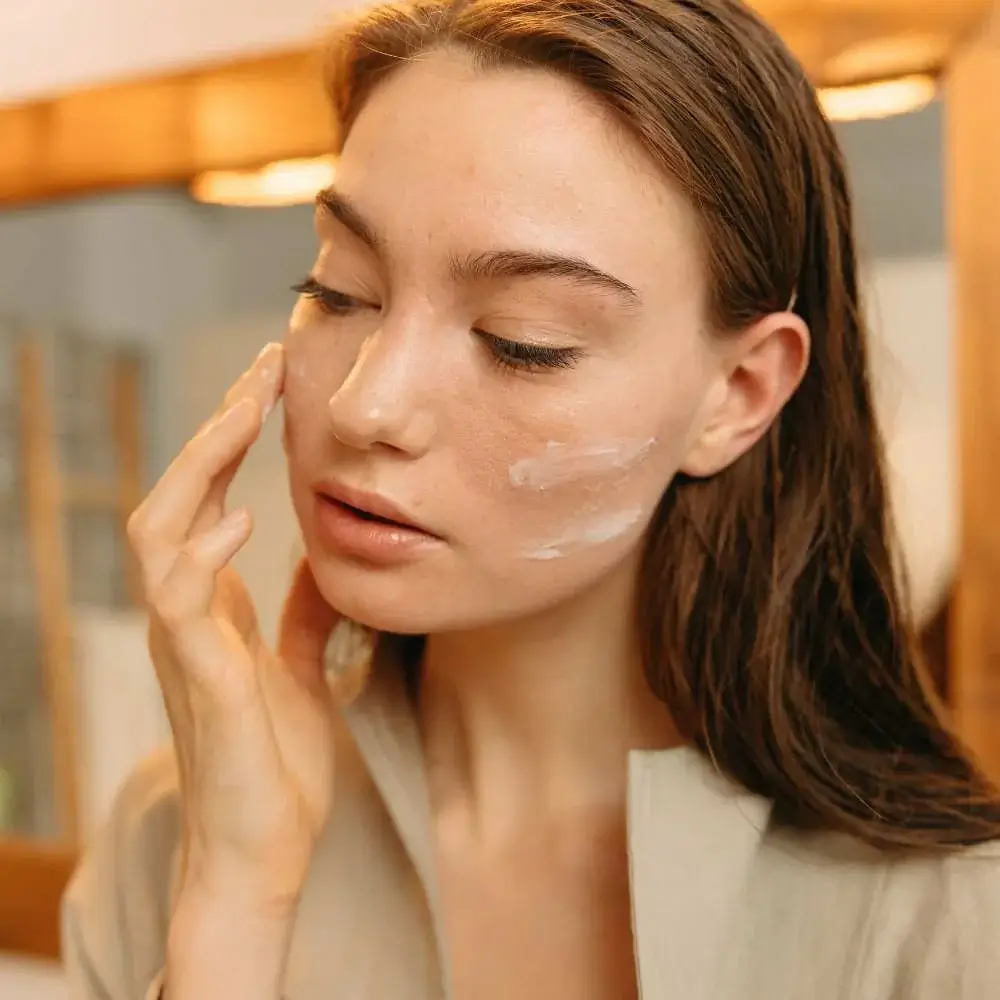
Step 3: Moisturize
Hydrating your skin is essential for achieving a flawless, natural-looking complexion.
How to: Apply a moisturizer suitable for your skin type, focusing on any dry or dehydrated areas. Allow the product to absorb fully before moving on to the next step.
Why: A well-moisturized face allows the concealer to blend more easily, preventing a cakey or patchy appearance.
Step 4: Prime
Using a makeup primer can help your concealer adhere better to your skin and last longer throughout the day.
How to: Choose a primer that addresses your specific skin concerns, such as pore-minimizing, color-correcting, or hydrating. Apply a small amount to your face, concentrating on areas where you plan to use concealer.
Why: Primers create a smooth barrier between your skin and makeup, enhancing the overall appearance and longevity of your concealer.
Step 5: Hydrate the Under-Eye Area
The delicate skin under your eyes requires extra care to ensure your concealer looks flawless.
How to: Gently pat an eye cream or serum around the eye area, focusing on any dry or fine lines. Allow the product to absorb fully before applying concealer.
Why: A well-hydrated under-eye area helps prevent creasing and ensures a smooth, even application of your concealer.
By following these steps to prepare your skin, you'll be well on your way to mastering how to apply concealer like a pro. Remember, the key to flawless concealer application lies in creating a smooth, hydrated canvas for your makeup to adhere to. So, invest in quality skincare products and take the time to prep your skin before diving into your concealer routine.

Choosing the Right Concealer
Have you ever wondered how professional makeup artists achieve flawless, natural-looking skin? The secret lies in their ability to apply concealer like a pro. In this article, we'll take you through the essential steps and tips to help you perfect your concealer application game. Let's dive in!
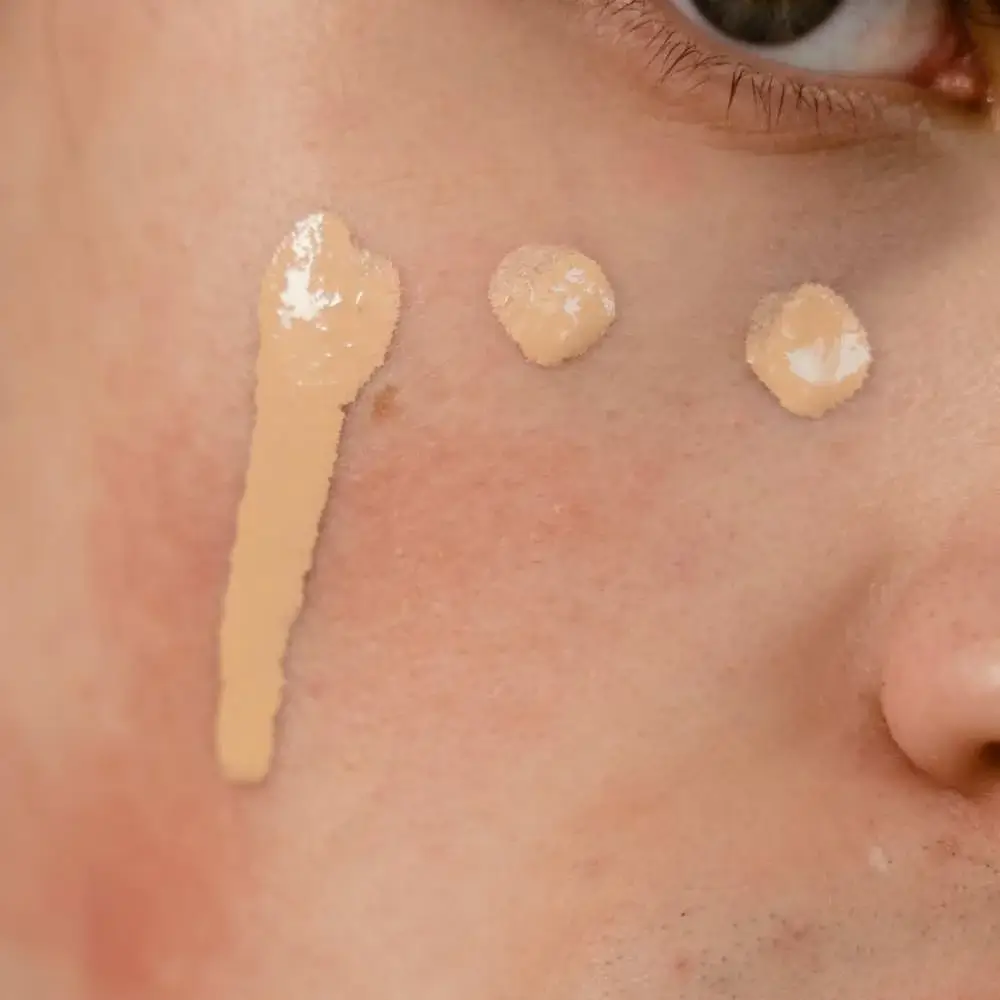
The first step to applying concealer like a pro is selecting the right product for your skin.
Consider your skin type: If you have oily skin, opt for a matte finish concealer that won't clog your pores. On the other hand, if you have dry skin, look for a hydrating formula with a creamy texture.
Match your skin tone: To find your perfect match, test the concealer on your jawline or the inside of your wrist. The right shade should blend seamlessly into your skin without leaving any streaks or lines.
Identify your skin concerns: Are you looking to cover dark circles, redness, or blemishes? Different concealers target different issues, so it's crucial to choose one that addresses your specific needs.
- For dark circles: Opt for a peach or orange-toned concealer to neutralize the blue undertones.
- For redness: A green-tinted concealer can help counteract redness and inflammation.
- For blemishes: Look for a full-coverage, non-comedogenic concealer that won't exacerbate acne.
Now that you know how to choose the right concealer let's discuss the proper techniques to apply it like a pro.
The Art of Application: Tips and Tricks
How to apply concealer perfectly. With just a few simple steps, you'll be on your way to looking like a flawless glam goddess. Let's get started!
- Start with a clean canvas. The first step to any good makeup routine is to start with a clean face. Be sure to wash your face and apply any moisturizers or serums before beginning your makeup routine. This will help create a smooth surface for your concealer to adhere to.
- Find the right shade of concealer. A common mistake people make when applying concealer is using the wrong shade. Be sure to match your concealer to your skin tone as closely as possible. If you're not sure which shade is right for you, I recommend going to a beauty counter and getting color-matched by a professional makeup artist.
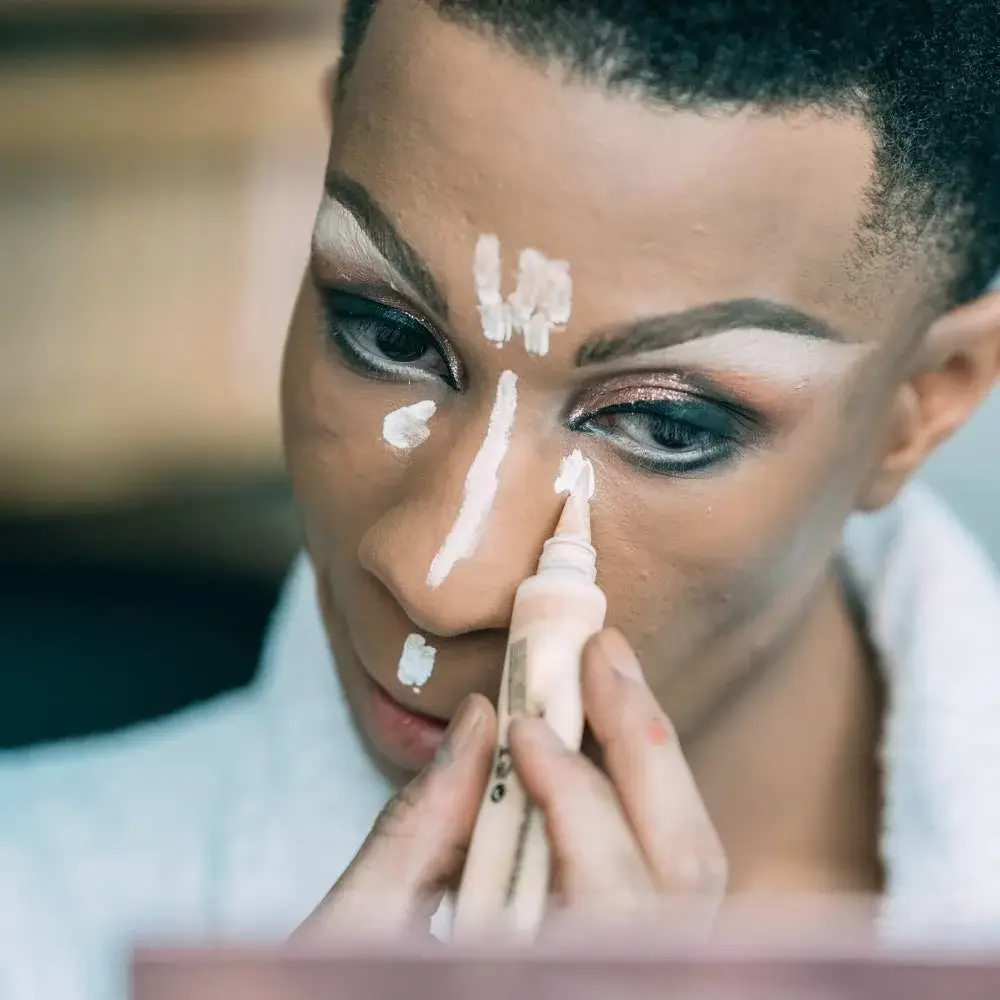
- Apply concealer in a triangle shape. Once you've found your perfect shade of concealer, it's time to start applying it! Using a synthetic brush or your fingers, apply the concealer in a triangle shape under your eyes. Then, blend the product outwards until it is fully blended into your skin.
- Set your concealer. No matter how well you've blended your concealer, it's not going to stay put if you don't set it with some sort of powder product. I like to use a setting powder or pressed powder for this step. Just lightly dust the powder over your entire face, focusing on areas where you applied concealer. This will help keep your makeup looking fresh all day long!
By following these steps and tips, you'll be able to apply concealer like a pro and achieve a flawless, natural-looking complexion. Remember, practice makes perfect, so don't be afraid to experiment with different techniques and products to find what works best for you. Happy concealing!
Applying Concealer to Different Areas
To truly apply concealer like a pro, it's essential to understand how to tackle various skin concerns and target specific areas. In this article, we'll explore the techniques for applying concealer to the under-eye area, blemishes and acne, and redness and discoloration.
Under-Eye Area
The delicate skin under your eyes requires a unique approach to ensure a smooth, crease-free finish.
How to: Apply a small amount of peach or orange-toned concealer to counteract blue or purple undertones. Use a brush or your fingertips to gently pat the product in a triangle shape from the inner corner of your eye, down to the center of your cheek, and back up to the outer corner. Blend the edges with a damp sponge or brush, taking care not to pull or tug on the skin.
Pro tip: To further brighten the under-eye area, follow up with a concealer that matches your skin tone or is one shade lighter.
Blemishes and Acne
Concealing blemishes and acne requires precision and the right technique to avoid drawing attention to imperfections.
How to: Choose a full-coverage, non-comedogenic concealer that matches your skin tone. Using a small, flat brush, dab the concealer directly onto the blemish, and then blend the edges with a clean brush or sponge. If necessary, add another thin layer for extra coverage.
Pro tip: Set the concealed blemish with a light dusting of translucent powder to prevent the product from sliding off throughout the day.
Redness and Discoloration
Neutralizing redness and discoloration can help create an even, balanced complexion.
How to: For redness, use a green-tinted concealer to counteract the color. Apply a thin layer to the affected area and blend with a brush or sponge. For discoloration, choose a concealer that matches your skin tone and apply it directly to the discolored area, blending the edges for a seamless finish.
Pro tip: If you're using color-correcting concealers, always apply them before your regular concealer to achieve the best results.
By mastering the techniques for applying concealer to different areas, you'll be well-equipped to apply concealer like a pro and achieve a flawless, even complexion. Remember, practice makes perfect, so don't be afraid to experiment with various products and tools to find what works best for your unique skin concerns.
Common Concealer Mistakes to Avoid
When learning how to apply concealer like a pro, it's just as important to recognize common mistakes that can hinder your progress. By avoiding these pitfalls, you'll be on your way to achieving a flawless, natural-looking complexion. In this article, we'll discuss some common concealer mistakes and how to steer clear of them.
Mistake #1: Using the Wrong Shade
Selecting the wrong shade of concealer can result in an unnatural appearance or even draw attention to the very imperfections you're trying to hide.
- Solution: Test several shades on your jawline or the inside of your wrist to find the perfect match. Remember, the right shade should blend seamlessly into your skin without leaving any streaks or lines.
Mistake #2: Over-Applying Concealer
Applying too much concealer can lead to a cakey, heavy look that emphasizes fine lines and wrinkles.
- Solution: Start with a small amount of product and build up coverage as needed. Remember, less is more when it comes to concealer.
Mistake #3: Neglecting to Set Your Concealer
Failing to set your concealer with powder can cause it to crease, fade, or transfer throughout the day.
- Solution: After applying concealer, set it with a light dusting of translucent powder to ensure it stays put all day.
Mistake #4: Skipping Skincare Prep
Neglecting to prepare your skin before applying concealer can result in an uneven, patchy finish.
- Solution: Cleanse, exfoliate, moisturize, and prime your skin before applying any makeup. This will create a smooth canvas for your concealer to glide on effortlessly.
Mistake #5: Not Blending Properly
Poor blending can leave your concealer looking obvious and unnatural on your skin.
- Solution: Spend extra time buffing the edges of your concealer into your skin with a brush, sponge, or your fingertips, creating a seamless transition between the concealed area and the rest of your complexion.
By avoiding these common concealer mistakes, you'll be well on your way to mastering the art of applying concealer like a pro. Remember, practice makes perfect, so don't be afraid to experiment with different techniques and products to find what works best for you and your unique skin concerns. Happy concealing!
In conclusion, learning how to apply concealer like a pro can be a game-changer for your makeup routine. By mastering the right techniques and using the appropriate tools, you'll be able to tackle various skin concerns and achieve a flawless, natural-looking complexion. Throughout this comprehensive guide, we've explored essential aspects of concealer application, including proper skin preparation, choosing the right tools for the job, tailoring your approach to different areas and concerns, blending techniques for a seamless finish, and avoiding common mistakes. By taking these insights to heart and practicing your skills, you'll soon become a true concealer virtuoso. Remember that practice makes perfect, and don't be afraid to experiment with different products and tools to find what works best for you and your unique skin needs. So, go forth and conquer the world of concealer! With your newfound expertise, you'll be well-equipped to create stunning, confident looks that showcase the best version of yourself. Happy concealing!
Conceal Like a Boss: FAQs on Mastering Professional Concealer Application
What's the correct order to apply concealer in a makeup routine?
The trick is to apply your foundation first, creating an even canvas for your masterpiece. Next, it's time for the star of the show – your trusty concealer! Dab it on those pesky blemishes, under-eye circles, or any other imperfections you want to vanish. Finally, set everything in place with a dusting of translucent powder, and voilà! Your makeup routine is complete, and you're ready to rock that flawless complexion all day long. Happy concealing, beauty gurus!
How do I choose the right shade of concealer for my skin tone?
The secret lies in testing different shades on your jawline or the inside of your wrist. You'll know you've struck gold when the concealer blends seamlessly into your skin without leaving any streaks or lines. Keep in mind that you may need different shades for different concerns: a slightly lighter shade to brighten up those under-eye circles, and a shade that matches your foundation for covering blemishes. So, go ahead and embark on your quest for the ultimate concealer shade. Your skin will thank you, and you'll be one step closer to makeup mastery! Happy shade hunting!
Should I use a brush, sponge, or fingers to apply my concealer?
The truth is, each method has its own perks, and it's all about finding what works best for you. Brushes offer precision and control, perfect for tackling blemishes and sharp contours. Sponges are your BFFs for a beautiful, airbrushed finish, especially when dampened. And let's not forget the power of your fingertips – they're great for warming up the product and blending it seamlessly into your skin, particularly for under-eye areas. So go ahead, experiment with these trusty tools, and soon enough, you'll discover your own magical touch for applying concealer like a true pro! Happy blending!

How can I prevent my concealer from creasing under my eyes?
First, make sure your under-eye area is well-moisturized – hydration is key for a smooth canvas. Next, apply a thin layer of eye primer to lock everything in place. When it's time for the concealer, less is more! Use a small amount and gently tap it with your ring finger or a damp sponge, building coverage as needed. Finally, seal the deal with a light dusting of translucent powder, focusing on the areas where creasing tends to occur. And there you have it – your guide to crease-free, bright-eyed fabulousness! Happy concealing, and may your under-eyes stay smooth and radiant all day long!
What's the best way to blend concealer for a natural look?
The secret to seamless blending lies in choosing the right tool and technique for your skin. If you're a fan of brushes, opt for a soft, fluffy one to gently buff the concealer into your skin. For the sponge devotees, try using a damp makeup sponge to tap and blend the product, creating an airbrushed effect. And if you prefer the warmth of your fingertips, gently pat and tap the concealer until it melts into your skin. Remember, the key is to build coverage gradually and focus on areas that need a little extra love. So go forth, blend like a boss, and revel in your naturally flawless complexion! Happy blending!
Can concealer be used as a primer for eyeshadow?
The answer is yes, concealer can indeed double as an eyeshadow primer to help you apply concealer like a pro. Talk about a multitasking marvel! To make your eyeshadow pop and stay put all day, simply dab a tiny amount of concealer onto your eyelids and blend it evenly with your fingertips or a brush. Make sure to set it with a light dusting of translucent powder or a neutral eyeshadow to create a smooth canvas for your eye-catching masterpiece. So go ahead, give your trusty concealer a new role in your makeup routine, and watch your eyeshadow game reach new heights! Happy priming and blending, beauty gurus!
Read our article about best concealer for mature skin here!
Read our article about best concealer brush on the market here!