
When it comes to nails, we always want them to look perfect and beautiful. Many ways can make your nails look great, like gel or acrylic nails. But what if you’re looking for something more long-lasting and durable? Welcome to the world of polygel nails! Polygel nails are a new blessing for all the fashionistas out there who love to stick to their manicures for a more extended period. But the question that arises is, how long do polygel nails last? In this post, we’ll cover everything you need to know about polygel nails to help you understand their durability and maintenance requirements.
Polygel nails are a combination of polymer and gel that provide flexibility and strength to the nail. They are primarily a recent development in the nail industry. Polygels have been in the market for a few years, but they have gained massive popularity among fashion lovers thanks to their durability and customizability. The longevity of polygel nails primarily depends on several external factors like care and maintenance, your daily routine, and how frequently you expose your nails to harsh chemicals.
Generally, polygel nails last around 3-4 weeks with proper maintenance and care. However, other factors like how fast your natural nails grow, how much time you spend swimming, and the type of adhesive used also play a crucial role. If you love to swim regularly or are into gardening or other physical activities, the polygel nails may not last as long as you expected. Also, if your natural nails increase, you may need to get your polygel nails refilled or changed more frequently.
To ensure that your polygel nails last longer, it’s essential to do regular maintenance and care. Keep your nails clean and dry, avoid exposure to harsh chemicals, moisturize your cuticles frequently, and do not use your nails as tools. Using poly gel-friendly products like alcohol-free removers will also keep your nails healthy and intact for a more extended period.
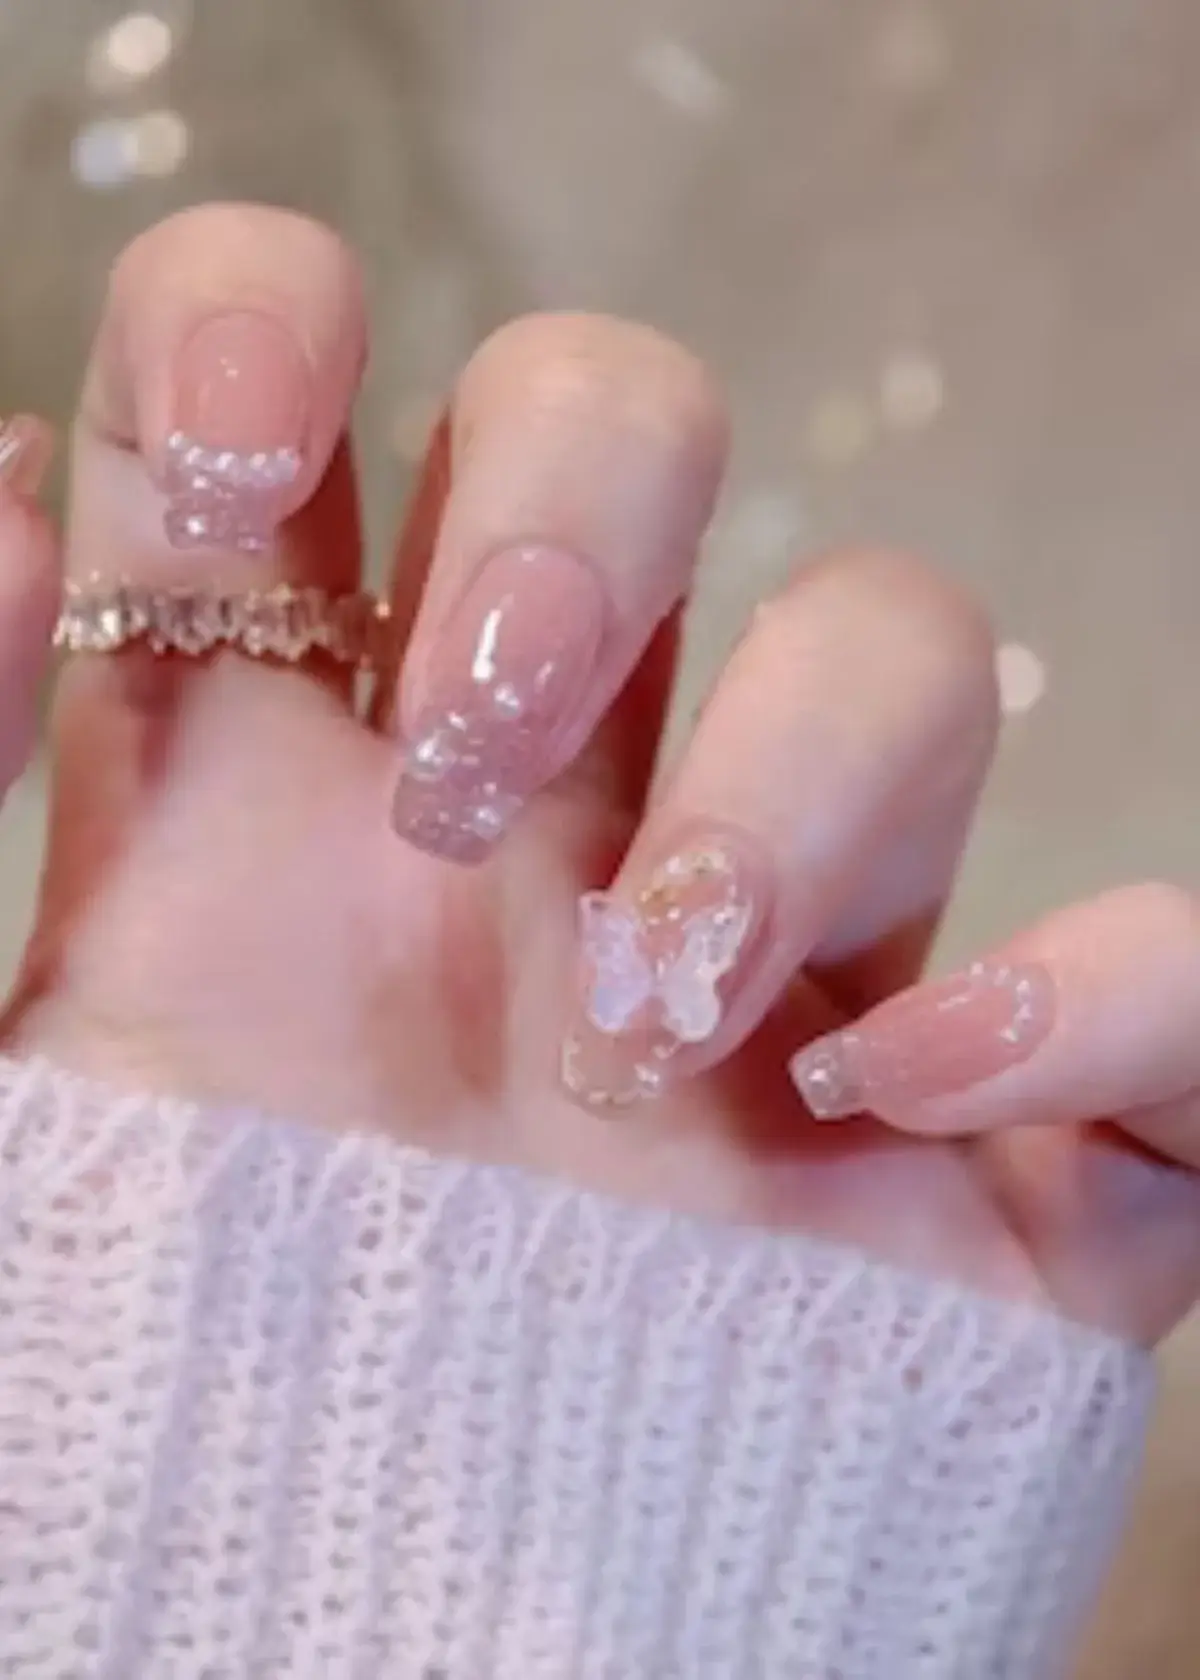
One of the most significant benefits of polygel nails is that they help protect your natural nails from chipping or breaking. They are designed to act as a seal over your natural nails and give them a layer of impenetrable protection. So, if you love to keep your nails strong and healthy, polygel nails are an excellent choice for you. They also provide you with many options to experiment with, from different colors to fancy designs and patterns.
To sum up, polygel nails are an excellent option for fashion lovers who want their nails to last longer and withstand harsh conditions. They provide durability, flexibility, and customizability, making them the perfect choice for people who love experimenting with their nails. Before getting your polygel nails done, consult an expert professional who can guide you through the process and help you maintain your nails to make them last longer. Remember, taking good care of your nails is critical to ensure their longevity, so keep them clean, dry, and away from harsh chemicals and nail-damaging routines. So, go ahead and give polygel nails a try - your nails will never look better!
Do you spend hours searching the internet to find the perfect polygel nail kit? We’ve done the hard work for you and have found the best polygel nail kit on the market. Whether you’re a seasoned pro or a beginner, this kit has everything you need to create flawless and durable nails. Say goodbye to salon appointments and hello to beautiful nails in the comfort of your own home. Don’t waste any more time searching; follow the link now to find your new favorite best polygel nail kit!
What is the recommended maintenance routine for Polygel nails?
To keep your Polygel nails looking their best:
- Follow a regular maintenance routine.
- Firstly, trim and shape them as needed.
- Apply a top coat every two weeks to maintain shine and protect against chipping.
- Be gentle with your nails, avoiding excessive force or exposure to harsh chemicals.
- Moisturize your cuticles daily to prevent dryness.
Lastly, consult a professional technician for timely repairs if you notice any lifting or damage. This routine will help extend the lifespan of your Polygel nails and keep them in excellent condition.
What is the difference between builder gels and Polygel?
Builder gels and Polygel serve the same purpose of nail enhancement but differ in composition and application. Builder gels are thicker and require UV or LED curing to harden. In contrast, Polygel is a hybrid between acrylic and gel, offering a more flexible texture that doesn't require curing lights. Polygel is easier to work with for DIY enthusiasts and offers a lightweight, natural look compared to builder gels. Choosing the product that aligns with your skill level and desired nail finish is essential.

What is the removal process for Polygel nails?
Polygel nails can be removed safely at home. Begin by filing the top layer of the Polygel to break the seal. Soak your nails in acetone for about 15-20 minutes. Gently scrape off the softened Polygel with a wooden cuticle or orangewood stick. Be patient and avoid excessive force to prevent damage to your natural nails. Once all the Polygel is removed, moisturize your nails and cuticles to restore hydration. This process ensures a gentle and effective removal of Polygel nails.

How do I store my Polygel kit for long-lasting use?
Proper storage is essential to prolong the shelf life of your Polygel kit. Store it in a cool, dry place away from direct sunlight and heat sources, as extreme temperatures can affect its texture. Ensure the containers are tightly sealed to prevent air exposure. Keep your brushes and tools clean and free from product residue by wiping them after each use. By following these storage guidelines, you can ensure that your Polygel kit remains in optimal condition for an extended period.
How do I clean and care for my Polygel brushes and tools?
Maintaining clean and well-cared-for brushes and tools is crucial for achieving salon-quality results with your Polygel kit. After each use:
- Remove excess product from your brushes and tools by wiping them with a lint-free cloth or paper towel.
- For a more thorough clean, soak them in a brush cleaner solution, followed by a gentle rinse with warm water.
- Ensure they are scorched before storing them to prevent bacterial growth or product buildup.
Regular cleaning and proper storage will extend the life of your tools and ensure precise application.
How do I maintain a salon-quality finish with my Polygel kit at home?
Achieving salon-quality results at home with your Polygel kit requires practice and attention to detail. Start with proper nail prep, including cleaning, shaping, and pushing back cuticles. Apply Polygel in thin, even layers to prevent excess bulk and ensure a natural appearance. Use a brush and slip solution to shape and sculpt the Polygel as desired. Invest time in filing and buffing to create a smooth, polished finish. Finally, apply a top coat for added durability and shine. Regular practice and adherence to these steps will help you maintain a salon-quality finish with your Polygel kit in the comfort of your home.