
Stamping nails is an art form, and it all starts with the perfect nail polish. Applying nail polish for stamping can be tricky if you don’t know how to do it properly. For those of us who are still trying to master the art of nail stamping, here is a step-by-step guide on how to apply the perfect coat of nail polish for stamping.
Start with a clean slate. Before applying your chosen color of nail polish, make sure that your nails are free from any dirt or oils by cleaning them with a cotton pad soaked in rubbing alcohol or acetone-free nail polish remover. This will ensure that your nail stamps adhere properly and remain intact after each application.
Select the right color palette. Select two colors of nail polish; one should be a light base coat and the other should be a darker shade that will be used as your “stamp” color. Depending on your desired look, you can choose any combination of colors you want – just make sure they complement each other!
Apply the base coat first. Now that you have selected your colors, it’s time to apply them to your nails! Start by painting a thin layer of your light base coat over all 10 fingernails (or whichever ones you plan on stamping). Allow this layer to dry completely before moving onto the next step – this is important!
Paint on the darker shade for stamping . Using the darker shade of nail polish, paint a thick layer onto another surface such as an old CD case or plastic lid – think about using something that has a flat surface so it’s easy to pick up the design later on! Allow this layer to dry completely before continuing on with the next step.
Preparing for transfers . Once both layers are dry, take some scotch tape and tear off small pieces about 1 inch in length and place them onto the thicker layer of darker colored nail polish at various angles so that when lifted off, it creates an interesting pattern/design that will transfer onto your nails when stamped later on! You can also use pre-made rubber stamps or even use items found around the house like coins or keys as alternative methods for creating unique designs as well!
Stamping nails can be intimidating at first but with some practice, anyone can become a pro at creating beautiful designs in no time! With this helpful guide, hopefully now you have all the information necessary to apply perfect coats of nail polish for stamping and achieve stunning results every time - happy stamping!
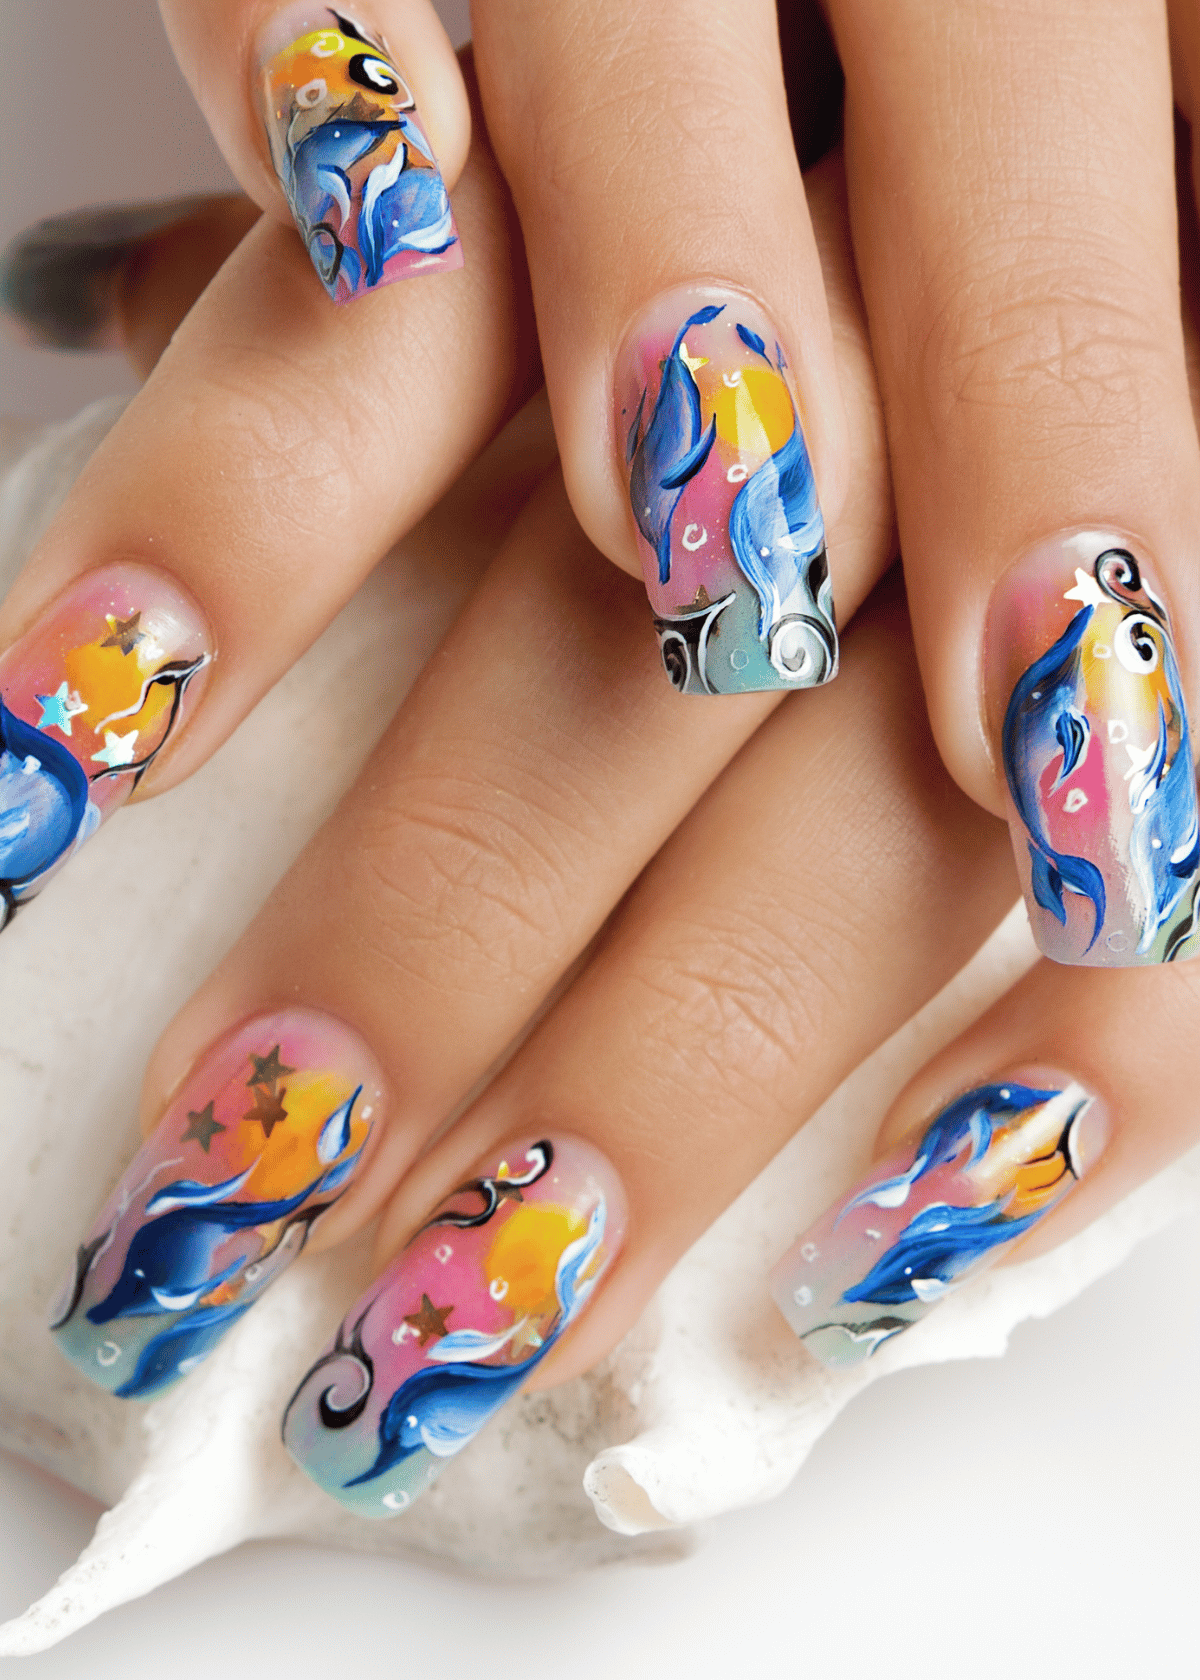
Are you tired of searching for that perfect nail polish to make your nail art dreams come to life? Well, look no further! We have delved into the magical world of nail polish and emerged with the ideal product for all you nail aficionados out there. Introducing the Best Nail Polish for Stamping, which will revolutionize your nail design experience. Our experts and beauty mavens have meticulously researched and tested an array of products to find the ultimate nail polish that is specifically formulated to meet your stamping needs. With uncompromised pigmentation, consistency, and flow, it enables you to create intricate and flawless custom designs on your nails like a pro. So go ahead, click the link and discover your next favorite Best Nail Polish for Stamping - because exceptional nail art deserves incredible polish!